
Introduction to Residential Circuit Diagnostics
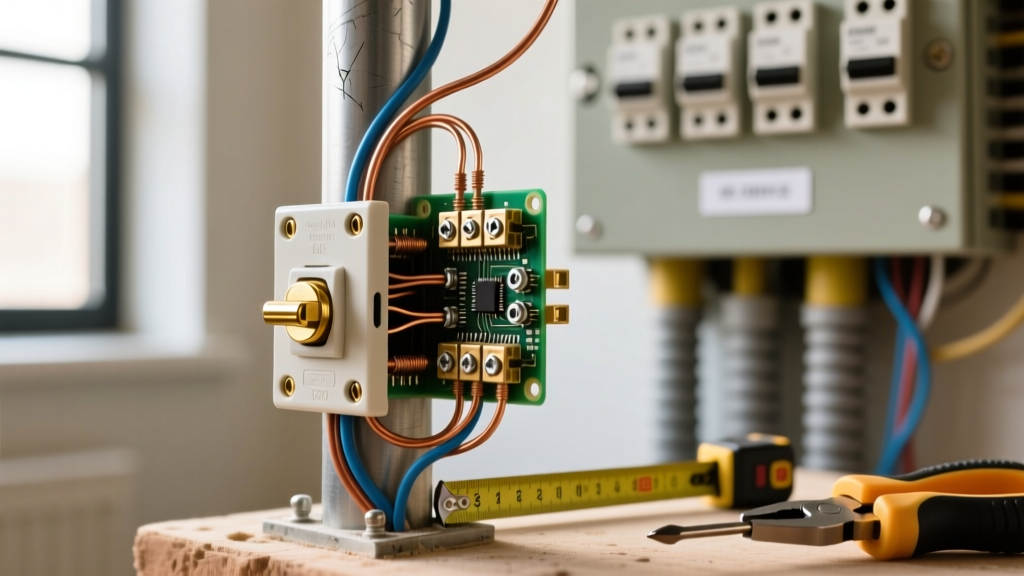
Troubleshooting residential electrical systems requires more than just swapping out a dead receptacle; it demands a foundational understanding of how voltage, current, and resistance interact within a closed loop. Whether you are dealing with a nuisance-tripping AFCI breaker or a completely dead branch circuit, understanding electrical wiring principles is the only way to isolate faults safely and efficiently. In 2026, with the widespread adoption of advanced smart panels and stringent NEC (National Electrical Code) AFCI/GFCI requirements, diagnosing wiring faults has evolved. This guide bypasses generic advice and dives deep into the technical realities of residential 120V/240V circuit troubleshooting, equipping you with the exact methodologies used by master electricians.
The Core Trio: Hot, Neutral, and Ground in Fault Scenarios
Every standard 120V branch circuit relies on three conductors. When a circuit fails, the fault almost always manifests as a breakdown in the relationship between these three wires. Before touching a multimeter, you must understand how these conductors behave under normal and fault conditions.
| Conductor | NEC Color Code (US) | Normal Voltage to Ground | Common Fault Signature |
|---|---|---|---|
| Hot (Ungrounded) | Black or Red | 120V | 0V (Open breaker, broken splice, or tripped GFCI upstream) |
| Neutral (Grounded) | White or Gray | 0V to 2V | 120V to Ground (Open neutral downstream of the load) |
| Ground (Equipment) | Bare Copper or Green | 0V | Voltage present (Ground fault, missing bonding jumper, or induced phantom voltage) |
Essential Diagnostic Tools for Modern Troubleshooting
Do not rely on cheap, non-contact voltage pens for definitive troubleshooting. While a Klein Tools NCVT-2 (approx. $35) is great for initial safety checks, understanding electrical wiring faults requires precision measurement. Invest in the following:
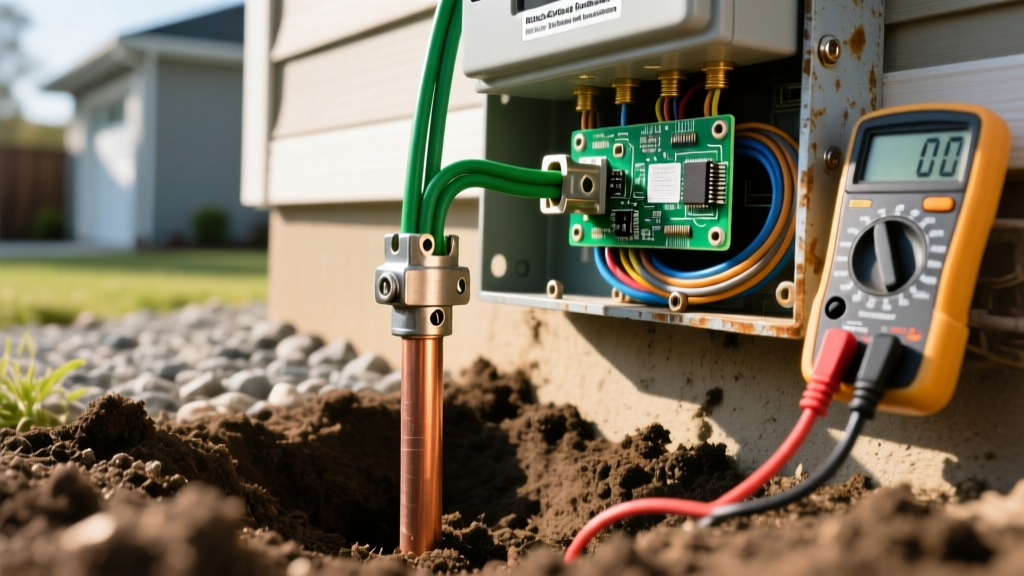
- True-RMS Digital Multimeter (DMM): The Fluke 117 Electricians True RMS Multimeter (approx. $220 in 2026) features VoltAlert and low-impedance (LoZ) mode, which is critical for eliminating ghost voltages caused by capacitive coupling in parallel cable runs.
- Solenoid Voltage Tester: Often called a 'Wiggy' (e.g., Greenlee 99, approx. $65). This analog tool draws a small amount of current, instantly bleeding off phantom voltages and confirming true circuit continuity under load.
- Circuit Tracer: The Amprobe AT-3500 (approx. $280) allows you to trace dead cables behind drywall and identify the exact breaker tied to a specific circuit without guesswork.
Step-by-Step Troubleshooting: Diagnosing the 'Big Three' Wiring Faults
1. Open Circuits: The Dead Receptacle or Switch
An open circuit means the current path is broken. The most common culprit in residential wiring is not a severed cable, but a failed push-in (backstab) connection on a standard 15A receptacle. Under continuous loads (like a 12A space heater), the internal spring tension of backstab connectors weakens due to thermal expansion and contraction, eventually arcing and failing.
- Verify Power: Use your DMM to measure Hot-to-Ground at the dead receptacle. If you read 120V, the hot wire is intact, and you likely have an open neutral.
- Test Hot-to-Neutral: If this reads 0V while Hot-to-Ground reads 120V, the neutral is open.
- Trace Upstream: Open the previous working receptacle on the same circuit. Look for loose wire nuts, melted backstab connections, or a broken daisy-chain splice. Strip the wires, use a side-screw terminal or a properly crimped pigtail, and restore power.
2. Short Circuits: The Instantaneous Breaker Trip
A short circuit occurs when the hot conductor makes direct contact with the neutral or ground. This creates a path of near-zero resistance, causing current to spike instantly to hundreds of amps, triggering the magnetic trip mechanism of the breaker.
- The Divide and Conquer Method: If a breaker trips instantly upon resetting, do not force it. Unplug all devices and turn off all hardwired switches on the circuit. Reset the breaker. If it holds, plug devices back in one by one to find the faulty appliance.
- Isolating Hardwired Shorts: If the breaker trips with all devices unplugged, the fault is in the walls. Disconnect the hot wire at the panel (with the main breaker OFF) and use your DMM's continuity/ohms setting to measure between the disconnected hot and the neutral bus. A reading near 0 ohms confirms a hard short. You must physically open junction boxes and receptacles along the run, separating the circuit into halves until the short is isolated.
3. Ground Faults and Ghost Voltages
Ghost voltages occur when a de-energized wire runs parallel to a live wire in the same Romex sheath, inducing a phantom voltage via capacitance. A high-impedance DMM might read 40V to 80V on a dead wire, leading DIYers to believe the circuit is still live.
Pro Tip: Always switch your DMM to LoZ (Low Impedance) mode or use a solenoid tester when verifying a dead circuit. LoZ mode places a small load on the circuit, collapsing ghost voltages to 0V and confirming true de-energization.
For actual ground faults (where current leaks to ground, tripping a GFCI), use a megohmmeter (Megger) to test the insulation resistance of the cable. Any reading below 1 megohm indicates degraded wire insulation that must be replaced.
Advanced Edge Case: Multi-Wire Branch Circuits (MWBC)
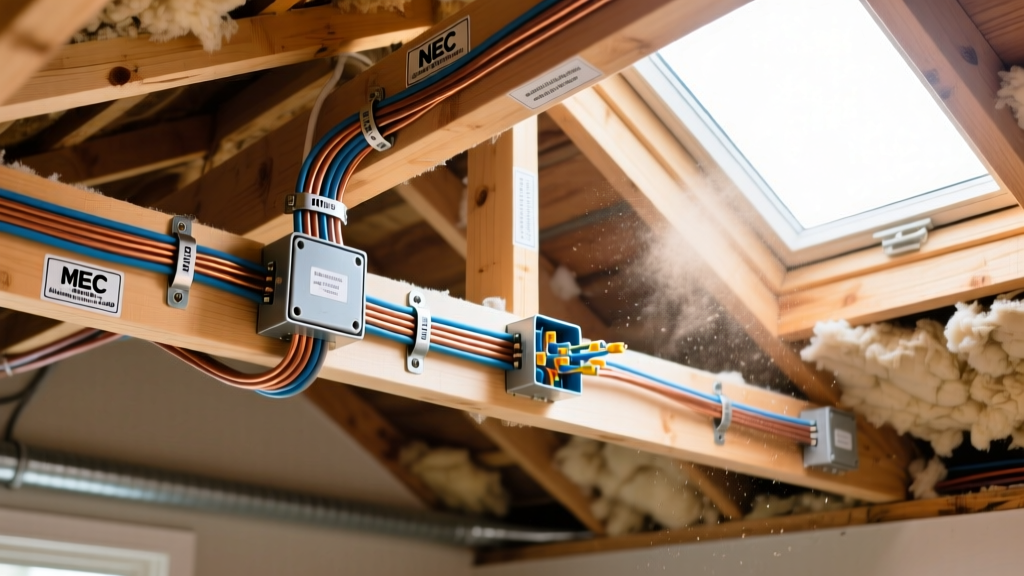
An MWBC uses two hot wires (L1 and L2, 240V apart) sharing a single neutral wire. This is common in older kitchens and garages. The most dangerous troubleshooting scenario involving an MWBC is an open shared neutral. If the neutral is disconnected while both hot legs are energized, the 120V appliances on L1 and L2 become wired in series across 240V. The appliance with the higher resistance will experience massive overvoltage, instantly destroying its electronics or starting a fire. The National Fire Protection Association (NFPA) strictly requires handle-ties or 2-pole breakers for MWBCs (NEC 210.4) to ensure both hots are disconnected simultaneously during maintenance.
When to Call a Licensed Electrician: Safety Boundaries
Understanding electrical wiring also means knowing your limits. According to the Occupational Safety and Health Administration (OSHA), electrical work carries severe arc flash and shock hazards. Stop DIY troubleshooting and call a licensed professional if you encounter:
- Aluminum Wiring: Homes built between 1965 and 1973 often have solid aluminum branch wiring. It requires specialized CO/ALR receptacles and AlumiConn connectors. Standard copper-rated devices will overheat and cause fires.
- Obsolete Panels: Federal Pacific Electric (FPE) Stab-Lok or Zinsco panels have documented failure rates where breakers do not trip during a short circuit. These panels must be replaced entirely.
- Burn Marks or Melting: Any sign of thermal damage inside a panel or junction box indicates a chronic, high-resistance fault that requires professional load calculation and rewiring.
The Consumer Product Safety Commission (CPSC) reports that electrical fires cause hundreds of fatalities annually, largely stemming from degraded wiring and improper DIY repairs. Always prioritize safety over cost-saving.
Frequently Asked Questions (FAQ)
Why does my AFCI breaker trip when I plug in a vacuum cleaner?
Arc Fault Circuit Interrupters (AFCIs) detect high-frequency noise signatures associated with arcing. Universal motors in older vacuum cleaners and power tools generate normal operational sparking at the brushes, which the AFCI misinterprets as a dangerous parallel arc fault. Upgrading to a modern brushless motor vacuum or ensuring the circuit wiring has no loose neutral connections usually resolves this.
Can I use a standard GFCI receptacle to protect an ungrounded 2-prong circuit?
Yes. The NEC allows replacing a 2-prong ungrounded receptacle with a GFCI receptacle to provide shock protection, even without an equipment ground wire. The GFCI monitors the current imbalance between hot and neutral, which does not require a ground wire to function. However, you must label the receptacle with the provided 'No Equipment Ground' sticker.
What causes a breaker to trip only after 20 minutes of use?
This is a classic thermal trip signature, indicating a continuous overload rather than a short circuit. A 15A breaker will tolerate 16A for a short time, but the internal bimetallic strip will heat up and bend, tripping the breaker after 15 to 30 minutes. Calculate the total amperage of the devices on the circuit and redistribute the loads to a different branch.