
The High-Stakes World of Trailer Brake Wiring
When you are towing a 5,000-pound boat or a multi-axle car hauler down a steep mountain grade, the margin for error drops to zero. Upgrading to a modern trailer wiring kit with electric brakes is not just about convenience; it is a critical safety intervention. However, the electrical complexity of integrating a Pulse Width Modulation (PWM) brake controller, a breakaway switch, and a 7-way RV blade connector leaves many enthusiasts debating whether to tackle the job in their driveway or hand the keys to a professional auto-electrician.
In 2026, with copper prices fluctuating and vehicle multiplexed wiring systems becoming increasingly sensitive to voltage spikes, the decision between DIY and professional installation carries significant financial and safety implications. According to the National Highway Traffic Safety Administration (NHTSA), improper towing setups and brake failures remain a leading cause of multi-vehicle highway incidents. This guide provides a deep-dive, no-fluff analysis of both paths, equipping you with the exact data needed to make an informed choice.
Anatomy of a Modern Electric Brake Wiring Setup
Before evaluating labor, you must understand the components involved in a complete electric brake integration. A standard, high-quality setup goes far beyond simply plugging in a harness. It requires:
- Brake Controller: A proportional PWM unit like the Tekonsha Prodigy P3 (Model 90195) or the CURT Spectrum (Model 51175), which reads the tow vehicle's deceleration and sends a variable voltage signal to the trailer.
- 7-Way RV Connector: A heavy-duty, spring-loaded vehicle-side receptacle (e.g., Hopkins 43395 or CURT 56226) capable of handling continuous 40-amp draws.
- Duplex Jacketed Wire: Minimum 10 AWG copper for the brake power (blue) and dedicated ground (white) circuits to prevent voltage drop over a 20-foot wheelbase.
- Breakaway System: A standalone 12V 7Ah Sealed Lead Acid (SLA) battery and a pin-switch that locks the trailer brakes if it physically separates from the tow vehicle.
The DIY Route: Costs, Tools, and Time Investment
For the mechanically inclined, installing a trailer wiring kit with electric brakes is a highly rewarding weekend project. However, it demands specific tools and a solid grasp of 12V DC automotive circuits.
Financial Breakdown (DIY)
Purchasing premium components individually will cost between $180 and $280. The Tekonsha P3 controller retails for roughly $160, while a 25-foot roll of 10 AWG duplex wire and a heavy-duty 7-way connector will add another $60 to $80. If you factor in a breakaway kit ($25) and premium heat-shrink butt connectors ($15), your total out-of-pocket material cost sits around $280 to $320.
Required Tooling
This is where DIYers often cut corners, leading to catastrophic failures. You cannot use cheap hardware store crimpers for 10 AWG battery and brake lines. You will need:
- A heavy-duty ratcheting wire crimper (e.g., Klein Tools 1005 or Knipex TwinForce) to ensure cold-weld crimps on 10-12 AWG ring terminals.
- A heat gun and 3M adhesive-lined marine heat shrink to seal connections against road salt and moisture.
- A digital multimeter and a dedicated trailer brake testing tool (like the Tow-Pro Tester) to verify PWM signal output without needing a second person in the cab.
Expect the physical installation—routing wires through the firewall, tapping into the brake light switch circuit, and mounting the controller—to take between 6 to 10 hours for a first-time installer.
The Professional Route: Labor, Liability, and Diagnostics
Hiring a certified auto-electrician or a specialized hitch and trailer shop shifts the burden of execution and liability. In 2026, specialized automotive electrical labor rates typically range from $145 to $195 per hour, depending on your region.
What You Are Actually Paying For
When you pay a professional $500 to $800 for a complete brake controller and 7-way installation, you are not just paying for their hands. You are paying for their diagnostic software and liability coverage. Modern trucks (especially 2022 and newer Ford, GM, and Ram models) utilize complex CAN bus systems. A professional shop will use OEM-level scan tools to reflash the Body Control Module (BCM) to recognize the new trailer brake circuit, a step that is nearly impossible for a DIYer without expensive software subscriptions.
Furthermore, professional installations come with a warranty on both parts and labor. If a crimp fails and your trailer brakes lock up on the interstate, the shop's liability insurance covers the resulting damage—a stark contrast to the DIY route, where you assume 100% of the financial and legal risk.
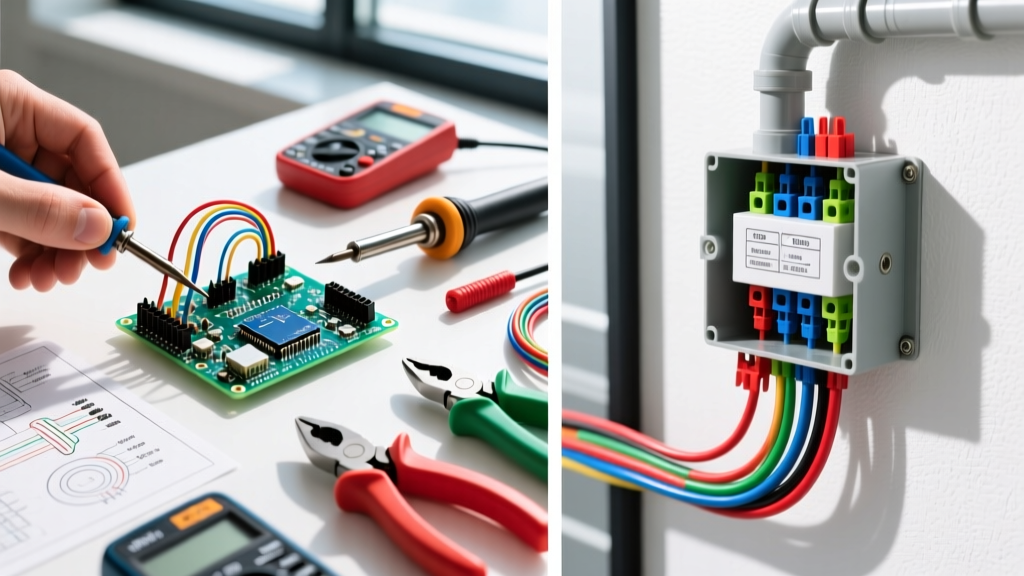
Head-to-Head Comparison Matrix
| Metric | DIY Installation | Professional Installation |
|---|---|---|
| Total Cost | $280 - $350 (Materials + basic tools) | $650 - $950 (Parts + $145-$195/hr labor) |
| Time Required | 6 - 12 hours (weekend project) | 2 - 4 hours (shop time) |
| BCM Flashing | Not possible (requires OEM scan tools) | Included (ensures no dash errors) |
| Warranty | Manufacturer parts only | 1-3 years on parts and labor |
| Liability | 100% personal assumption | Shop liability insurance applies |
Critical Failure Modes: Where DIYers Get Stranded
The Federal Motor Carrier Safety Administration (FMCSA) heavily regulates commercial trailer braking, but recreational towers often ignore the physics that dictate those rules. If you choose the DIY route, you must actively avoid these three common failure modes.
1. The 12-Gauge Voltage Drop Trap
Many off-the-shelf wiring kits include 12 AWG wire for the brake circuit to save on copper costs. Over a 25-foot run from the engine bay to the rear bumper, 12 AWG wire experiences significant voltage drop under the heavy amperage draw of dual-axle electric brakes (which can pull 15-20 amps combined). This results in weak, spongy braking at the trailer. Expert Rule: Always discard the kit's 12 AWG blue wire and replace it with 10 AWG stranded copper. The marginal $15 increase in material cost guarantees full voltage delivery to the brake magnets.
2. 'Ghost Braking' and PWM Interference
Modern proportional brake controllers use high-frequency Pulse Width Modulation to vary braking force. If the brake controller's power wire is routed too closely to the vehicle's CAN bus lines or LED taillight wiring, the electromagnetic interference (EMI) can cause the taillights to strobe or the brakes to apply erratically—a phenomenon known as ghost braking. Professionals mitigate this by routing the heavy-gauge brake power wire along the opposite frame rail from the vehicle's primary lighting harness and using shielded cable where necessary.
3. The Chassis Ground Fallacy
Novice installers often ground the white wire from the 7-way connector to the nearest clean bolt on the truck's rear bumper or frame. In a collision or heavy corrosion scenario, the truck's frame may not provide a low-resistance path back to the battery's negative terminal. If the chassis ground fails, the electric brakes will not engage, and the breakaway switch will be rendered useless. A proper installation requires running a dedicated 10 AWG white ground wire all the way from the 7-way connector directly to the vehicle battery's negative terminal or the main engine block ground stud.
Decision Framework: Which Path Should You Take?
Choosing between DIY and professional installation for your trailer wiring kit with electric brakes ultimately comes down to your vehicle's age, your tool inventory, and your risk tolerance.
When to DIY
- You are driving an older vehicle (pre-2015) with a simple, non-multiplexed 12V electrical system.
- You already own professional-grade ratcheting crimpers, a heat gun, and a multimeter.
- You are wiring a single-axle utility trailer where the amperage draw is relatively low.
- You have the patience to spend an entire weekend routing wires, drilling firewalls, and sealing connections.
When to Hire a Professional
- You are driving a 2020 or newer heavy-duty truck with integrated trailer brake modules and complex CAN bus networks.
- You are towing a multi-axle RV or car hauler where absolute brake reliability is non-negotiable.
- You lack the specialized crimping tools required for 10 AWG and 8 AWG battery cables.
- You want the legal and financial protection of a shop's liability insurance and labor warranty.
Ultimately, whether you strip the wires yourself or pay a master technician, the goal remains the same: ensuring that when you hit the brake pedal at 65 mph, the trailer stops exactly in sync with the tow vehicle. Do not compromise on wire gauge, crimp quality, or grounding integrity, regardless of who holds the crimping tool.