
The Lethal Reality of Residential Voltage
When undertaking a home electrical wiring repair, the margin for error is measured in milliseconds and milliamps. A standard US residential circuit operates at 120V to 240V AC. According to the National Fire Protection Association (NFPA), electrical failures or malfunctions consistently rank among the leading causes of home structure fires. Furthermore, the human body can experience ventricular fibrillation from as little as 50 milliamps of current crossing the heart. Safety in residential wiring is not merely about avoiding a shock; it is about ensuring the long-term thermal and mechanical stability of the entire electrical system.
This guide details the uncompromising safety protocols, specific tooling requirements, and National Electrical Code (NEC) mandates you must follow to execute a safe, code-compliant repair.
The 'Zero-Energy' Verification Protocol
Professional electricians do not trust breaker labels. A previous homeowner or DIYer may have swapped breakers, mislabeled the panel directory, or created a multi-wire branch circuit (MWBC) where two breakers feed a single junction box. To guarantee safety, you must implement a residential adaptation of Lockout/Tagout (LOTO) combined with a strict testing sequence.
Step 1: Physical Lockout
After turning off the breaker, apply a physical lockout device to the panel cover or use a breaker lockout clip (such as the Schneider Electric Square D HOMLOK). If you are working alone, keep the only key in your pocket. If others are in the home, tape a high-visibility warning sign directly over the main panel.
Step 2: The Live-Dead-Live Test
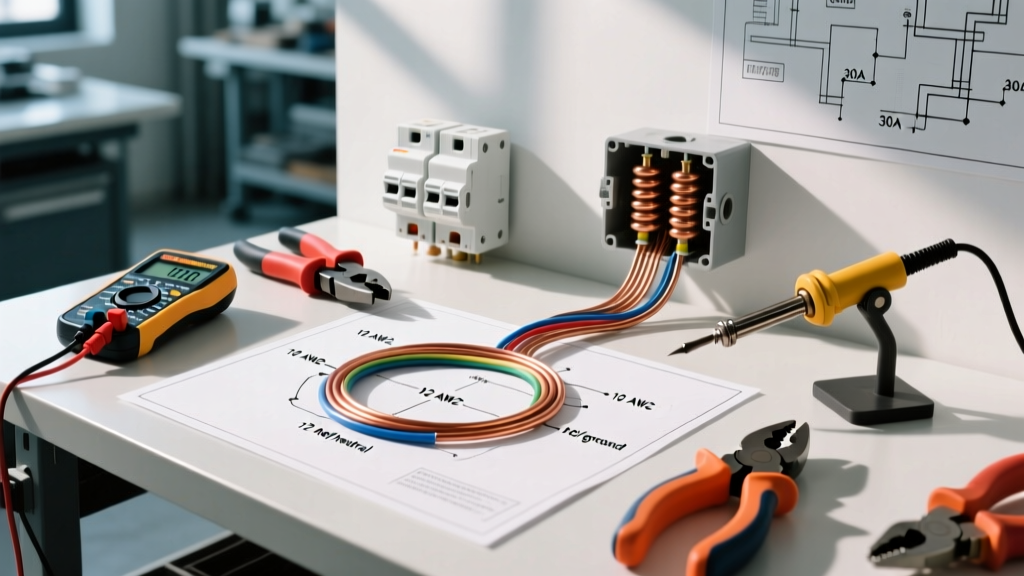
Never rely solely on a non-contact voltage tester (NCVT) like the Klein NCVT-3 to confirm a dead circuit. NCVTs can yield false negatives due to shielding or low battery. You must use a True-RMS digital multimeter, such as the Fluke 117, following the 3-point test:
- Test Known Live: Measure a verified active 120V receptacle to confirm your meter and leads are functioning correctly.
- Test Target Circuit: Measure the target wires (Line to Ground, Line to Neutral, Neutral to Ground) to verify 0.00V.
- Test Known Live Again: Re-test the known active receptacle to ensure your meter did not fail or blow its internal fuse during step two.
NEC Article 110.14: The Torque Specification Mandate
The most frequently overlooked safety hazard in home electrical wiring repair is improper termination torque. Under-torqued screws allow micro-movements under thermal expansion, leading to high-resistance connections, arcing, and eventual fires. Over-torqued screws strip threads or sheer the wire strand, reducing the effective ampacity.
CRITICAL CODE UPDATE: NEC Article 110.14(D) explicitly requires that terminations be tightened to the manufacturer's specified torque values using calibrated equipment. 'Hand-tight' or 'snug' is no longer code-compliant for new installations or major repairs.For standard 15A and 20A residential breakers (e.g., Eaton BR or Square D QO), the typical torque specification for the lug screw is 35 inch-pounds. For receptacles, terminal screws usually require 14 to 16 inch-pounds. You must use a calibrated torque screwdriver, such as the Klein Tools 32500TORQ, or a dedicated torque driver like the Wiha 285T10. Never use a standard magnetic-tip screwdriver and guess the tension.
High-Risk Repair Scenarios and Safe Interventions
Below is a matrix of common residential repair scenarios, the hidden dangers associated with them, and the exact protocol for a safe resolution.
| Repair Scenario | Hidden Danger / Failure Mode | Safe Repair Protocol & Tooling |
|---|---|---|
| Replacing a standard 15A receptacle | 'Backstabbed' push-in connections cause internal spring fatigue and series arcing over time. | Remove backstabbed wires. Strip 5/8 inch of insulation. Terminate using side-screw clamps or J-hooks, torqued to 14 in-lbs. |
| Splicing wires in an existing junction box | Overfilling the box prevents heat dissipation and damages wire insulation during packing. | Calculate box fill per NEC 314.16. 14 AWG = 2.0 cu in; 12 AWG = 2.25 cu in. Use Wago 221 lever nuts to save space and ensure gas-tight connections. |
| Upgrading a standard breaker to AFCI/GFCI | Neutral-to-ground faults downstream will cause immediate nuisance tripping if not isolated. | Ensure the neutral bus bar and ground bus bar are strictly separated in the subpanel. Pigtail the AFCI neutral directly to the neutral bus. |
| Repairing damaged NM-B (Romex) sheathing | Exposed inner conductors can short against metal framing or degrade from UV/moisture exposure. | Do not use electrical tape. Cut back to a new junction box, or use a listed NM cable repair kit (e.g., Tyco Electronics ROMEX Splice Kit) if accessible. |
Panel Red Flags: When to Abort the Repair
Before opening a panel to perform a home electrical wiring repair, inspect the manufacturer label. Certain legacy panels have documented, catastrophic failure modes. The Consumer Product Safety Commission (CPSC) and independent electrical engineers have flagged the following brands as severe fire hazards:
- Federal Pacific Electric (FPE) Stab-Lok: Breakers frequently fail to trip during overload conditions due to mechanical binding. The bus bar stab connections also degrade, causing localized melting.
- Zinsco: The aluminum bus bars oxidize and overheat, sometimes causing the breaker to fuse directly to the bus bar, rendering it impossible to disconnect power at the source.
- Challenger: Specific models (like the HACR series) have a history of internal arcing and overheating at the bus bar connection points.
If you identify any of these panels during your repair assessment, abort the wiring repair immediately. The only safe, code-compliant resolution is a complete panel replacement by a licensed electrical contractor.
Personal Protective Equipment (PPE) Matrix
While full NFPA 70E arc-flash suits are overkill for a simple 120V receptacle swap, working inside an open residential panel to replace a breaker requires specific PPE to protect against accidental contact and low-level arc flashes.
- Voltage-Rated Gloves: Class 00 rubber insulating gloves (rated up to 500V AC) paired with leather protectors. Brands like Salisbury or Saf-T-Gard offer residential-friendly kits.
- Insulated Hand Tools: Use VDE-certified, 1000V-rated screwdrivers and pliers (e.g., Wiha or Knipex). The dual-layer insulation provides a visual wear indicator if the outer layer is compromised.
- Eye and Face Protection: ANSI Z87.1+ safety glasses are mandatory. If racking a main breaker or working on 240V feeders, an arc-rated face shield (minimum 8 cal/cm²) is highly recommended to protect against molten copper spray in the event of a dead short.
Frequently Asked Questions
Can I use standard wire nuts for high-vibration areas like ceiling fans?
Standard twist-on wire connectors (like the Ideal Wire-Nut 72B) can loosen over time under continuous micro-vibrations. For ceiling fan canopies or HVAC disconnects, use Wago 221 lever-nuts or crimp-on step-down butt splices with a heat-shrink seal to ensure a permanent, vibration-proof mechanical and electrical bond.
What is the exact wire stripping length for modern breakers?
Most modern residential breakers feature a 'strip gauge' molded directly into the plastic casing next to the lug. Typically, this requires stripping exactly 3/8 to 1/2 inch of insulation. Exposing too much bare copper creates a shock hazard and a path for arc tracking; stripping too little results in the lug screw biting into the wire insulation, causing a high-resistance fault.
Do I need to replace all my outlets with GFCI during a repair?
Under current NEC Article 210.8, GFCI protection is required in kitchens, bathrooms, garages, outdoors, crawlspaces, and laundry areas. If you are repairing or replacing an existing receptacle in these locations, you must upgrade to GFCI protection, either via a GFCI receptacle or a GFCI breaker, regardless of when the home was originally built.
Final Safety Directives
A successful home electrical wiring repair is defined not just by restoring power, but by ensuring the system operates safely for the next several decades. Always prioritize mechanical stability through proper torque, verify zero-energy states with calibrated meters, and respect the physical limitations of legacy electrical equipment. When in doubt, consult the latest edition of the National Electrical Code (NFPA 70) or hire a licensed professional.