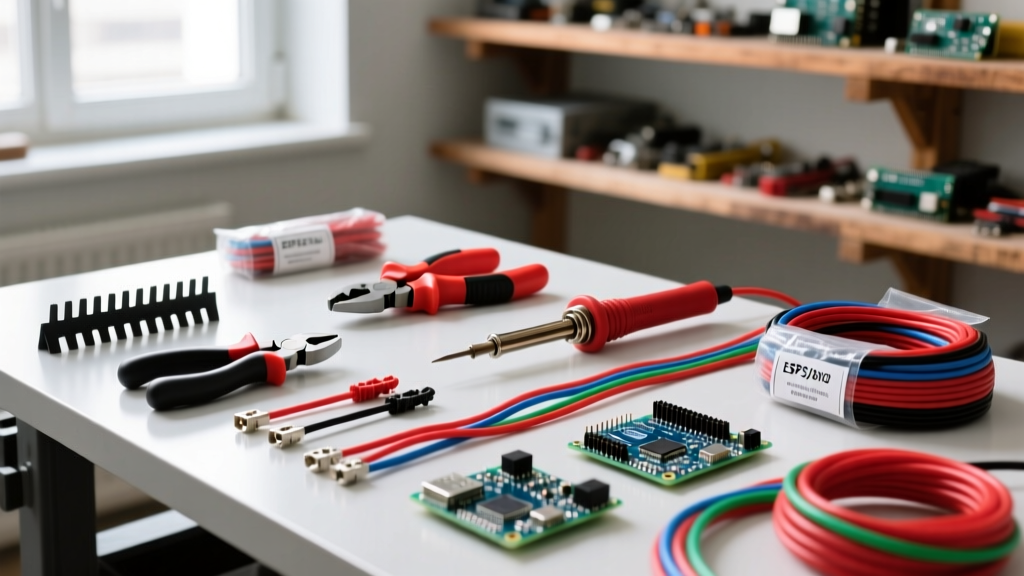

The True Value of Clean Electrical Wiring
In the electrical trade, the phrase 'clean electrical wiring' extends far beyond mere aesthetics. A meticulously dressed panel, organized junction box, or custom control harness drastically improves thermal dissipation, reduces electromagnetic interference (EMI), and cuts troubleshooting time in half. When an electrician opens a subpanel and sees a chaotic 'rat's nest' of overlapping conductors, it is an immediate red flag for poor heat management and potential arc flash hazards. Achieving that factory-grade, professional finish requires abandoning outdated habits and investing in specialized materials and precision tools. This guide breaks down the exact equipment, consumables, and methodologies required to elevate your wiring from 'functional' to 'flawless'.
Phase 1: Precision Wire Stripping and Preparation
The foundation of clean electrical wiring begins before the conductor ever touches a terminal. Ragged, nicked, or unevenly stripped insulation ruins the visual continuity of a harness and compromises the mechanical strength of the connection.
Automatic vs. Thermal Strippers
For solid and stranded building wire (14 AWG to 10 AWG THHN), the Knipex 12 42 195 Automatic Wire Stripper (retailing around $78) remains the industry gold standard. Its interchangeable blades ensure that the copper strands are never scored, which is a common failure mode with cheap, stamped-steel pliers. For high-volume control panel wiring involving 18 AWG to 22 AWG stranded hook-up wire, thermal strippers like the ERSA Stripmaster Lite ($450) melt the PVC insulation away without touching the copper, guaranteeing zero mechanical damage. While the upfront cost is high, the elimination of nicked strands prevents future breakage inside tight cable ducts.
The Necessity of Wire Ferrules
Never terminate stranded wire directly into a screw terminal or busbar without a ferrule. Stranded wire splays under screw pressure, reducing contact surface area and creating high-resistance hot spots. The Wirefy Crimping Tool Set (Model CT-F22) features a self-adjusting jaw that applies a precise trapezoidal crimp to ferrules ranging from 22 AWG to 8 AWG. A proper crimp should withstand a 30-pound pull test without slipping.
Phase 2: Routing, Combing, and Sleeving Materials
Once wires are prepped, they must be routed with geometric precision. Parallel runs and strict 90-degree bends are the hallmarks of professional control panels and high-end residential subpanels.
Cable Combs and Braided Sleeving
To achieve perfectly parallel wire runs, electricians use cable combs. ModFlex and AsiaHorse manufacture combs in specific pitch sizes (e.g., 3.5mm for 18 AWG, 5.0mm for 12 AWG). Priced at roughly $12 for a multi-pack, these combs lock wires into a rigid, flat ribbon. When paired with PET Expandable Braided Sleeving (typically $18 for a 50-foot roll of 1/2-inch diameter), you can bundle multiple circuits into a single, abrasion-resistant loom that looks incredibly clean and protects against sharp metal edges inside enclosures.
Wiring Ducts and Raceways
For commercial and industrial panels, open wire runs are unacceptable. Panduit wiring ducts, specifically the F2X2LG6 (2x2 inch, 6-foot stick, approximately $24), feature lead-free PVC construction with snap-on covers. The critical detail here is the duct's finger design: Panduit's narrow-finger slotted ducts provide superior support for small-gauge wires, preventing them from drooping out of the slots when the panel is mounted vertically.
Phase 3: Termination Hardware Comparison
How you terminate the wire inside the junction box or breaker panel dictates the long-term reliability of the circuit. The traditional wire nut is rapidly being replaced in high-end installations by lever-nuts and terminal blocks.
| Method | Avg Cost / Connection | Installation Time | Cleanliness & Space Rating | Best Use Case |
|---|---|---|---|---|
| Traditional Wire Nuts (Ideal Industries) | $0.08 | 15 seconds | Poor (Bulky, uneven) | Basic residential rough-ins |
| WAGO 221 Series Lever-Nuts | $0.45 | 8 seconds | Excellent (Compact, flat) | Junction boxes, smart home retrofits |
| Ferrules + DIN Terminal Blocks | $0.65 | 25 seconds | Superior (Modular, aligned) | Control panels, subpanel neutrals/grounds |
Using WAGO 221 connectors allows you to stack splices neatly against the back of a junction box, freeing up volume for smart switches and dimmers. For panelboards, utilizing DIN-rail mounted terminal blocks with ferrules completely eliminates the 'spaghetti' effect of multiple ground and neutral wires fighting for space on a single busbar.
The NEC Standard: 'Neat and Workmanlike'
The National Electrical Code (NEC) explicitly addresses the quality of installation. According to NFPA 70 (NEC) Article 110.12, 'Electrical equipment shall be installed in a neat and workmanlike manner.' While this may sound subjective, electrical inspectors routinely fail panels where conductors cross over one another unnecessarily, obscure breaker labeling, or impede airflow. Clean electrical wiring is not just a vanity metric; it is a strict code requirement that ensures safe thermal operation and future serviceability.
Inspector's Note: 'If I cannot trace a neutral wire from the breaker to its corresponding busbar terminal without moving three other conductors, the panel fails 110.12. Neatness equates to traceability and safety.'
5-Step Workflow for Dressing a Subpanel
To consistently achieve clean electrical wiring in residential or light commercial subpanels, follow this exact sequence:
- Mount and Route Ducts First: Install your Panduit wiring ducts before pulling any wire. Ensure you leave at least 1.5 inches of clearance between the duct and the breaker terminals to allow for wire bending radius.
- Pull and Cut to Exact Length: Pull your THHN conductors through the ducts. Cut them to length, allowing exactly enough slack to reach the terminal and bend smoothly, plus 3/4 inch for stripping. Excess slack creates bulging duct covers.
- Strip and Crimp Ferrules: Strip the insulation flush. Crimp insulated ferrules onto all stranded wire, ensuring no bare copper is visible between the insulation and the ferrule collar.
- Dress the Bundles: Use 4-inch Velcro cable ties (avoid nylon zip ties, which can crush insulation if over-tightened) to bundle the hots, neutrals, and grounds into separate, distinct ribbons inside the duct. Use cable combs at the exit points to fan them out perfectly toward the breakers and busbars.
- Terminate and Label: Land the wires on the breakers and busbars. Finally, apply machine-printed heat-shrink labels or Brady wire markers to every single conductor within 2 inches of the termination point.
Final Thoughts on Tool Investment
Transitioning to a methodology focused on clean electrical wiring requires an initial capital outlay of roughly $300 to $500 for premium strippers, crimpers, and a stock of ferrules and combs. However, the return on investment is immediate. Electricians who consistently deliver immaculate, code-compliant panels command higher hourly rates, face zero pushback from strict municipal inspectors, and generate immense referral value simply by showing clients a photo of their beautifully dressed electrical work.