
Mastering the 240V Circuit: A Homeowner's Blueprint
Wiring a 240-volt appliance is one of the most demanding DIY electrical projects a homeowner can undertake. When it comes to wiring electric hot water heater units, the margin for error is zero. A standard residential storage tank draws significant continuous current, generating heat at every termination point from the main service panel to the thermostat junction box. According to the National Fire Protection Association (NFPA), electrical failures or malfunctions are a leading cause of home structure fires, making strict adherence to the National Electrical Code (NEC) non-negotiable.
This guide bypasses generic advice and provides the exact calculations, material specifications, and termination torque requirements needed to safely install a dedicated branch circuit for your water heater in 2026.
The 125% Continuous Load Rule (NEC Article 422)
The most common mistake DIYers make is sizing the breaker and wire based purely on the heater's maximum amperage. Under NEC Article 422.13, storage-type water heaters with a capacity of 120 gallons or less are classified as continuous loads because they can operate for three hours or more. Therefore, the branch circuit must be rated at no less than 125% of the heater's nameplate rating.
Pro-Tip: Never size your breaker to the exact amp draw of the appliance. If a 4500W heater draws 18.75 Amps, multiplying by 1.25 equals 23.4 Amps. Since there is no standard 25-Amp double-pole breaker readily available in most residential load centers, you must step up to a 30-Amp breaker and use 10 AWG copper wire.
Wire Gauge and Breaker Sizing Matrix
Use the table below to determine the correct Southwire or Cerro NM-B cable and Square D, Eaton, or Siemens breaker size based on your specific unit's wattage. All calculations assume a standard 240V residential supply and copper conductors with 60°C/75°C insulation ratings.
| Heater Wattage | Voltage | Base Amps | 125% NEC Multiplier | Min. Breaker Size | Required Wire (Cu) |
|---|---|---|---|---|---|
| 3000W | 240V | 12.5A | 15.6A | 20A (2-Pole) | 12/2 NM-B w/ Ground |
| 3500W | 240V | 14.6A | 18.2A | 20A (2-Pole) | 12/2 NM-B w/ Ground |
| 4500W | 240V | 18.75A | 23.4A | 30A (2-Pole) | 10/2 NM-B w/ Ground |
| 5500W | 240V | 22.9A | 28.6A | 30A (2-Pole) | 10/2 NM-B w/ Ground |
Essential Tools and 2026 Material Costs
Budgeting accurately is critical for home project guides. As of early 2026, copper prices have stabilized, but smart-home integration components have slightly raised the baseline cost of electrical upgrades. Expect to spend between $140 and $220 on materials for a standard 30-foot run, excluding the cost of the water heater itself and municipal permits (typically $75–$150).
- Cable: 10/2 NM-B Romex (approx. $1.15 per foot).
- Breaker: 30-Amp Double-Pole (e.g., Square D HOM230 or Eaton BR230) - $14.00.
- Terminations: Ideal 345 Blue Wire-Nuts (rated for two 10 AWG wires) - $4.00.
- Safety & Code: Klein Tools 32500 Torque Screwdriver (mandatory for NEC 110.14(D) compliance) - $45.00.
- Identification: 3M Super 33+ Vinyl Electrical Tape (Black and Red) for re-identifying the white neutral as a hot leg - $6.00.
Step-by-Step Installation Guide
Step 1: Panel Preparation and Breaker Seating
Shut off the main service disconnect. Verify the bus bars are dead using a non-contact voltage tester and a digital multimeter. Snap the 30A double-pole breaker into an available pair of adjacent bus bar stabs. Connect your 10/2 NM-B ground wire to the panel's equipment grounding bar. Never connect the bare ground to the neutral bar in a main panel, and absolutely never to a neutral bar in a sub-panel. Torque the breaker lug screws to the manufacturer's specification (usually 35 in-lbs for standard residential breakers).
Step 2: Routing and Securing the NM-B Cable
Run the 10/2 cable from the panel to the water heater location. Per NEC 334.30, the cable must be secured with approved staples or cable ties within 12 inches of the panel and at intervals not exceeding 4.5 feet. Keep the cable at least 1.25 inches away from the face of wooden studs to prevent drywall screws from piercing the insulation later. If running through bored holes in studs, ensure the holes are centered.
Step 3: Junction Box Terminations and Grounding
Most modern water heaters feature a built-in junction box cover. If yours does not, install a 4-inch square metal or PVC junction box. Strip the NM-B sheathing, leaving at least 6 inches of working conductor length.
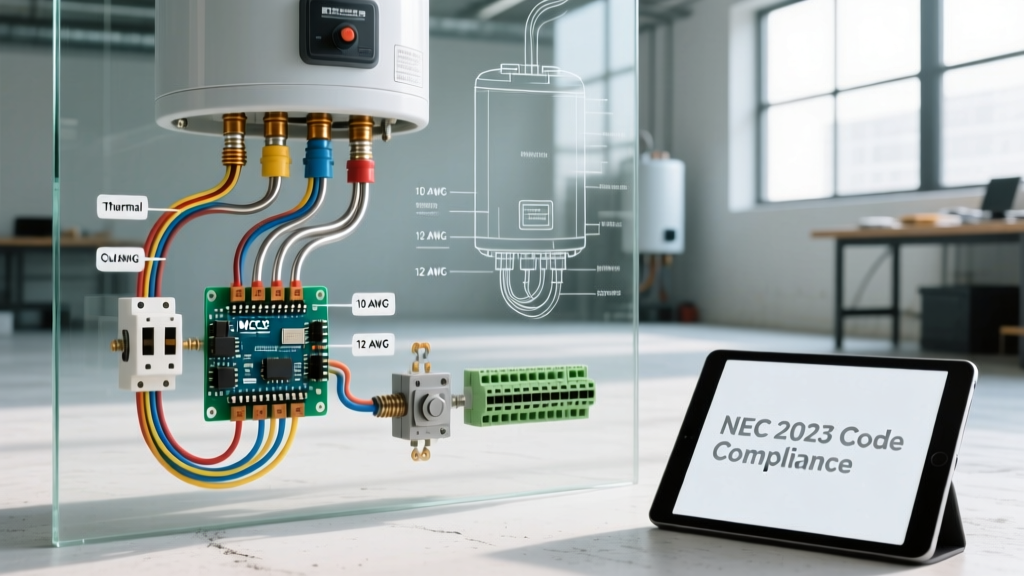
Critical NEC 200.7 Compliance: Because a standard resistance water heater does not require a neutral wire, you are using the white wire in the 10/2 cable as a second hot leg. You must wrap both ends of the white wire with black or red electrical tape to re-identify it as an ungrounded (hot) conductor. Connect the black wire to L1 and the re-identified white wire to L2 using the Ideal 345 wire nuts. Connect the bare copper ground to the junction box ground screw and run a 10 AWG pigtail to the tank's designated green grounding screw.
The 2026 Shift: Smart Heaters and Neutral Wires
As the grid modernizes, the U.S. Department of Energy notes a massive shift toward Heat Pump Water Heaters (HPWHs) and smart-grid-enabled resistance tanks. Unlike legacy units, many 2026 models feature integrated Wi-Fi leak detection, advanced LCD thermostats, and hybrid compressors that require a 120V control circuit.
Warning: If your new smart water heater nameplate specifies a 120/240V split requirement, you cannot use 10/2 cable. You must install 10/3 NM-B to provide a dedicated neutral (white wire) alongside your two hot legs (black and red) and a bare ground. Always read the manufacturer's wiring diagram before purchasing cable.
Troubleshooting Common Failure Modes
Even with perfect wiring, water heaters can exhibit specific electrical failure modes. Here is how to diagnose them:
- Breaker Trips Instantly Upon Energizing: This indicates a dead short. The most common culprit is a burned-out heating element that has split its copper sheathing, allowing current to arc directly into the water (which is grounded). Test elements for continuity to ground using a multimeter.
- Breaker Trips After 20-30 Minutes: This is a thermal overload issue. Check your torque settings. Loose lug connections at the breaker or the thermostat create high resistance, generating localized heat that transfers into the breaker's bimetallic trip strip, causing it to open prematurely.
- Water is Lukewarm / Takes Hours to Recover: Standard dual-element tanks use an interlock system; only one element runs at a time. If the upper thermostat fails to pass power to the lower thermostat after the top half of the tank is heated, the lower element never engages. Test the upper thermostat for 240V output at the lower terminals.
Final Inspection and Energizing
Before restoring power, ensure the tank is completely full of water. Energizing a dry heating element will cause it to burn out in seconds—a phenomenon known as 'dry firing.' Open a hot water faucet in the house and wait until a steady stream of water flows without air sputters. Once confirmed, close the faucet, turn on the main breaker, and flip the 30A double-pole breaker to the ON position. Use a multimeter at the junction box to verify you are reading between 235V and 245V across the two hot legs. Properly executed, this circuit will provide decades of safe, reliable hot water.