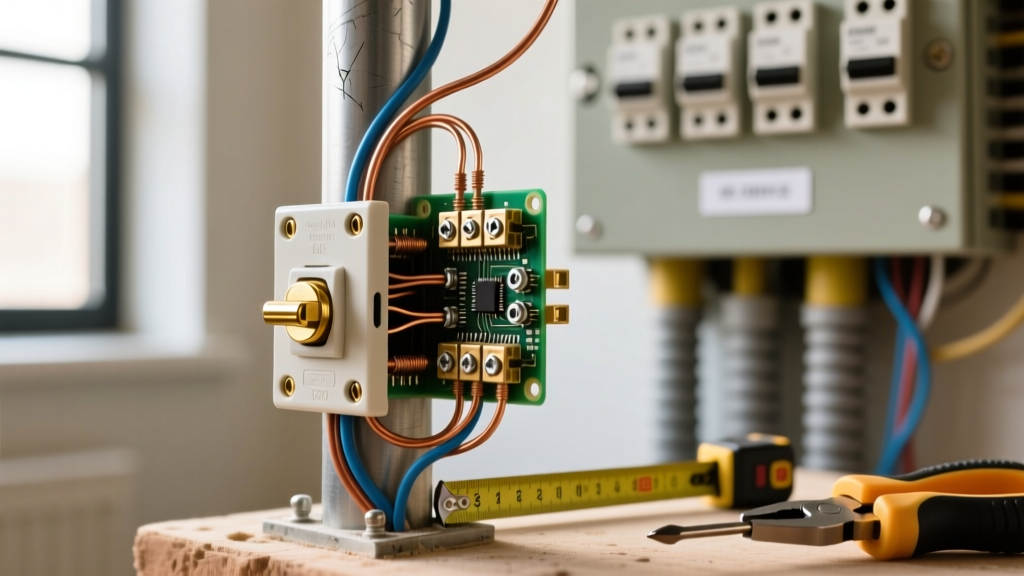

The Stakes of Residential Electrical Wiring
Wiring a home is not merely about completing a circuit; it is about engineering a system that can safely handle thermal, mechanical, and electrical stress for decades. According to the National Fire Protection Association (NFPA), electrical failures and malfunctions are responsible for an estimated 46,000 home fires annually, resulting in hundreds of fatalities and billions in property damage. This comprehensive electrical wiring guide bypasses basic DIY fluff to focus on the critical safety protocols, precise tool requirements, and failure-mode analysis that separate professional installations from hazardous amateur work.
The Core Safety Triad: De-energize, Verify, Lockout
The most common cause of DIY electrocution is the assumption that a breaker is off. Relying solely on a standard non-contact voltage tester (NCVT) is a critical safety failure. NCVTs can yield false negatives due to shielded cables, thick insulation, or phantom voltage interference.
Proper Lockout/Tagout (LOTO) for Residential Panels
- Identify and Switch: Turn off the target breaker at the main service panel.
- Physical Lockout: Apply a breaker lockout device (e.g., Snapneat or Brady universal breaker lockout, typically $8-$12 each) secured with a personalized padlock.
- CAT III Verification: Use a True-RMS multimeter rated for CAT III 600V or CAT IV 300V (such as the Fluke T6-1000, approx. $220) to test the receptacle or junction box. Test a known live source first to verify the meter is functioning, test the target circuit, then test the known live source again (the Live-Dead-Live method).
Expert Insight: The U.S. Consumer Product Safety Commission (CPSC) emphasizes that verifying the absence of voltage with a calibrated, dual-pole tester is the single most effective way to prevent fatal shocks during residential remodels.
Wire Sizing, Ampacity, and Thermal Overload Prevention
Using undersized wire for a given breaker is a hidden fire hazard. The breaker is designed to protect the wire, not the appliance. If you run 14 AWG wire on a 20A breaker, the wire will melt and ignite inside the wall long before the breaker trips.
| Wire Gauge (AWG) | Copper Ampacity (60°C/90°C) | Max Breaker Size | Common Applications | 2026 Avg. Cost (per ft) |
|---|---|---|---|---|
| 14 AWG | 15A / 25A | 15 Amp | Lighting, general bedroom/living room receptacles | $0.45 (14/2 NM-B) |
| 12 AWG | 20A / 30A | 20 Amp | Kitchen small appliances, bathrooms, garage | $0.65 (12/2 NM-B) |
| 10 AWG | 30A / 40A | 30 Amp | Electric water heaters, dryers (120V/240V) | $1.10 (10/2 NM-B) |
| 8 AWG | 40A / 55A | 40 Amp | EV Level 2 chargers, large HVAC condensing units | $1.85 (8/2 NM-B) |
| 6 AWG | 55A / 75A | 50/60 Amp | Subpanels, electric ranges, tankless water heaters | $2.90 (6/2 NM-B) |
Note: Ampacity limits for overcurrent protection are governed by the 60°C column for standard NM-B (Romex) cable, even if the wire insulation is rated for 90°C, per NEC Article 334.80.
Torque Specifications: The Hidden Cause of Arc Faults
One of the most significant updates in recent editions of the National Electrical Code (NEC / NFPA 70) is the strict enforcement of torque specifications. NEC 110.14(D) mandates that terminations must be tightened to the manufacturer’s specified torque using a calibrated instrument.
Why Hand-Tightening Fails
Human grip strength varies wildly. An under-torqued connection creates microscopic air gaps. As current flows, resistance generates heat. This heat causes the metal to expand, and when the load drops, it contracts. Over 5 to 10 years, this thermal cycling loosens the connection further, eventually resulting in a high-resistance fault, severe arcing, and melted panel busbars.
- Standard 15A/20A Receptacles: Typically require 12 to 14 inch-pounds (in-lbs).
- Branch Circuit Breakers (e.g., Eaton BR, Square D QO): Usually require 35 to 40 in-lbs for the main terminal screw.
- Main Service Lugs: Can require upwards of 250 to 400 in-lbs, necessitating a heavy-duty torque wrench.
Actionable Advice: Invest in a dedicated electrical torque screwdriver. The Klein Tools 60004 (approx. $65) or the Ideal 36-088 (approx. $85) are industry standards that click when the exact inch-pound threshold is met.
Termination Methods: Backstab vs. Screw vs. Lever Nuts
How you terminate wires inside a junction box or receptacle dictates the lifespan of the circuit.
The Danger of Backstabbed Connections
Push-in "backstab" terminals on cheap receptacles rely on a small internal leaf spring to grip the wire. While UL-listed, they are notorious for failing in the field. Under heavy continuous loads (like a space heater drawing 12.5A), the internal spring loses tension due to thermal cycling. Always use the side-screw terminals, wrapping the wire clockwise around the screw so the tightening action pulls the loop closed.
The Shift to Lever Nuts
Traditional twist-on wire nuts require significant hand strength and can fail if the installer doesn't strip the wire to the exact length or twist hard enough. In modern 2026 installations, professionals heavily favor WAGO 221 Series lever nuts. The WAGO 221-413 (3-conductor, approx. $0.45 each) provides a gas-tight, vibration-proof connection that accommodates both solid and stranded wire, and features a built-in test port for multimeter probes.
Box Fill Calculations: Preventing Overcrowding
Cramming too many wires into a junction box traps heat and damages insulation during installation. NEC Article 314.16 dictates strict volume allowances. You must calculate the cubic inch (cu in) capacity required for every item in the box:
- 14 AWG Conductor: 2.0 cu in per wire.
- 12 AWG Conductor: 2.25 cu in per wire.
- 10 AWG Conductor: 2.5 cu in per wire.
- All Ground Wires Combined: Counts as 1 wire (based on the largest ground present).
- All Clamps Combined: Counts as 1 wire.
- Device (Receptacle/Switch): Counts as 2 wires (based on the largest wire connected to it).
Example: A standard single-gang box holding two 12/2 NM-B cables (4 current-carrying wires), one combined ground, one internal clamp, and one duplex receptacle requires: (4 x 2.25) + 2.25 (ground) + 2.25 (clamp) + (2 x 2.25 for device) = 18 cubic inches. A standard 2.5-inch deep single-gang box only offers 14 cu in. You must upgrade to a deep box (18+ cu in) to remain code-compliant and safe.
Grounding vs. Bonding: Clearing the Confusion
A frequent and lethal DIY error is confusing grounding with bonding, particularly in subpanels.
- Grounding: Connecting electrical systems to the earth (via ground rods or ufer grounds) to dissipate lightning and high-voltage surges.
- Bonding: Connecting all non-current-carrying metal parts (panel enclosures, conduit, appliance chassis) together to create a low-impedance path back to the source, ensuring the breaker trips instantly during a short circuit.
Critical Rule: The neutral and ground bus bars must be bonded only at the main service disconnect. In any downstream subpanel (e.g., a detached garage or basement addition), the neutral bar must be completely isolated from the panel enclosure and the ground bar. Bonding them in a subpanel creates parallel neutral paths, allowing normal return current to flow over copper grounding wires and metal conduits, creating a severe shock hazard.
AFCI and GFCI Deployment: Modern Code Mandates
Safety technology has evolved past standard thermal-magnetic breakers. To protect against both shock and fire, modern wiring guides must incorporate advanced fault protection.
- GFCI (Ground Fault Circuit Interrupter): Protects humans from shock by detecting current imbalances as small as 4-6mA. Required in all wet/damp locations: kitchens, bathrooms, garages, exteriors, and unfinished basements.
- AFCI (Arc Fault Circuit Interrupter): Protects property from fire by detecting the high-frequency signatures of parallel and series arcing. Required in almost all living spaces, including bedrooms, living rooms, hallways, and closets.
For maximum reliability, utilize Dual Function (DF) breakers or combination-type AFCI breakers at the panel, paired with tamper-resistant (TR) receptacles at the point of use. Products like the Leviton SmartLock Pro Slim GFCI offer superior diagnostics and take up 25% less volume in the junction box, easing box-fill constraints.
Final Verification and Commissioning
Before energizing a newly wired circuit, perform a continuity test on the ground path and verify proper hot/neutral polarity using a receptacle tester (e.g., Gardner Bender GRT-300). Once energized, use an infrared thermal camera (like the FLIR C5) to scan the panel and receptacles under full load. Any termination showing a temperature delta of more than 10°F above ambient indicates a high-resistance connection that must be de-energized and re-torqued immediately. By adhering strictly to these protocols, you ensure your electrical system is not just functional, but fundamentally safe for decades to come.