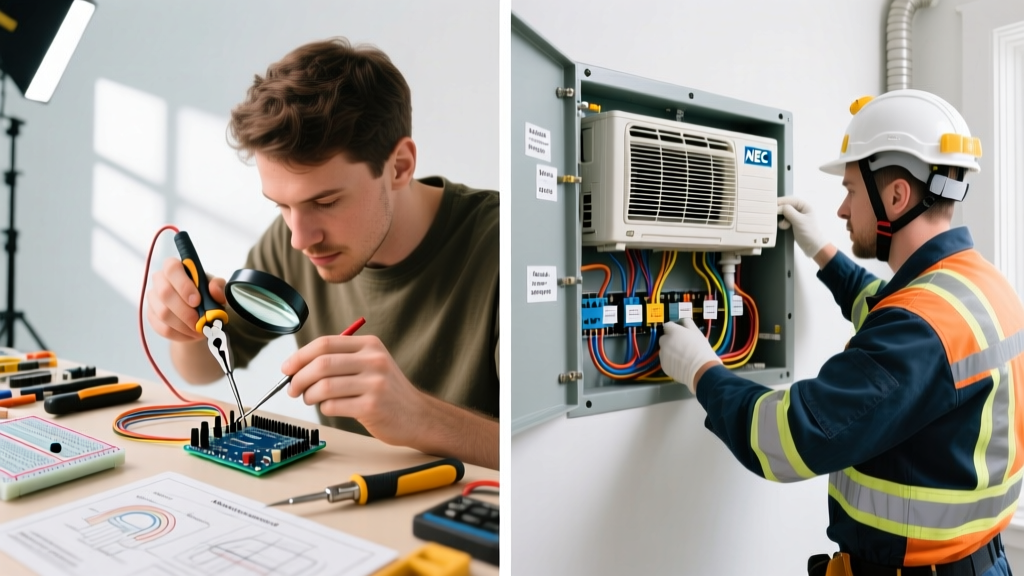

The 240-Volt Reality Check: DIY vs Professional AC Wiring
Installing a new central air conditioning system is a major home upgrade, and the electrical infrastructure supporting it is just as critical as the refrigerant lines. When homeowners look at the air conditioner electrical wiring requirements, the allure of a DIY approach is understandable. Running a 240-volt circuit seems straightforward on paper: pull some wire, install a breaker, and mount a disconnect box. However, the reality of NEC (National Electrical Code) Article 440, manufacturer warranty stipulations, and the unforgiving nature of high-amperage continuous loads paint a very different picture.
In 2026, with updated local amendments adopting stricter ground-fault and arc-fault protections, the margin for error in HVAC electrical work has narrowed significantly. This comprehensive analysis breaks down the technical requirements, real-world costs, and risk factors of wiring an AC condenser yourself versus hiring a licensed electrical contractor.
The Nameplate Dictates Everything: MCA and MOCP Explained
The most common mistake DIYers make is guessing the wire size and breaker amperage based on the tonnage of the AC unit. Professional electricians ignore tonnage rules-of-thumb and look exclusively at the manufacturer’s data plate on the condenser. You must identify two critical values:
- Minimum Circuit Ampacity (MCA): This dictates your wire gauge. For example, an MCA of 24 amps requires a minimum of 10 AWG copper wire, while an MCA of 31 amps mandates an upgrade to 8 AWG copper.
- Maximum Overcurrent Protection (MOCP): This dictates your breaker size. A unit might have an MCA of 24A (requiring 10 AWG wire) but an MOCP of 40A. A DIYer might incorrectly install a 30A breaker based on the wire size, which will nuisance-trip during compressor startup. A pro installs the 40A HACR-rated breaker and relies on the manufacturer's internal overload protection to safeguard the 10 AWG wire.
According to the National Fire Protection Association (NFPA 70), adhering strictly to these nameplate values is not optional; it is a fundamental code requirement for preventing electrical fires and equipment damage.
Material Anatomy: What Actually Goes Into the Circuit?
Before comparing labor costs, we must establish the baseline material requirements for a standard 3-ton to 4-ton residential split system. A complete, code-compliant air conditioner electrical wiring setup includes:
- Double-Pole HACR Breaker: Specifically rated for Heating, Air Conditioning, and Refrigeration equipment to handle the unique magnetic inrush currents of compressor motors.
- Feeder Cable: Typically 10/2 or 8/2 NM-B (Romex) for indoor runs, transitioning to THHN/THWN stranded copper in conduit for underground or exposed exterior runs.
- Outdoor Disconnect Box: A NEMA 3R rated, weatherproof pull-out disconnect or fused switch mounted within sight of the condenser.
- LFMC Whip: Liquid-Tight Flexible Metal Conduit (usually 1/2-inch or 3/4-inch) bridging the gap between the rigid disconnect box and the vibrating condenser unit, preventing wire fatigue.
Cost & Risk Comparison Matrix
Below is a realistic 2026 cost and risk breakdown for running a new 40-amp, 240-volt circuit from a main panel located 50 feet from the exterior condenser pad.
| Factor | DIY Installation | Professional Electrician |
|---|---|---|
| Material Costs | $130 - $180 | $150 - $220 (wholesale markup) |
| Labor / Time | 4 - 8 hours (weekend project) | 2 - 3 hours |
| Total Estimated Cost | $130 - $180 | $450 - $850 |
| Permitting & Inspection | $75 - $150 (often skipped illegally) | Included in project management |
| Warranty Impact | High risk of voiding HVAC warranty | Preserves full manufacturer warranty |
| Liability & Insurance | Personal liability; insurance may deny claims | Fully insured; covered by contractor policy |
The Hidden Costs of the DIY Route
While the upfront savings of $300 to $600 look appealing, the DIY approach to air conditioner electrical wiring carries hidden financial risks that frequently erase any initial savings.
The Warranty Trap
Major HVAC manufacturers, including Trane, Carrier, and Lennox, have tightened their warranty terms. Most 10-year parts warranties explicitly require that the system be installed by a licensed HVAC technician and that all electrical connections be performed in accordance with local codes by qualified personnel. If your compressor fails in year three and the manufacturer’s field rep notices an improperly stripped wire, a missing ground lug, or an unpermitted electrical modification, your claim will be denied. A replacement compressor and filter drier can easily cost $1,800 to $2,500 out of pocket.
Permitting and Inspection Failures
Running a new 240V circuit requires an electrical permit. If you pull the permit as a homeowner, the inspector will scrutinize your panel work. Common DIY inspection failures include:
- Overcrowding the panel (violating NEC working clearance requirements).
- Using the wrong torque on breaker lugs (NEC 110.14(D) now mandates the use of a calibrated torque screwdriver for most terminations).
- Failing to properly seal conduit entries to the disconnect box, allowing moisture ingress.
According to the U.S. Consumer Product Safety Commission (CPSC), improper electrical connections are a leading cause of residential electrical fires, making rigorous inspection non-negotiable.
Real-World Failure Modes: What Goes Wrong?
When we analyze service calls for newly installed AC units that are tripping breakers or suffering premature component failure, specific DIY wiring errors dominate the list:
Expert Insight: The condenser vibrates. Using solid core NM-B wire all the way to the compressor contactor without a flexible LFMC whip transition causes the solid copper to work-harden, crack, and eventually arc inside the unit. This is a catastrophic fire hazard that is entirely preventable with a $30 whip kit.
1. Undersized Disconnect Fuses
Many DIYers install a fused disconnect box and populate it with standard time-delay fuses that do not match the MOCP. If the MOCP is 40A, but the DIYer installs 30A fuses 'to be safe,' the fuses will blow every time the compressor experiences a high-head-pressure startup during a 100-degree heatwave.
2. The Shared Neutral Disaster
While a standard split-system condenser only requires two hot legs and a ground (no neutral), some advanced smart-thermostats or specialized communicating outdoor units require a 120V control circuit. DIYers attempting to share a neutral from an existing 120V outdoor receptacle circuit to power the AC control board frequently create unbalanced loads and ground loops, destroying the $400 main control board.
When Does DIY Make Sense?
There is a narrow window where DIY air conditioner electrical wiring is practical and relatively safe. If the existing 240V circuit, breaker, and wire are already correctly sized for the new unit's MCA and MOCP, a homeowner with intermediate electrical skills can safely perform the low-voltage control wiring (thermostat to air handler) and swap the outdoor LFMC whip and disconnect box.
However, if your project requires opening the main service panel, installing a new double-pole breaker, routing new NM-B through finished walls, or upgrading the service ground, the risk-to-reward ratio heavily favors hiring a professional.
Frequently Asked Questions (FAQ)
Can I use a standard 2-pole breaker for my AC?
You must use a breaker specifically marked as HACR (Heating, Air Conditioning, and Refrigeration) rated. While most modern standard breakers from Square D, Eaton, and Siemens carry the HACR designation, older breakers may not. Using a non-HACR breaker can result in nuisance tripping due to the magnetic inrush current of the compressor motor.
Does my outdoor AC disconnect need to be fused?
Not necessarily. If the breaker in your main panel matches the exact MOCP listed on the condenser nameplate, a simple pull-out (non-fused) disconnect is perfectly legal and often preferred, as it eliminates a redundant point of failure. If the panel breaker is larger than the MOCP (which is rare but possible in older retrofits), a fused disconnect is required to protect the branch circuit.
How deep do I need to bury the electrical conduit for my AC?
According to the Department of Energy guidelines and NEC Table 300.5, rigid metal conduit (RMC) must be buried at least 6 inches deep, PVC conduit requires 18 inches of cover, and direct-burial cable requires 24 inches. Always call 811 before digging to avoid striking underground utilities.
Final Verdict
When evaluating air conditioner electrical wiring, the DIY route offers marginal short-term savings at the expense of long-term reliability, warranty protection, and safety. The complexities of MCA/MOCP calculations, torque specifications, and vibration-resistant conduit transitions require the tools and experience of a licensed electrician. For a seamless, code-compliant installation that protects your multi-thousand-dollar HVAC investment, professional installation is the only logical choice for new circuit runs.