
Why Your Renovation Hinges on the Wiring Harness
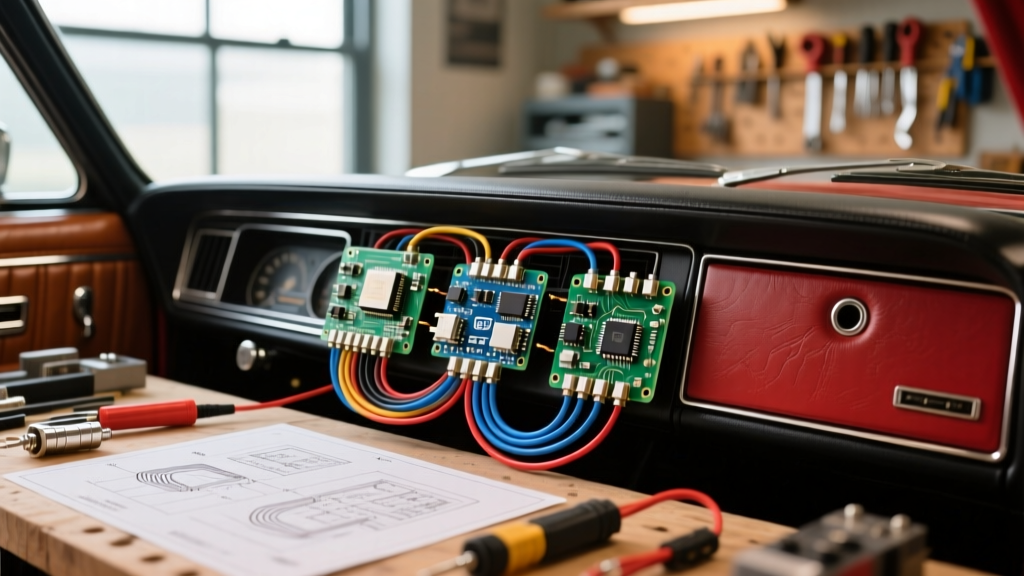
When planning a classic car restomod, an EV swap, or a full custom build in 2026, the electrical system is often the final frontier that separates a reliable driver from a trailered show car. Factory harnesses from the 1960s and 1970s were designed for minimal electrical loads: a few incandescent bulbs, a basic heater blower, and a points-style ignition. Today’s renovations demand high-output alternators, electronic fuel injection (EFI), electric power steering (EPS), and high-draw LED lighting. Attempting to splice modern accessories into brittle, 50-year-old cloth-insulated or early PVC wiring is a primary cause of automotive electrical fires. According to the Specialty Equipment Market Association (SEMA), electrical faults remain one of the top reasons classic cars fail to finish long-distance touring events. Upgrading your electrical wiring harnesses automotive professionals rely on requires meticulous planning, precise load calculation, and an understanding of modern wire chemistry.
Direct-Fit vs. Universal Harnesses: Making the Choice
The first major decision in your renovation planning phase is selecting between a direct-fit (OEM-style replacement) harness and a universal (customizable) harness. Both American Autowire and Painless Performance dominate this space, but they serve different build philosophies.
| Feature | Direct-Fit (e.g., American Autowire Classic Update) | Universal (e.g., Painless Performance 21104) |
|---|---|---|
| Pre-Terminated Ends | Yes, OEM-specific bulkhead and dash connectors | No, unterminated leads for custom crimping |
| Firewall Routing | Follows exact factory bulkhead pass-through | Requires custom firewall grommet and hole drilling |
| Circuit Customization | Limited to factory-style layouts (with modern fuses) | Highly flexible; circuits can be assigned to any accessory |
| Ideal Build Type | Restorations, mild restomods retaining stock dash | Custom chassis, EV swaps, tube-chassis race cars |
| Average Cost (2026) | $650 - $950 | $350 - $550 |
Decoding Wire Standards: SAE J1128 and TXL Insulation
Not all copper wire is created equal. In the automotive renovation space, you must specify wire that meets the SAE J1128 standard, specifically TXL (Thin-wall, Cross-linked) or GXL (General, Cross-linked). Avoid standard PVC (Polyvinyl Chloride) wire sold in big-box hardware stores. PVC insulation melts at approximately 105°C (221°F) and becomes brittle when exposed to under-hood UV and ozone. Cross-linked polyethylene (XLPE) insulation, used in TXL wire, withstands continuous temperatures up to 125°C (257°F) and resists chemical degradation from oil and coolant.
The Diameter Advantage of TXL
TXL insulation is significantly thinner than GXL or PVC. A 12 AWG TXL wire has an outer diameter of roughly 0.095 inches, compared to 0.115 inches for standard PVC. When bundling a 22-circuit harness, this reduction in diameter means your main harness trunk will be up to 30% thinner. This allows the entire harness to pass through a standard 3-inch firewall grommet without requiring you to cut massive, structural-weakening holes in your classic car’s firewall.
Circuit Load Mapping and Relay Integration
A common failure mode in amateur restomods is the "melted ignition switch" or "burnt headlight switch." This occurs when builders route high-amperage loads directly through dashboard switches. Your renovation plan must include a comprehensive load map and a relay strategy.
- Identify High-Draw Components: Electric radiator fans (15A-25A), EFI fuel pumps (10A-15A), and H4 Halogen headlights (55W-65W each) must never pass through a standard toggle or OEM dash switch.
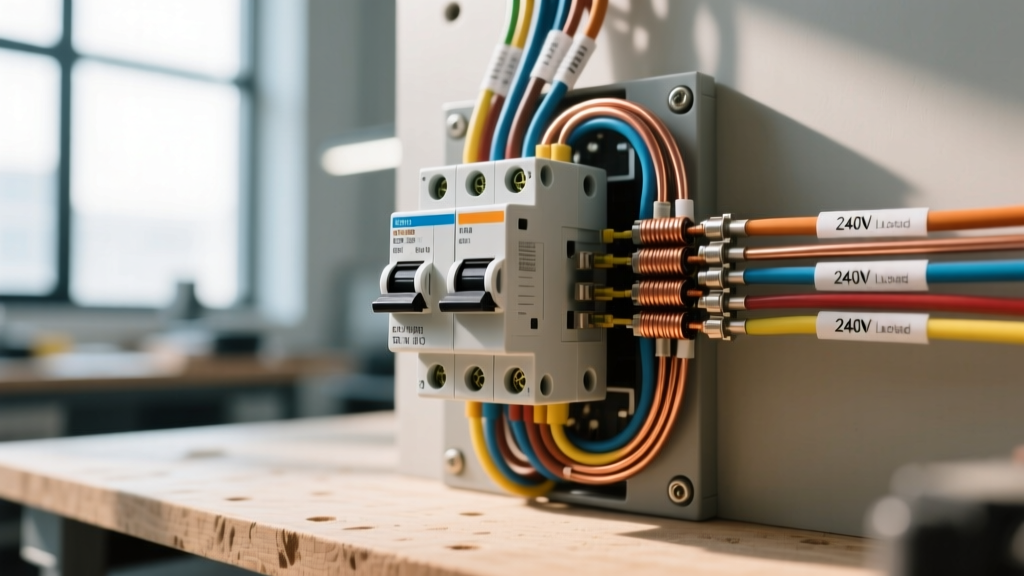
- Implement Bosch-Style Relays: Use standard 5-pin ISO mini relays (Terminals 30, 85, 86, 87, 87a). The dash switch only carries the low-amperage trigger signal (less than 0.5A) to terminal 86, while the heavy current flows directly from the battery (via a fused distribution block) through terminal 30 to the component at terminal 87.
- Calculate Voltage Drop: Running 14 AWG wire over 15 feet with a 10A load results in a voltage drop of roughly 0.5V. For sensitive EFI ECU sensors or high-output ignition coils, a 0.5V drop can cause erratic engine behavior. Always use 10 AWG or 8 AWG for main power feeds to the ECU and fuel pump relays.
Pro-Tip for EFI Swaps: Never share a ground point with your EFI fuel pump and your stereo amplifier. High-frequency noise from the pump motor will travel through the shared ground plane and induce static or trigger false knock-sensor readings in your ECU. Always run a dedicated 10 AWG ground wire from the fuel pump directly to the vehicle chassis or battery negative terminal.
Routing, Firewall Pass-Throughs, and Failure Modes
How you route the harness is just as critical as the circuits it contains. The engine bay is a hostile environment characterized by extreme heat cycles, vibration, and moving suspension components.
Avoiding the "Big Three" Harness Killers
- Chafing at the Firewall: If a harness rubs against the sharp, stamped steel edge of a firewall hole, vibration will wear through the insulation in a matter of weeks, causing a dead short. Always use a ribbed rubber firewall grommet or a CNC-machined billet aluminum firewall pass-through plate with a neoprene seal.
- Exhaust Proximity: Maintain a minimum 6-inch clearance between any wiring loom and exhaust headers. If routing near the transmission tunnel where exhaust pipes pass, wrap the harness in high-silica fiberglass sleeving (rated for 1200°F) or use adhesive-backed heat shields.
- Steering Column Interference: Universal harnesses often drape over the steering column. If the column features a manual tilt mechanism or a collapsible U-joint, the harness can become snagged or pinched. Always secure the dash harness to the underside of the dash frame using stainless steel Adel clamps (cushion clamps) every 8 to 12 inches.
Crimping and Termination: The Open-Barrel Standard
Abandon vinyl-insulated butt splices and closed-barrel crimpers. Modern automotive harness building relies on open-barrel terminals (like the Delphi Weather-Pack or Metri-Pack series) and Deutsch DT connectors for engine bay components. Open-barrel crimping creates a gas-tight mechanical bond between the copper strands and the terminal. When executed correctly with a ratcheting open-barrel crimper, the copper strands will actually fracture before the crimp pulls apart. Furthermore, always seal your terminations using adhesive-lined, dual-wall heat shrink (such as 3M EPS300). The inner meltable adhesive layer flows into the wire strands, creating a waterproof seal that prevents capillary action from drawing moisture under the insulation.
2026 Budgeting and Timeline Estimates
When planning your renovation budget, allocate sufficient funds for the "hidden" wiring components that don't come in the main harness box.
- Main Harness Kit: $450 - $850
- High-Current Distribution Block & Mega Fuses: $85 - $120
- Relays, Sockets, and Pigtails (Qty 10-15): $90 - $150
- TXL Wire Spools (for custom extensions) & Loom: $150 - $250
- Professional Crimping Tools (Delphi/Deutsch): $120 - $300
Timeline: For a competent DIY builder working weekends, expect the teardown, circuit mapping, harness routing, and final termination to take between 40 and 60 hours. Rushing the labeling and circuit mapping phase is the most common cause of a "weekend wiring job" turning into a month-long diagnostic nightmare.
Frequently Asked Questions
Can I reuse my factory fuse block?
No. Factory glass-tube or early blade fuse blocks rely on tension friction that degrades over decades, leading to high resistance and localized melting. Always upgrade to a modern ATO/ATC blade fuse panel with a solid copper internal busbar and secure screw-down or positive-locking fuse retention.
Do I need a battery disconnect switch?
Yes, especially for race or trailer-queen builds. Installing a marine-grade or NHRA-approved external battery kill switch on the rear bulkhead not only satisfies safety tech-inspection requirements but also prevents parasitic drain from modern ECUs and alarm systems when the car is stored.
What is the best wire color coding strategy?
While there is no strict legal code, industry standard practice dictates: Red for constant 12V+ battery feeds, Black for chassis grounds, Yellow for switched/ignition 12V+, and Blue/Green for lighting and accessory triggers. Consistently documenting your color codes in a build binder will save hours of troubleshooting a decade down the road.