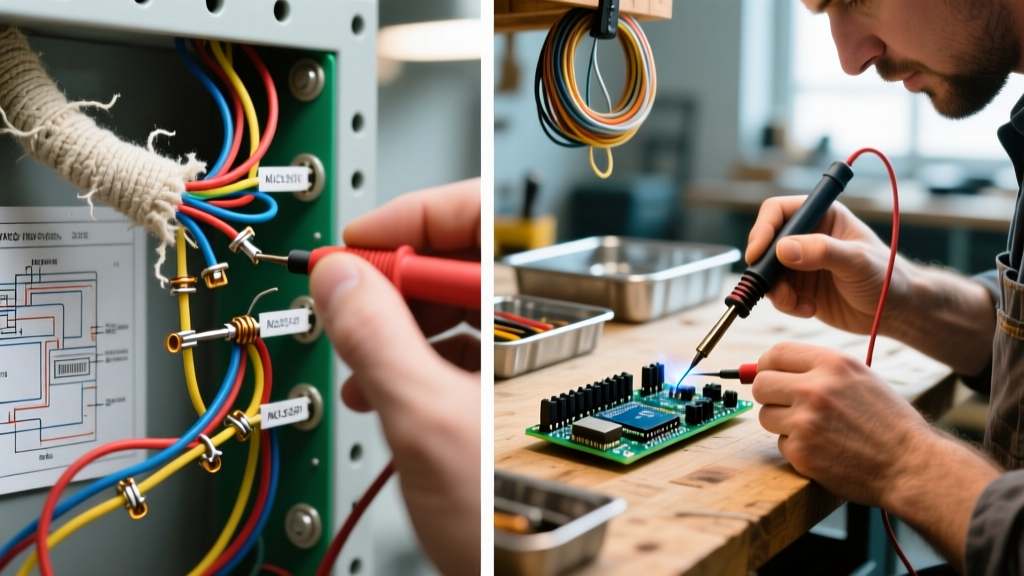

The Hidden Liability of Concealed Electrical Work
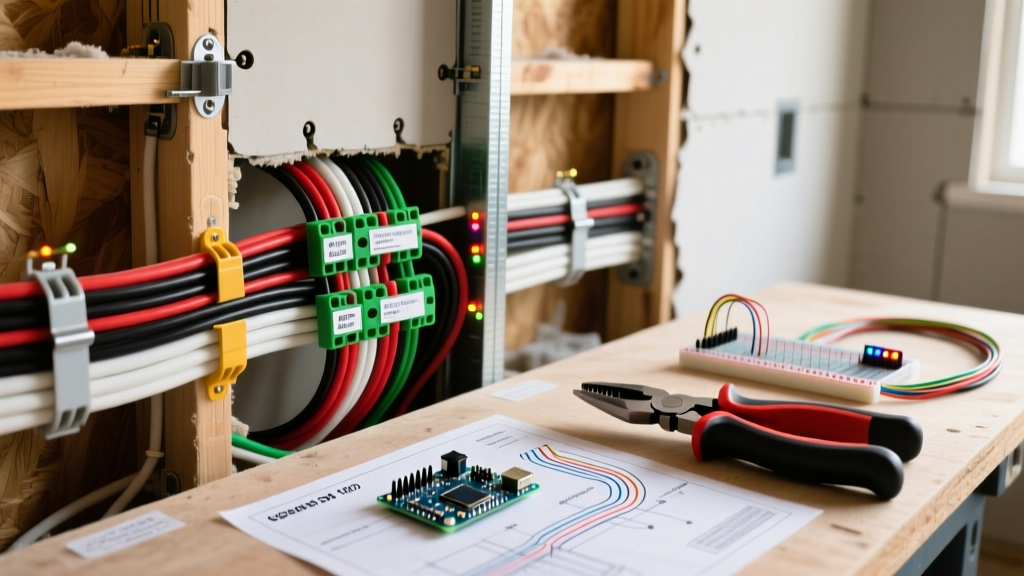
Once the drywall goes up, the electrical rough-in becomes invisible. For electrical contractors, remodelers, and homeowners, this transition from exposed framing to sealed walls introduces massive liability. If a drywall hanger drives a 2-inch screw through a 12/2 NM-B cable, the fault may not trip the breaker immediately, creating a hidden arc-fault hazard. This is precisely why taking detailed pictures of electrical wiring during the pre-drywall phase is no longer just a best practice—it is a critical component of inspection compliance, liability protection, and future maintenance.
In the modern construction landscape of 2026, municipalities and insurance providers increasingly demand photographic proof of code adherence. According to the International Association of Electrical Inspectors (IAEI), remote inspection programs and digital documentation logs have become standard in over 40% of metropolitan jurisdictions. Understanding how to properly document your wiring ensures you pass inspections, protect your business from fraudulent claims, and provide a permanent as-built map for the property.
Pre-Drywall Phase: Capturing the Rough-In
The rough-in inspection is the most critical checkpoint in any wiring project. While the municipal inspector will physically walk the site, they cannot be held liable for damage that occurs after they leave but before the drywall is hung. Photographic documentation bridges this gap.
Inspector's Insight: "We see it constantly. An installer does a beautiful, code-compliant rough-in. We pass it. Then the insulation or drywall crew damages a cable or knocks a wire out of a box. When the homeowner drills a hole for a TV mount three years later and hits a live wire, the electrician gets blamed unless they have timestamped pictures proving the installation was pristine and protected when they left the site."
Essential Shots for the Rough-In Inspection
Do not just snap random photos of walls. Systematic documentation requires specific angles and focal points. Follow this checklist for every room:
- Wall Elevation Shots: Stand in the center of each wall and take a straight-on photo showing the relationship between the studs, the electrical boxes, and the drilled holes.
- Stud Hole Close-Ups: Zoom in on every bored hole in the framing. This proves the hole is centered and maintains the required 1.25-inch clearance from the edge of the stud.
- Nail Plate Verification: Where cables must pass closer than 1.25 inches to the edge of a framing member, NEC Article 300.4(A)(1) requires a steel nail plate (such as the Gardner Bender NP-150). Take a macro photo showing the plate securely nailed over the wire.
- Ceiling Joist Routing: Capture the overhead runs, ensuring cables are run through bored holes or secured within 8 inches of boxes and at intervals not exceeding 4.5 feet (NEC 334.30).
- Service Panel Internals: Before the deadfront cover is installed, photograph the main panel. Prove that neutrals and grounds are properly separated in subpanels, and that the bending radius of large SER cables meets code.
What Inspectors Look for in Wiring Photographs
When submitting digital logs for remote compliance checks or defending your work during a post-installation audit, inspectors and forensic electricians look for specific code markers. The table below outlines common NEC violations and the exact photographic evidence required to prove compliance.
| NEC Article | Compliance Requirement | Required Photographic Evidence |
|---|---|---|
| 300.4(A)(1) | 1.25-inch clearance from framing edge or steel nail plate installation. | Close-up of nail plate with visible cable behind it, showing proper nailing. |
| 110.12 | Mechanical execution of work (neat and workman-like). | Wide shots showing cables bundled neatly, not draped randomly or stapled on edge. |
| 314.17(C) | Nonmetallic boxes must have cable clamped within 8 inches. | Clear view of the Romex entering the blue plastic box with the internal clamp engaged. |
| 250.64 | Grounding electrode conductor routing and protection. | Continuous shot of the bare copper ground wire from the panel to the ground rod/clamp. |
| 312.6 | Wire bending space in cabinets and cutout boxes. | Interior panel shot showing adequate spacing, no overcrowded or kinked conductors. |
Best Practices for Taking Code-Compliant Wiring Pictures
A blurry, dark photo taken with a smartphone is useless in a liability dispute. To ensure your pictures of electrical wiring hold up in court or satisfy a strict municipal building department, follow these professional field techniques.
1. Use Geotagging and Timestamp Apps
Standard camera rolls allow users to alter metadata. Instead, use construction documentation software like CompanyCam, Fieldwire, or SiteCam. These applications lock the GPS coordinates, timestamp, and user ID to the image file at the moment of capture, making the photos legally defensible. In 2026, many building departments integrate directly with these APIs to pull your rough-in photos into the official permit file.
2. Provide Scale and Context
A close-up of a wire inside a bored hole means nothing if the viewer cannot gauge the distance to the edge of the stud. Always include a recognizable scale reference. Keep a bright yellow 25-foot tape measure extended across the stud, or place a standard tool—like a Klein Tools 11063 wire stripper or a 6-inch torpedo level—next to the nail plate. This instantly communicates dimensions to anyone reviewing the photo later.
3. Control the Lighting
Pre-drywall framing is notoriously dark, especially in interior hallways and basements. Do not rely on the harsh, directional LED flash built into your phone, which creates deep shadows that hide loose connections or missing staples. Invest in a portable 2,000-lumen LED work light (such as the Milwaukee M18 ROCKET) and bounce it off the ceiling or an adjacent wall to create soft, even illumination that reveals the true condition of the wiring.
4. Capture the "Before" and "After" of Repairs
If you are doing a remodel and discover damaged wiring left by a previous contractor, photograph the hazard before you touch it. Then, photograph the corrected splice or new cable run. This protects you from being blamed for pre-existing code violations when the home is sold or inspected in the future.
Post-Installation: Thermal Imaging and Smart Panels
Documentation does not end when the drywall goes up. For commercial projects and high-end residential builds, thermal imaging has become a standard compliance deliverable. Using a tool like the FLIR E8-XT, electricians can scan the main service panel under full load and capture thermal pictures of the breakers and neutral bars. These pictures prove that no connections are loose (which would show up as hot spots exceeding 120°F) and that the panel is balanced.
Furthermore, the National Fire Protection Association (NFPA) continually updates the National Electrical Code (NEC) to address new technologies. With the rise of smart panels and energy monitoring systems, taking pictures of the data wire routing (like Cat6 or RS-485 cables) alongside the high-voltage wiring is essential to prove that low-voltage and line-voltage conductors are separated by the required physical barriers to prevent signal interference and induction hazards.
Frequently Asked Questions (FAQ)
Can pictures of electrical wiring replace an in-person rough-in inspection?
In most jurisdictions, no. The International Code Council (ICC) has established guidelines for remote inspections, but these typically require live video walks with the inspector rather than static photos. However, some rural municipalities with severe inspector shortages do allow comprehensive, geotagged photo uploads via portals like ProjectDox in lieu of a physical visit for minor remodels.
How long should I keep pictures of a home's electrical rough-in?
You should retain the digital photo archive for the life of the structure, or at minimum, the duration of your liability insurance tail (often 10 years). Store the images in a cloud server organized by permit number and property address. When a homeowner calls you five years later to install a new TV or smart home hub, having the exact map of where the wires run inside the walls saves hours of exploratory cutting and stud-finding.
Do I need to photograph low-voltage wiring too?
Absolutely. While low-voltage wiring (Ethernet, security, speaker wire) does not carry the same fire hazard as 120V/240V line voltage, it is governed by NEC Article 725 and Article 800. Photographing your low-voltage runs proves that you maintained the required separation distances from high-voltage cables and did not staple the data cables too tightly, which can crush the dielectric insulation and ruin network speeds.
Final Thoughts on Photographic Compliance
Taking pictures of electrical wiring is an investment in your professional reputation. It takes roughly 15 to 20 minutes to properly document a 2,500-square-foot home during the rough-in phase. Compared to the $500+ cost of opening up drywall to troubleshoot a mystery fault, or the catastrophic cost of a liability lawsuit stemming from an undocumented nail-plate omission, systematic photographic documentation is the cheapest insurance policy an electrical contractor can buy. Treat your camera with the same respect as your wire strippers and voltage testers—it is an essential tool of the modern, code-compliant trade.