
The True Cost and Risk Analysis of Home Electrical Projects
With licensed electrician rates climbing to an average of $95 to $165 per hour in 2026, many homeowners are heavily incentivized to tackle electrical wiring in homes as a DIY endeavor. However, electricity is unforgiving. A reversed neutral or an under-torqued lug doesn't just fail a building inspection; it creates a hidden thermal hazard that can smolder inside a wall cavity for months before igniting. According to the U.S. Fire Administration, electrical malfunctions remain one of the leading causes of residential fires, resulting in billions of dollars in property damage annually.
This guide strips away the generic advice and provides a rigorous, data-driven comparison between DIY execution and professional installation. We will analyze actual material costs, the hidden expenses of permitting, specific failure modes, and a definitive framework to help you decide which projects belong in your toolbox and which require a licensed contractor.
The Financial Reality: DIY Materials vs. Professional Installation
The most common misconception among DIYers is that the cost of an electrical project is purely the sum of its raw materials. While it is true that a spool of Southwire 12/2 NM-B (Romex) costs roughly $0.45 to $0.60 per foot at retail, professionals source from wholesale supply houses like City Electric Supply or CED, often securing 15% to 25% volume discounts on breakers, panels, and wire. However, the labor markup is where professionals generate their margin—and where DIYers see their primary savings.
| Project Scope (2026 Estimates) | DIY Material Cost | Pro Installed Cost | Time Investment | Permit Required? |
|---|---|---|---|---|
| 15A Receptacle Circuit (50ft run) | $45 - $75 | $350 - $550 | 3 - 5 Hours | Yes |
| 50-Amp EV Charger Hardwire | $120 - $180 | $650 - $1,200 | 4 - 7 Hours | Yes |
| 100-Amp Subpanel Installation | $350 - $500 | $1,400 - $2,800 | 8 - 12 Hours | Yes (Strict) |
| 200-Amp Main Service Upgrade | $800 - $1,200 | $2,800 - $4,500+ | 12 - 18 Hours | Yes (Utility Coord.) |
| Swap 15A/20A Receptacles (10-pack) | $30 - $50 | $250 - $400 | 2 - 3 Hours | No (Like-for-like) |
The Hidden DIY Costs: If you choose the DIY route, you must factor in the cost of specialized code-compliant tools. For example, NEC 110.14(D) mandates the use of calibrated torque tools for terminating connections. A professional-grade torque screwdriver, such as the Klein Tools 32500 or Milwaukee 48-22-8200, costs between $110 and $140. Furthermore, local municipalities often charge $50 to $250 for electrical permits, and some jurisdictions require homeowners to pass a basic electrical competency exam or sign an affidavit of primary residence before allowing them to pull their own permits.
Code Compliance and the Inspection Gauntlet
When evaluating electrical wiring in homes, adherence to the National Electrical Code (NEC) is not optional; it is the baseline for safety and insurance validity. Electrical inspectors are notoriously more scrutinizing of DIY work than professional work, often assuming the homeowner may have cut corners.
Common Code Traps for DIYers
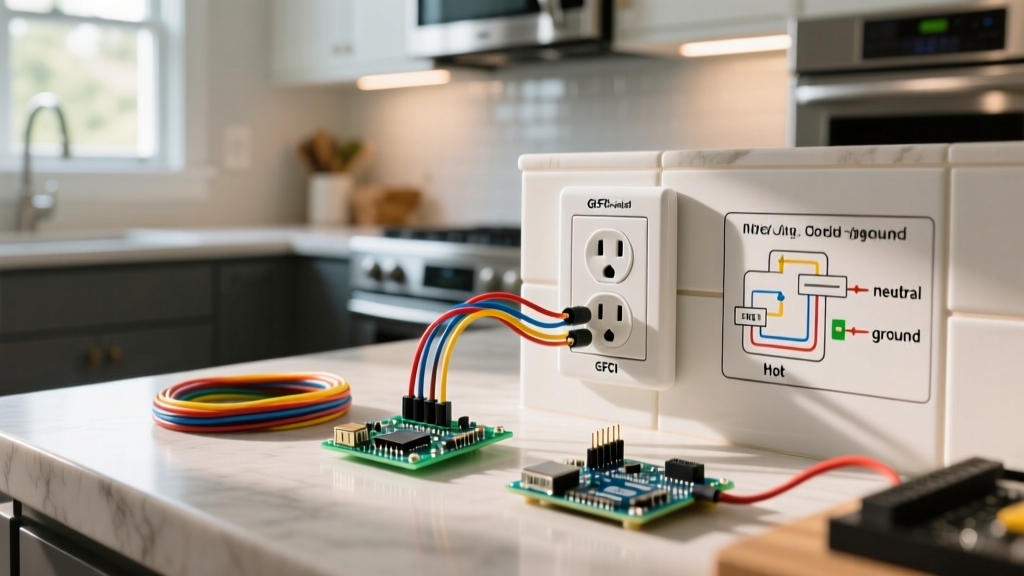
- AFCI and GFCI Mandates: Modern code requires Arc-Fault Circuit Interrupter (AFCI) protection for almost all living spaces, and Ground-Fault Circuit Interrupter (GFCI) protection for damp locations. Upgrading a legacy panel to accommodate Eaton BR or Square D QO dual-function (CAFCI/GFCI) breakers costs $45 to $65 per breaker. DIYers often attempt to use pigtail GFCI receptacles to save money, which can lead to nuisance tripping and code violations if not mapped correctly.
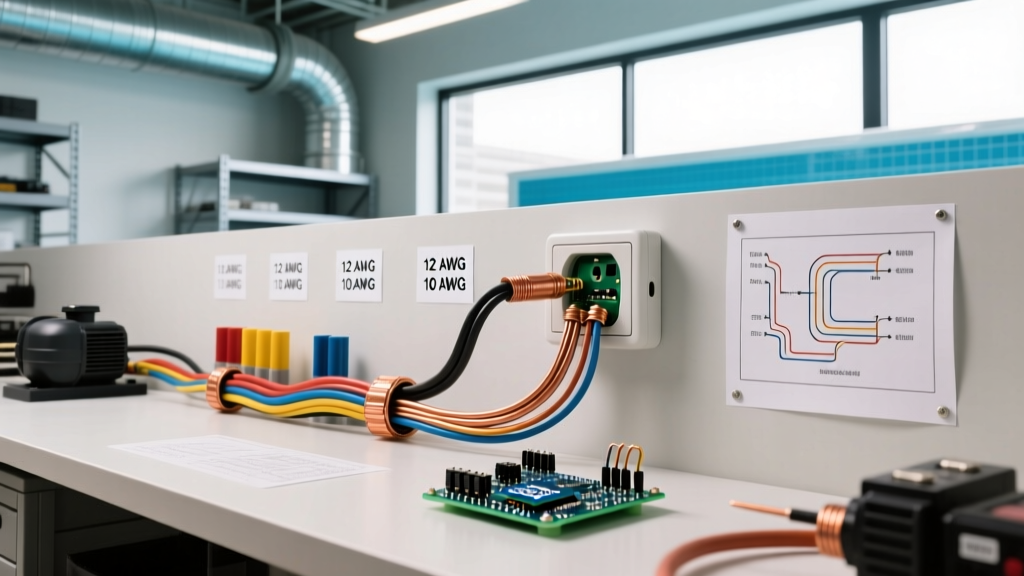
- Box Fill Calculations (NEC 314.16): Overcrowding a junction box or device box with 12 AWG wire is a frequent DIY mistake. Each 12 AWG conductor counts as 2.25 cubic inches of box volume. Cramming four cables into a standard 18-cubic-inch plastic nail-on box violates code and creates severe heat dissipation issues.
- Nail Plate Protection (NEC 300.4): When drilling through wooden studs to run NM-B cable, the hole must be at least 1.25 inches from the edge of the stud. If you are forced to drill closer to the edge due to structural constraints, you must install a steel nail plate to prevent drywall screws from piercing the wire later.
Critical Failure Modes: When DIY Goes Wrong
Professional electricians are trained to avoid specific failure modes that frequently plague amateur installations. Understanding these edge cases is vital before you strip your first wire.
Expert Insight: The most dangerous DIY electrical errors are the ones that don't trip a breaker immediately. A loose neutral connection won't stop your outlet from working, but it will cause electrical arcing, generating temperatures exceeding 1,000°F inside the wall cavity over time.
1. Conductor Nicking and Thermal Hotspots
Using the wrong gauge wire stripper or using a utility knife to slit Romex sheathing often results in deep nicks in the copper conductor. This reduces the cross-sectional area of the wire at that exact point, increasing electrical resistance. Under a heavy load (like a space heater or microwave), this high-resistance point becomes a thermal hotspot, melting the PVC insulation and eventually causing a short circuit. Professionals use dedicated cable ripplers (like the Klein 44100) and precision wire strippers to ensure the copper remains pristine.
2. Under-Torqued and Over-Torqued Lugs
Tightening a breaker terminal 'until it feels tight' is a recipe for disaster. Under-torquing causes micro-movements and arcing due to thermal expansion and contraction. Over-torquing strips the aluminum threads on the breaker lug or snaps the screw head off. The NEC now strictly requires torque values to match the manufacturer's specifications (usually printed on the breaker label, typically between 20 to 45 inch-pounds for standard branch circuits).
3. The 'Backstab' Connection Hazard
Many cheap 15A receptacles feature push-in 'backstab' terminals. While technically legal for 14 AWG wire, these spring-loaded connections are notorious for losing tension over time, leading to high-resistance arcing. The Electrical Safety Foundation International (ESFI) and most master electricians strongly advocate for using the side-screw terminals or, better yet, screw-to-clamp receptacles (like the Leviton T5262) which allow for faster, more secure terminations without the risk of backstab failures.
The Decision Framework: Green, Yellow, and Red Zones
To help you navigate your next home improvement, we have categorized common electrical tasks based on risk, code complexity, and required expertise.
🟢 Green Zone: Safe for Competent DIYers
These projects involve like-for-like replacements or low-voltage integrations that do not alter the fundamental branch circuit architecture.
- Swapping out standard duplex receptacles and toggle switches for smart devices (e.g., Lutron Caseta or Kasa smart switches).
- Replacing existing hardwired light fixtures or ceiling fans (assuming the junction box is properly rated and secured for the fan's weight).
- Installing low-voltage landscape lighting, doorbell transformers, or smart home sensor wiring.
🟡 Yellow Zone: Proceed with Extreme Caution (Permits Required)
These projects require running new wire, calculating loads, and passing municipal rough-in and trim-out inspections. Only attempt these if you have a firm grasp of NEC box-fill calculations, grounding/bonding principles, and local amendments.
- Running a new 20A dedicated circuit to a kitchen island or garage workbench.
- Installing a subpanel in a detached shed or finished basement (requires understanding of neutral/ground separation in subpanels).
- Hardwiring a Level 2 EV charger (requires precise voltage drop calculations if the run exceeds 100 feet).
🔴 Red Zone: Hire a Licensed Professional
The financial risk, life-safety hazard, and utility coordination required for these projects make them entirely unsuitable for DIY. Furthermore, DIY errors here will almost certainly void your homeowner's insurance policy in the event of a fire.
- Main Service Panel Upgrades: Working upstream of the main breaker means the bus bars remain energized at lethal utility voltages even when the main breaker is OFF. Only utility workers or licensed pros with proper PPE (arc flash suits and insulated gloves) should perform this work.
- Knob-and-Tube or Aluminum Wire Remediation: Older homes with legacy wiring require specialized connectors (like Alumiconn or COPALUM crimps) and deep knowledge of historical electrical systems. Standard wire nuts will cause aluminum wire to oxidize, creep, and catch fire.
- Trenching and Underground Feeder (UF-B) Runs: Burying wire requires strict adherence to depth requirements (usually 24 inches for direct burial, 18 inches for PVC conduit) and warning tape placement. Hitting a gas or water line while trenching is a catastrophic risk.
Final Verdict: Where to Draw the Line
When managing electrical wiring in homes, the DIY route offers substantial financial savings on branch circuit extensions and device swaps, provided you invest in the proper torque tools, wire strippers, and code books. However, the moment a project touches the main service entrance, requires complex load calculations, or involves legacy wiring systems, the calculus shifts entirely. The $1,500 you save by DIYing a main panel upgrade is entirely negated if an inspector red-tags your home, forces a tear-out, or worse, if a termination failure results in a structural fire. Know your limits, respect the code, and when in doubt, hire a master electrician.