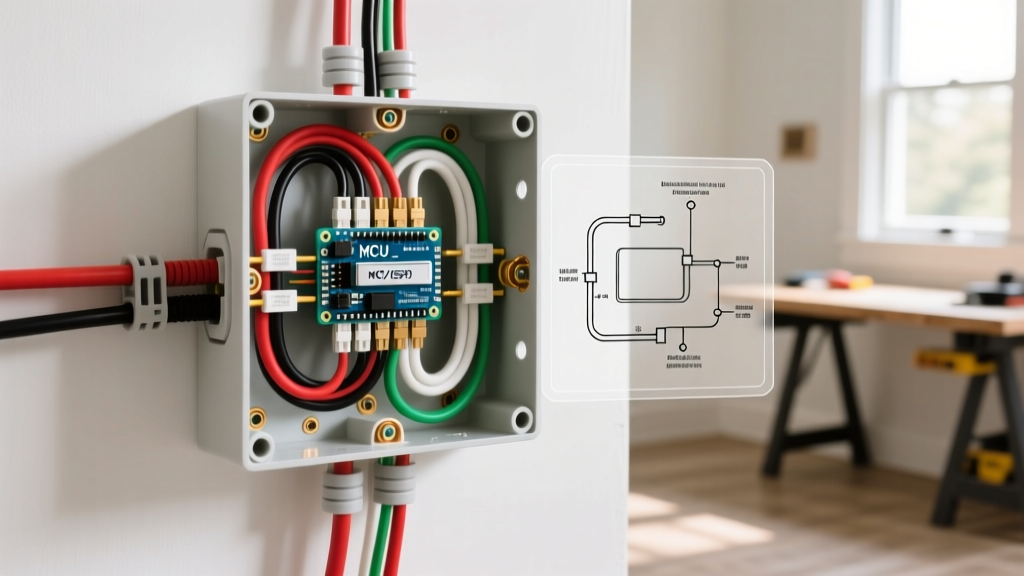

The Hidden Backbone of Your Remodel: Why Junction Box Planning Matters
When you tear down drywall during a home renovation, you inevitably uncover the electrical sins of the past. Unboxed splices, buried junctions, and overloaded circuits are incredibly common in homes built before 1980. Proper electrical junction box wiring is not just about making the new circuit work; it is about ensuring the entire splice point remains safe, accessible, and compliant with modern fire codes. In 2026, with the widespread adoption of the latest National Electrical Code (NEC) cycles across most municipalities, inspectors are cracking down heavily on box fill violations and inaccessible splices.
Planning your junction box layout before you pull a single foot of Romex or THHN wire will save you from failed rough-in inspections and the nightmare of cutting open freshly finished drywall. This guide breaks down the exact mathematics, product selections, and execution strategies required for renovation-grade junction box wiring.
Renovation Rule #1: According to NEC Article 314.29, all junction boxes must remain accessible without removing any part of the building structure or finish. You cannot bury a junction box behind drywall, wood paneling, or fixed cabinetry. If you must extend a circuit in a closed wall, you must use specialized behind-the-wall splicing kits rated for the purpose, or install a blank cover plate on the finished wall.
Sizing and Box Fill Calculations (The Math That Fails Inspections)
The most common reason a renovation fails its electrical rough-in inspection is box fill overcrowding. Every wire, clamp, and device inside a box generates heat. If the box is too small, that heat cannot dissipate, leading to melted insulation and arc faults. NEC Article 314.16 dictates strict volume allowances based on wire gauge.
NEC Box Fill Volume Allowances per Conductor
| Wire Gauge (AWG) | Volume Allowance per Conductor | Typical Renovation Use Case |
|---|---|---|
| 14 AWG | 2.0 cubic inches | 15A Lighting circuits |
| 12 AWG | 2.25 cubic inches | 20A Receptacle / Kitchen circuits |
| 10 AWG | 2.5 cubic inches | 30A Dryer / HVAC equipment |
| 8 AWG | 3.0 cubic inches | 40A Range / Subpanel feeds |
| 6 AWG | 5.0 cubic inches | 50A+ Heavy equipment / Spa feeds |
Real-World Renovation Calculation Example
Imagine you are remodeling a kitchen and need to daisy-chain a 20A receptacle circuit using 12/2 NM-B (Romex) cable. You have two cables entering a single junction box (one feed, one load), and you are also adding a grounding pigtail and a wire connector.
- Current-Carrying Conductors: 4 wires (2 blacks, 2 whites) × 2.25 cu in = 9.0 cu in
- Grounding Conductors: All bare grounds count as a single allowance × 2.25 cu in = 2.25 cu in
- Internal Clamps: If using plastic old-work boxes, clamps are outside the box (0 cu in). If using metal boxes with internal clamps, add 1 allowance = 2.25 cu in
- Total Minimum Volume Required: 11.25 cubic inches (for plastic old-work) or 13.5 cubic inches (for metal).
While a standard 14 cu in "pancake" box might technically pass this math, it will be physically impossible to fold the stiff 12 AWG wires into it without damaging the insulation. Always upsizing your junction boxes by at least 20% during a remodel is a best practice. A Carlon B618R-UPC (18 cubic inch old-work box, retailing around $2.89 in 2026) provides ample room for clean, stress-free wire folding.
Choosing the Right Box for Renovation Scenarios
Renovations rarely offer the luxury of open studs everywhere. You will frequently need to retrofit boxes into finished walls or ceilings. Selecting the correct chassis is critical for structural integrity and code compliance.
Retrofit Box Comparison Matrix
| Product / Type | Best Application | Weight Rating | Pros & Cons |
|---|---|---|---|
| Carlon SC200RR (Round Old-Work) | Wall junctions, light fixtures under 50 lbs | 50 lbs | Pro: Easy flip-clamp installation. Con: Shallow depth limits wire count. |
| Arlington FB900 (Fan-Rated Retrofit) | Ceiling fans, heavy chandeliers | 70 lbs | Pro: Braces directly to joist through drywall. Con: Requires 4-inch hole saw. |
| Madison Smart Box (Adjustable) | Thick walls, plaster & lath, tile backsplashes | 50 lbs | Pro: Depth adjusts from 1/4" to 1-1/4". Con: Higher cost (~$4.50 per box). |
Metal vs. Non-Metallic (Plastic) Boxes in Remodels
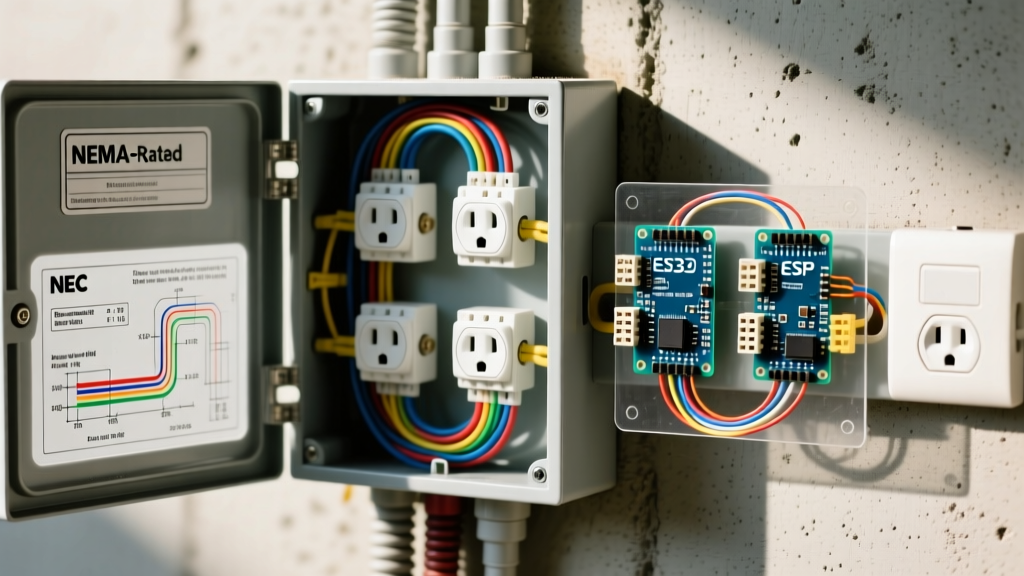
When planning your electrical junction box wiring, the material of the box dictates your grounding strategy. Non-metallic (PVC/fiberglass) boxes are standard for residential NM-B (Romex) wiring because the box itself does not conduct electricity, eliminating the risk of a short circuit if a bare ground wire touches the interior wall of the box.
However, if your renovation involves exposed brick, industrial aesthetics, or commercial-grade conduit (EMT), you must use metal junction boxes. Critical Edge Case: When using metal boxes, the box itself must be bonded to the equipment grounding conductor. You cannot simply rely on the metal conduit or the device yoke to carry the fault current. You must use a green grounding screw (e.g., Ideal 60-1013) to attach a copper pigtail directly to the back of the metal box, tying it into your bundle of bare ground wires. Failure to bond a metal box is an automatic inspection fail and a severe shock hazard.
Step-by-Step Wiring Execution for Open-Wall Remodels
Once the boxes are secured and the cables are pulled, the physical termination begins. The industry has largely moved away from traditional twist-on wire nuts for high-vibration or critical junction points, favoring push-in lever connectors for their reliability and ease of inspection.
- Strip to the Gauge: If using Wago 221 series connectors, use the built-in strip gauge on the lever. For 12 AWG solid or stranded wire, the exact strip length is 11mm (7/16 inch). Stripping too much leaves exposed copper (shock hazard); stripping too little results in the clamp biting onto the insulation (arc fault hazard).
- Lever Actuation: Flip the orange lever up, insert the wire until it bottoms out, and snap the lever down. The UL-listed Wago 221-413 (3-conductor) or 221-415 (5-conductor) are ideal for junction box splices.
- Organize the Folds: Do not just shove the wires in. Fold the grounding wires into the deepest back corners of the box. Fold the neutral (white) wires next, and keep the hot (black/red) wires near the front or routed toward the device. This separation minimizes inductive heating and makes future troubleshooting vastly easier.
- Secure the Cables: NEC 300.15 requires that NM cable be secured within 8 inches of the junction box. In retrofit scenarios where you cannot reach the studs to staple, use listed retrofit cable clamps (like the Arlington Industries NMCGT) that lock the cable to the drywall or the box itself.
Common Renovation Failure Modes & Edge Cases
Renovations introduce variables that new construction does not. Be prepared for these specific edge cases:
- Drywall Mud in the Box: Drywallers often get joint compound inside open junction boxes. This mud can dry around wire insulation, trapping heat and degrading the PVC over time. Always use foam plug protectors or tightly packed paper to seal boxes during the mudding and sanding phases.
- Knob and Tube Splices: If your remodel uncovers legacy knob-and-tube wiring, you cannot simply splice it into a modern junction box with wire nuts. The soldered joints must be preserved, and the transition to modern Romex must be handled via a specialized solder-and-tape method or by abandoning the K&T circuit entirely and running a new home run to the panel.
- Fireblocking Violations: When fishing cables down walls to reach a new junction box, you may breach fireblocks. While not strictly a junction box issue, the splice box location must not compromise the fire-rating of a garage-to-living-space wall. Use fire-rated putty pads (like 3M Fire Barrier Putty) around the cable entries if the box is on a rated assembly.
Safety During Demolition and Rough-In
Before you begin planning your junction box layout, ensure the demolition phase is handled safely. According to the Occupational Safety and Health Administration (OSHA), working near or exposing legacy electrical systems requires strict lockout/tagout (LOTO) procedures. Never assume a circuit is dead just because the breaker is off; previous DIYers may have cross-wired circuits or backfed power from an entirely different panel. Always use a non-contact voltage tester (NCVT) and a calibrated digital multimeter to verify zero energy state before cutting into walls or handling existing junction box wiring.
By respecting box fill mathematics, choosing the correct retrofit chassis, and utilizing modern lever-nut connectors, your renovation will not only pass inspection on the first try but will provide a safe, reliable electrical backbone for decades to come.