
The Reality of Electrical House Wiring Basics
When homeowners search for electrical house wiring basics, they are typically met with simplified diagrams showing a hot wire, a neutral wire, and a ground wire connecting to a standard duplex receptacle. While the fundamental physics of a 120-volt branch circuit are straightforward, the practical application involves a labyrinth of National Electrical Code (NEC) requirements, box fill calculations, and torque specifications. As of 2026, the gap between a functioning circuit and a catastrophic fire hazard is often measured in millimeters of exposed copper or a single missed Arc-Fault Circuit Interrupter (AFCI) requirement.
This comprehensive analysis breaks down the true cost, time investment, and risk profile of tackling basic residential wiring as a DIYer versus hiring a licensed electrical contractor. Whether you are wiring a new 12x12 foot home office addition or replacing outdated ungrounded outlets in a mid-century home, understanding where the DIY boundary ends and professional liability begins is critical for your safety and your home's insurability.
Defining the Scope: What Qualifies as 'Basics'?
Before analyzing costs, we must strictly define what constitutes basic electrical wiring in a residential setting. For the purposes of this analysis, 'basics' are limited to:
- Branch Circuit Extensions: Running 14/2 or 12/2 NM-B (Romex) cable from an existing panel or junction box to new single-gang or double-gang work boxes.
- Device Termination: Installing 15-amp or 20-amp tamper-resistant (TR) duplex receptacles, single-pole switches, and standard hardwired lighting fixtures.
- Low-Voltage Integration: Wiring smart switches (e.g., Lutron Caseta) that require a neutral wire connection.
This scope explicitly excludes 240-volt appliance circuits, main service panel upgrades, sub-panel installations, and any work involving the utility drop or meter base. Those advanced tasks universally require a master electrician and utility coordination.
The DIY Route: Material Costs, Tooling, and Time
Assuming you are wiring a standard 200-square-foot room addition requiring two 20-amp small appliance branch circuits and one 15-amp lighting circuit, the material costs are highly predictable. In early 2026, copper prices have stabilized, but premium safety devices have seen slight price increases.
Essential DIY Material & Tool Breakdown
| Item Category | Specific Model / Material | Est. 2026 Cost |
|---|---|---|
| Wire (20A Circuit) | Southwire 250-ft 12/2 NM-B W/G (Yellow) | $145.00 |
| Wire (15A Lighting) | Southwire 250-ft 14/2 NM-B W/G (White) | $115.00 |
| Receptacles | Leviton 20A TR Duplex (Model R52-05325-00W) x 6 | $24.00 |
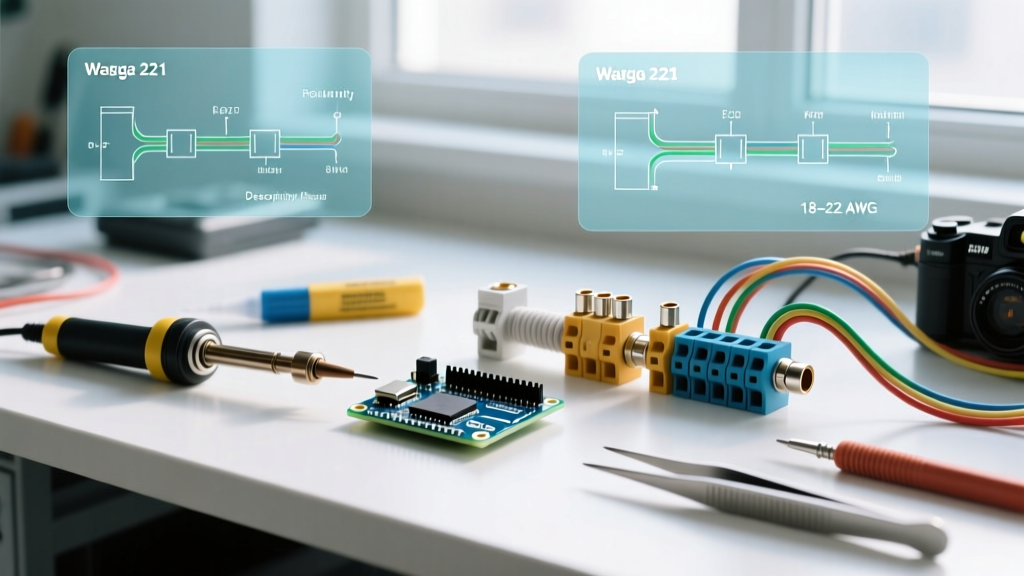
| Connectors | Wago 221 Lever-Nuts (Model 221-413) 50-pack | $38.00 |
| Breakers (AFCI) | Eaton BR 20A Single-Pole AFCI (BR120CAF) x 2 | $110.00 |
| Precision Tools | Klein Tools 11055 Wire Strippers & Milwaukee M18 Drill | $230.00 |
Total Estimated DIY Material & Tool Cost: $662.00 (Assuming you do not already own the specialized tools).
The Time Investment and Learning Curve
For a novice DIYer, fishing 12/2 NM-B cable through existing drywall, calculating box fill per NEC Article 314.16, and properly stripping wires without nicking the copper conductor takes significant time. Expect to spend 12 to 18 hours on a project that a professional crew would complete in 4 hours. The primary risk during this phase is conductor damage; a nicked 12 AWG copper wire creates a localized hot spot under load, which can degrade insulation and initiate an arc fault over time.
The Professional Route: Labor, Permitting, and Liability
Hiring a licensed electrical contractor shifts the burden of code compliance, permitting, and liability away from the homeowner. As of 2026, the national average hourly rate for a licensed journeyman or master electrician ranges from $125 to $185, heavily dependent on regional labor shortages and local union prevailing wages.
The Hidden Value of Professional Permitting
When a professional pulls an electrical permit (typically $150 to $350 for a room addition), they trigger a mandatory inspection by the local Authority Having Jurisdiction (AHJ). This inspection verifies:
- AFCI Protection: Compliance with NEC 210.12, which mandates combination-type AFCI protection for virtually all 120V, 15A and 20A branch circuits supplying living spaces.
- Box Fill Volume: Ensuring the cubic inch capacity of the electrical boxes is not exceeded by the number of conductors, clamps, and devices present.
- Proper Torque: Using calibrated torque screwdrivers to terminate connections at the breaker and receptacle lugs, preventing thermal expansion and contraction from loosening the connection.
Expert Insight: 'The most common failure point in DIY wiring isn't a short circuit; it's a high-resistance connection caused by under-torqued terminal screws or back-stabbed receptacles. Over a 5-year period, the thermal cycling of a 15-amp load on a loose back-stab connection will carbonize the plastic housing, eventually leading to an arc flash.' — Senior Electrical Inspector, IAEI
Head-to-Head Cost & Risk Matrix
To visualize the trade-offs, we compare a standard 200 sq. ft. room addition wiring project (3 circuits, 8 devices) executed via DIY versus a Professional Contractor.
| Metric | DIY Execution | Professional Execution |
|---|---|---|
| Total Out-of-Pocket Cost | $662 (Materials + Tools) | $1,450 - $2,100 (Labor, Materials, Permit) |
| Time to Completion | 2 to 3 Weekends (12-18 hrs) | 1 to 2 Days (4-8 hrs) |
| Code Compliance Guarantee | None (High risk of unseen violations) | 100% (Verified by AHJ Inspector) |
| Homeowners Insurance Impact | High Risk: Unpermitted work can void fire claims | Protected: Fully documented and permitted |
| Resale Value Impact | Negative: Unpermitted additions flag during escrow | Positive: Adds verified, permitted square footage |
Critical Failure Modes: Where DIY Goes Wrong
According to data from the U.S. Consumer Product Safety Commission (CPSC), electrical distribution and lighting equipment are involved in an estimated 34,000 home structure fires annually. When DIYers attempt electrical house wiring basics without a deep understanding of the NEC, specific failure modes emerge repeatedly:
1. The Multi-Wire Branch Circuit (MWBC) Neutral Disaster
DIYers often attempt to save wire by using a 3-wire cable (10/3 or 12/3) to feed two separate 120V circuits sharing a single neutral. If the two hot legs are not on opposite phases (or if a handle tie is omitted per NEC 210.4), the shared neutral will carry the additive current of both legs, overheating the neutral wire inside the walls without ever tripping the hot-leg breakers.
2. Bootleg Grounds and False Safety
When replacing old 2-prong ungrounded outlets, amateur wiring often involves connecting the green ground screw to the neutral terminal to trick a standard receptacle tester into reading 'Correct.' This is a lethal configuration. If the neutral wire ever disconnects upstream, the metal chassis of any plugged-in appliance becomes energized at 120 volts, waiting for a human touch to complete the circuit to ground.
3. Ignoring the 2023/2026 AFCI Expansion
The National Fire Protection Association (NFPA) continuously updates the NEC to expand AFCI requirements. DIYers frequently reuse older, non-AFCI breakers when extending circuits into newly finished spaces like basements or attics, unknowingly violating modern fire safety codes and leaving the home vulnerable to parallel arc faults.
The Verdict: A Decision Framework for Homeowners
Should you DIY your electrical house wiring basics, or hire a professional? Use this decision matrix to determine your path:
When DIY is Viable (With Extreme Caution)
- Like-for-Like Replacements: Swapping an existing, properly grounded 15-amp receptacle for a new Tamper-Resistant (TR) or GFCI model in a bathroom or kitchen.
- Low-Voltage Wiring: Running 18/8 thermostat wire or Cat6 ethernet, which does not fall under the strict NEC high-voltage umbrella (though fire-stopping rules still apply).
- Accessible Junction Boxes: Adding a Wago 221 lever-nut splice inside an existing, accessible, and properly sized junction box to extend a circuit to a new smart switch.
When You MUST Hire a Professional
- Any Panel Work: Removing the dead-front cover on a main service panel exposes you to the utility feed lugs, which remain energized at lethal amperages even if the main breaker is switched off.
- New Circuit Rough-Ins: Fishing cables through finished walls where you cannot visually verify that the NM-B cable is properly stapled, protected by nail plates, and kept at least 1.25 inches back from the face of the framing studs.
- Kitchen and Bathroom Additions: These areas require strict adherence to GFCI protection, small-appliance branch circuit rules, and specific countertop spacing codes that trip up even novice electricians.
Final Thoughts on Safety and Compliance
Mastering electrical house wiring basics is an invaluable skill for any homeowner, but it requires a profound respect for the invisible forces at play. The Electrical Safety Foundation International (ESFI) strongly advocates that while basic maintenance can be a DIY task, any installation that alters the permanent wiring infrastructure of a home should involve a licensed professional. The $800 to $1,400 premium you pay an electrician is not merely for their labor; it is an investment in code compliance, insurance validity, and the assurance that your walls will not become the ignition point of an electrical fire. When in doubt, pull a permit, hire a pro, and let the AHJ inspector be the final judge of your home's safety.