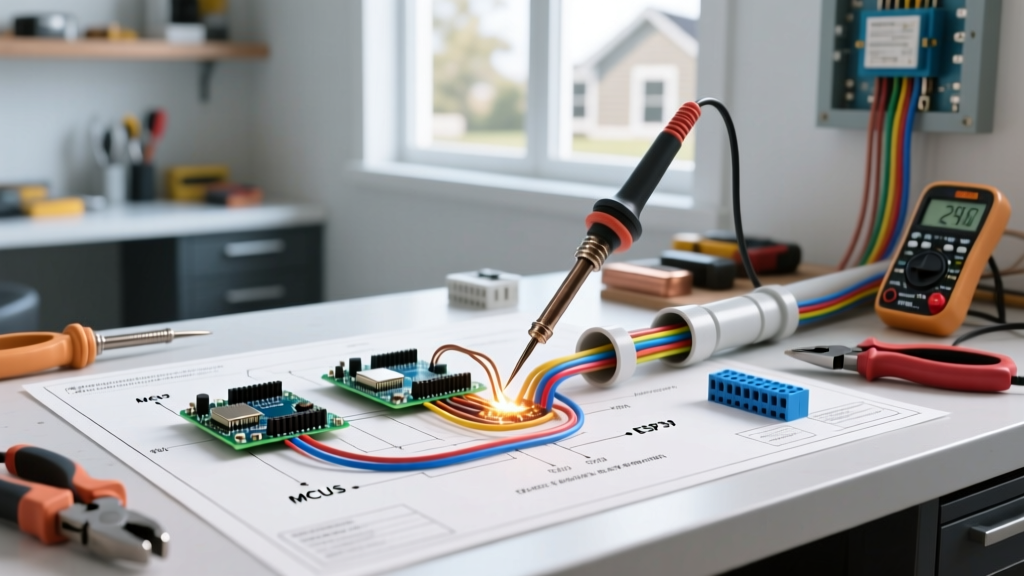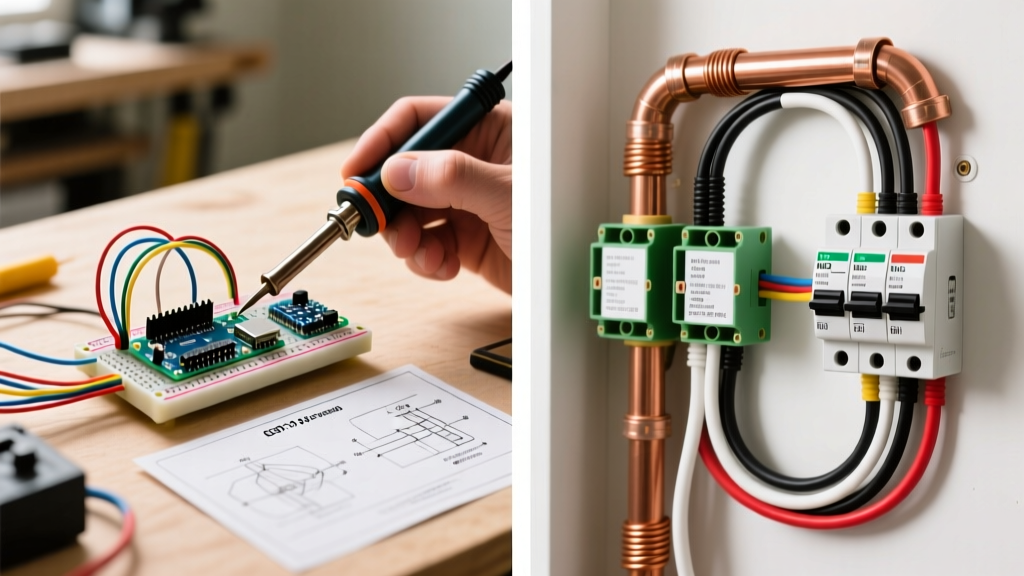

The True Cost and Risk of House Electrical Installation Wiring
Embarking on a whole-home rewiring project or a new construction build is one of the most complex undertakings a homeowner can face. The decision to tackle house electrical installation wiring as a DIYer versus hiring a licensed electrical contractor hinges on a delicate balance of upfront capital, technical competency, and long-term liability. While the internet is saturated with basic wiring tutorials, the reality of roughing-in and trimming out a modern, code-compliant electrical system requires a mastery of the National Electrical Code (NEC), precise load calculations, and an understanding of advanced failure modes.
In this comprehensive 2026 analysis, we break down the exact financial costs, the hidden technical traps that plague amateur installations, and the severe insurance implications of unpermitted DIY electrical work.
Financial Breakdown: DIY Materials vs. Professional Labor
The most common motivation for DIY house electrical installation wiring is cost avoidance. However, the gap between DIY material costs and professional turnkey pricing is often misunderstood. Below is a realistic cost matrix for a standard 2,000-square-foot single-family home with a 200-amp service, 3 bedrooms, 2.5 baths, and standard appliance circuits.
| Category | DIY Material Cost (2026) | Professional Turnkey Cost | Notes & Specifics |
|---|---|---|---|
| Main Service Panel | $650 - $900 | $1,800 - $2,500 | Square D Homeline 200A 42-space; Pro includes meter base upgrade and utility coordination. |
| Branch Circuit Wiring | $2,200 - $3,100 | $5,500 - $7,500 | Southwire Romex SIMpull 14/2, 12/2, and 10/3 NM-B. Pro includes labor for pulling and stapling. |
| Breakers (Standard, AFCI, GFCI) | $1,400 - $1,800 | $3,000 - $4,200 | Eaton BR or Square D HOM dual-function (CAFI/GFI) breakers required by modern NEC. |
| Devices & Trim (Receptacles, Switches) | $800 - $1,200 | $2,500 - $3,500 | Leviton Decora tamper-resistant (TR) receptacles, Lutron dimmers, and heavy-duty 20A kitchen specs. |
| Rough-In Labor & Permitting | $400 - $800 (Permits only) | $6,000 - $9,000 | DIY assumes homeowner permit; Pro includes journeyman/apprentice hourly labor and master electrician supervision. |
| Total Estimated Project Cost | $5,450 - $7,800 | $18,800 - $26,700 | DIY saves ~$13k+ upfront but transfers 100% of liability and inspection risk to the homeowner. |
While saving $15,000+ sounds appealing, this table omits the time value of the DIYer's labor. A professional crew of three can rough-in and trim a 2,000 sq ft home in 80 to 120 man-hours. A weekend-warrior DIYer will typically spend 300 to 400 hours navigating codebooks, pulling wire through tight joist bays, and troubleshooting open neutrals.
The 2026 NEC Landscape: Where DIYers Fail Inspections
The National Electrical Code is not merely a set of suggestions; it is a living document updated every three years to mitigate fire and shock hazards. By 2026, the vast majority of municipalities have adopted the 2023 or 2026 NEC, which introduced stringent requirements that frequently cause DIY inspections to fail.
1. The AFCI and GFCI Expansion
Gone are the days when Arc Fault Circuit Interrupters (AFCIs) were only required in bedrooms. Modern code mandates AFCI protection for nearly all 120-volt, 15- and 20-amp branch circuits supplying living rooms, kitchens, hallways, and closets. Furthermore, Ground Fault Circuit Interrupter (GFCI) requirements have expanded to include all outdoor outlets, garages, crawlspaces, and specific kitchen appliance circuits. DIYers often attempt to save money by installing standard $5 breakers instead of the required $45-$65 dual-function (AFCI/GFCI) breakers, resulting in immediate inspection failure.
2. Panel Sizing and Load Calculations
With the rise of Level 2 EV chargers (requiring 40A to 60A dedicated circuits), heat pump conversions, and induction ranges, the historical 100-amp or 150-amp residential service is obsolete. The 2026 NEC heavily emphasizes rigorous Article 220 load calculations. DIYers frequently guess their panel size, leading to overloaded main lugs and nuisance tripping. Professionals use standardized software to calculate the exact continuous and non-continuous loads, ensuring the main service feeder (often 4/0 AWG aluminum AA-8000 series) is correctly sized.
Critical Code Warning: According to NFPA electrical fire statistics, electrical distribution and lighting equipment are consistently among the top causes of home structure fires. Unpermitted, non-compliant wiring directly contributes to these preventable disasters.
Critical Failure Modes in DIY Wiring Installations
Passing a rough-in inspection does not guarantee a safe installation. The most dangerous electrical failures occur at the microscopic level—inside wire nuts, behind receptacles, and within panel terminations. Here are the specific failure modes that separate amateur work from professional craftsmanship.
The Multi-Wire Branch Circuit (MWBC) Trap
An MWBC uses a single 3-wire cable (e.g., 12/3 Romex) to feed two separate 120V circuits sharing a single neutral wire. This is common for kitchen split-receptacles. If a DIYer places both hot wires on the same phase in the panel, the neutral wire will carry the combined amperage of both circuits (e.g., 30 amps on a wire rated for 20 amps), melting the insulation inside the walls and starting a fire. Professionals ensure MWBCs are connected to a 2-pole breaker or use approved handle ties (NEC 210.4) to guarantee phase opposition and simultaneous disconnect.
Termination Torque and the 'Backstabbing' Epidemic
Since the 2017 NEC update, Section 110.14(D) requires that terminations be tightened to the manufacturer's specified torque. Loose connections create high-resistance points that generate immense heat. Professional electricians use calibrated torque screwdrivers (e.g., Klein Tools 0-140 in-lb torque driver) to terminate panel lugs and heavy-duty receptacles. DIYers almost universally 'crank it until it stops,' which can strip aluminum bus bars or snap copper screws.
Furthermore, DIYers heavily rely on 'backstabbing'—pushing stripped wires into the spring-loaded holes on the back of cheap receptacles. Under heavy loads (like a 1500W space heater or a countertop microwave), these internal spring contacts lose tension, arc, and melt the plastic device housing. Professionals exclusively use side-wiring with screw terminals or pigtail wires using CPSC-recommended WAGO 221 lever-nuts or properly twisted Ideal Wire-Nuts.
Permitting, Inspections, and the Insurance Reality
The most catastrophic risk of DIY house electrical installation wiring is not the physical shock; it is the financial ruin that follows an electrical fire. Most municipalities allow homeowners to pull electrical permits on their primary residence, provided they pass a rigorous homeowner's exam and sign an affidavit of occupancy. However, the inspection process is unforgiving.
- The Rough-In Inspection: Occurs after all cables are pulled and stapled, but before drywall. Inspectors will measure staple spacing (NEC 334.30 requires staples within 8 inches of every box and every 4.5 feet thereafter), check for bored holes in structural joists (maintaining 1.25 inches of clearance from the nailing face), and verify box fill calculations.
- The Final Trim Inspection: Occurs after devices are installed and the panel is terminated. Inspectors will test GFCI/AFCI trip times, verify proper grounding electrode conductor (GEC) bonding to the water main and ground rods, and check for missing cabinet faceplates.
If a DIY installation is performed without a permit, and an electrical fire occurs years later, the homeowner's insurance carrier will likely dispatch a forensic fire investigator. If the origin of the fire is traced to unpermitted, non-code-compliant DIY wiring, the insurance company has grounds to deny the claim entirely, leaving the homeowner responsible for hundreds of thousands of dollars in rebuilding costs and potential liability for neighboring properties.
Verdict: When to DIY and When to Hire a Pro
When DIY is Viable: If you are an advanced DIYer willing to purchase the 2026 NEC handbook, use torque screwdrivers, utilize WAGO lever connectors, and submit to the municipal permitting and inspection process, you can successfully wire a detached garage, a basement finish, or a single-room addition. The material savings on small-scale projects justify the learning curve.
When to Hire a Licensed Professional: For whole-house rewiring, new construction, service panel upgrades (especially 200A to 400A meter mains), and any work involving the utility drop or main service entrance conductors. The risk of arc flash, utility grid backfeeding, and catastrophic insurance denial far outweighs the $15,000 saved in labor.
Frequently Asked Questions
Can I use aluminum wire for branch circuits to save money?
No. While aluminum (AA-8000) is standard and safe for heavy feeder cables (like your 200A main service), modern NEC prohibits aluminum branch circuit wiring for 15A and 20A receptacles due to historical issues with creep and oxidation at termination points. Stick to copper NM-B (Romex) for all interior branch circuits.
Do I need a permit to replace my own electrical panel?
Yes, almost universally. Replacing a panel involves de-energizing the main service entrance, which carries lethal fault current levels that can cause fatal arc flashes if dropped with a tool. Utilities require a licensed contractor to pull the meter and reconnect it in most jurisdictions.