
The Hidden Dangers of Improper Hunter Fan Electrical Wiring
Installing a ceiling fan is rarely as simple as swapping a standard light fixture. Hunter fans, renowned for their durability and heavy-duty motors, introduce unique mechanical and electrical demands to your home's wiring infrastructure. While a basic light fixture exerts only static downward force, a ceiling fan generates dynamic torque and continuous vibration. When paired with the electrical load of integrated LED modules, smart-home receivers, and high-velocity motors, improper Hunter fan electrical wiring can lead to catastrophic fixture drops, thermal overheating, or electrical fires.
As of 2026, the integration of Wi-Fi-enabled modules (like Hunter's SIMPLEconnect technology) and high-efficiency DC motors has changed the landscape of ceiling fan installation. This guide details the critical safety best practices, National Electrical Code (NEC) requirements, and field-tested wiring protocols necessary to install Hunter fans safely and reliably.
NEC Code Compliance: Box Ratings and Dynamic Torque
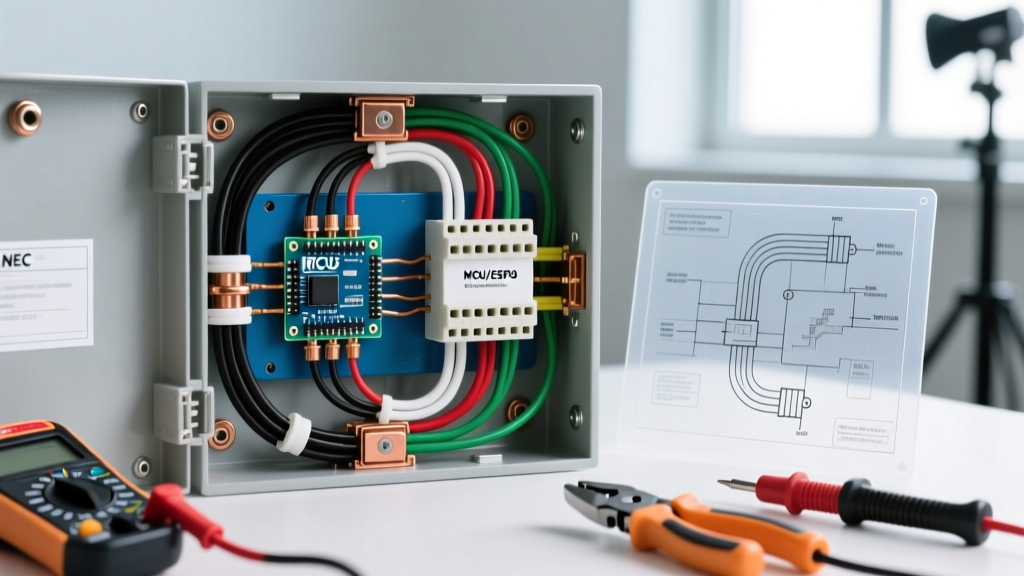
The most common and dangerous failure mode in ceiling fan installation is the use of an unapproved junction box. According to NFPA 70 (NEC) Article 314.27(C), outlet boxes used for ceiling fan support must be specifically listed and marked as suitable for ceiling fan mounting.
Safety Warning: Standard plastic 'new work' light fixture boxes are typically rated for a maximum static load of 50 lbs. However, the dynamic torque of a spinning fan can multiply the effective stress on the mounting screws. The U.S. Consumer Product Safety Commission (CPSC) strongly advises against using standard light boxes for any motorized ceiling fixture.
Matching Hunter Models to Box Ratings
Hunter manufactures fans across a wide weight spectrum. The cast-iron motor housings of their legacy and premium lines require robust structural support. Below is a breakdown of required box ratings based on popular Hunter models:
| Hunter Fan Model | Approx. Weight | Minimum Box Rating | Recommended Box Type (Retrofit) |
|---|---|---|---|
| Hunter Builder Elite (53091) | 22 lbs | 35 lbs (Standard Fan Box) | Raco 937 Retro-Brace ($18-$22) |
| Hunter Dempsey Low Profile (59270) | 18 lbs | 35 lbs (Standard Fan Box) | Carlon B618R (New Work / Remodel) |
| Hunter Original (23855) | 38+ lbs | 70 lbs (Heavy Duty Fan Box) | Raco 949 Heavy-Duty Steel Brace |
Note: Always verify the specific weight of your model in the included Hunter manual, as glass globes and light kits can add 5-10 lbs of additional static load.
Wire Gauge, Circuit Sizing, and Connector Selection
Hunter ceiling fans typically draw less than 1 Amp of continuous current, even on high speed. However, the inrush current required to start the motor, combined with the continuous draw of integrated LED arrays and smart receivers, means your circuit wiring must be pristine.
1. Verifying the Circuit and Wire Gauge
Most residential bedroom and living room lighting circuits are wired with 14 AWG NM-B (Romex) on a 15-Amp breaker, which is perfectly adequate for a single Hunter fan and a few LED recessed lights. However, if you are wiring a fan in a kitchen, bathroom, or an area where the lighting circuit is shared with high-draw appliances, you must ensure the circuit is not overloaded. If the circuit is 20-Amp, the home should be wired with 12 AWG NM-B. Never connect 12 AWG supply wire directly to the thin 18 AWG lead wires coming from the Hunter fan motor without using a properly rated wire nut or lever connector to bridge the gauge gap safely.
2. The Wago vs. Wire Nut Debate for Fan Motors
Vibration is the enemy of traditional twist-on wire nuts. Over time, the micro-vibrations from a Hunter fan motor can cause standard wire nuts to loosen, leading to high-resistance connections, arcing, and heat buildup. For ceiling fan electrical wiring, we strongly recommend using Wago 221 Lever-Nuts (e.g., Wago 221-413 for 3 conductors). These cost roughly $0.45 each in 2026 but provide a gas-tight, vibration-proof connection that accommodates the massive gauge difference between your home's 14 AWG solid copper and the fan's 18 AWG stranded motor leads.
The Canopy Receiver Overheat Issue: A Modern Failure Mode
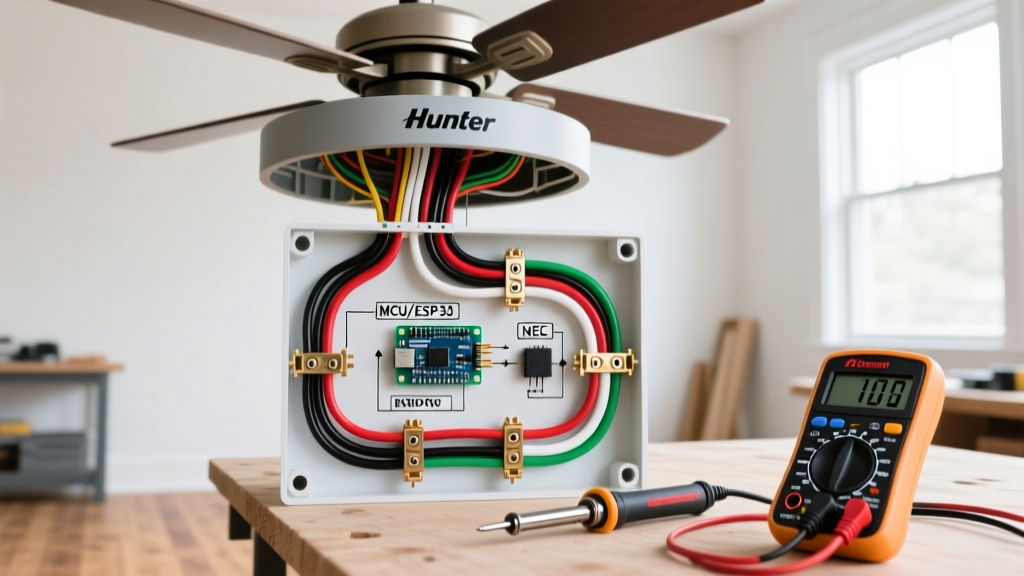
Modern Hunter fans frequently utilize a canopy-mounted RF receiver module (such as the Hunter 99119 Universal Remote Control kit) to manage fan speeds and dimming. This is where many DIYers and even licensed electricians make a critical safety error.
These receiver modules generate significant heat during operation, especially when dimming LED loads. If you attempt to install a Hunter fan using a shallow 1.5-inch deep junction box, the receiver module will be crushed against the ceiling drywall and the fan's mounting bracket. This eliminates the necessary air gap for thermal dissipation.
- The Failure Mode: The trapped heat causes the receiver's internal thermal fuse to blow, or worse, melts the wire insulation, creating a short circuit inside the canopy.
- The Solution: Always ensure your ceiling junction box has a minimum depth of 2.125 inches (standard 'deep' box) to allow the receiver module to sit flat without pinching the wires. If remodeling, upgrade to a deep fan-rated box like the Carlon B618R-UPC.
Smart Fan Wiring: Hunter SIMPLEconnect and Neutral Requirements
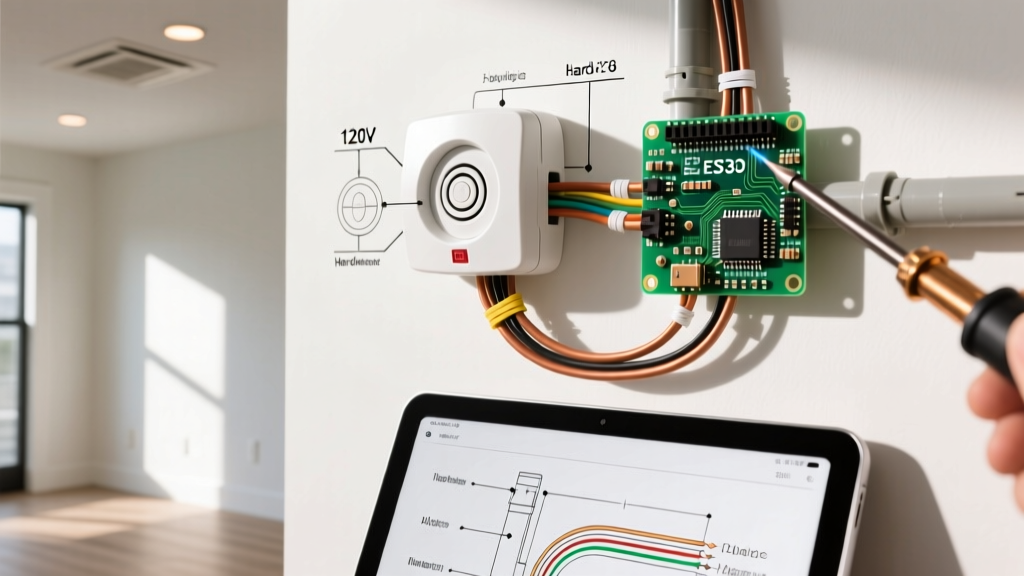
If you are installing a Hunter SIMPLEconnect Wi-Fi enabled fan, the electrical wiring requirements shift from purely mechanical to highly sensitive digital logic. Unlike older RF remote fans that could sometimes 'cheat' the neutral wire by using the ground or a capacitor drop, SIMPLEconnect modules require a dedicated, clean neutral wire to power the Wi-Fi radio and logic board 24/7.
- Identify the Neutral: Ensure the white wire in your ceiling box is a true neutral tied back to the panel's neutral bus bar, not a 'switched leg' white wire (which should be re-identified with black tape per NEC 200.7).
- Cap the Ground Properly: The green/bare ground must be bonded to the fan's green ground lead AND the metal junction box (if metal). Use a green grounding pigtail screw if the box lacks a dedicated ground screw.
- Avoid Dimmer Conflicts: Never wire a Hunter SIMPLEconnect fan to a wall-mounted smart dimmer. The fan requires constant 120V line voltage; the dimming is handled internally via the app. Supplying chopped voltage from a wall dimmer will destroy the fan's logic board.
Final Safety Inspections Before Power-On
Before attaching the canopy cover and restoring power at the breaker panel, perform this mandatory 4-point safety checklist recommended by the Electrical Safety Foundation International (ESFI):
- The Tug Test: Firmly pull on every wire nut and Wago connector. Stranded 18 AWG wire can easily slip out of a poorly seated wire nut.
- The Ground Continuity Check: Verify that the fan's mounting bracket is electrically bonded to the home's grounding system. The mounting bracket is metal and can become energized if an internal wire chafes against it.
- Wire Pinch Inspection: Look inside the junction box to ensure no bare copper ground wires are touching the exposed terminal screws on the receiver module or the fan's hot (black) wire.
- The Wobble Test: Once the blades are attached and power is restored, run the fan on its highest speed. Any severe wobble indicates an unbalanced blade or a loose mounting bracket, which will eventually fatigue the electrical connections over time.
Proper Hunter fan electrical wiring is about respecting the intersection of mechanical force and electrical current. By utilizing fan-rated deep junction boxes, leveraging vibration-proof Wago connectors, and ensuring clean neutral delivery for smart modules, you guarantee a safe, silent, and code-compliant installation that will last for decades.