
The Hidden Hazards Behind the Drywall
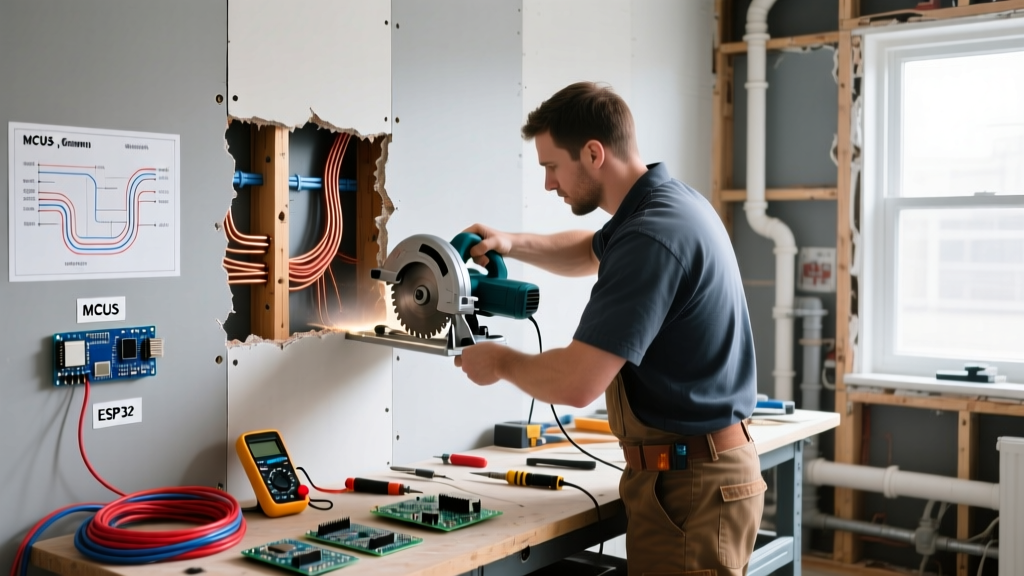
When undertaking a remodel, adding smart home infrastructure, or installing new 240V appliance circuits in 2026, cutting wall for electrical wiring is a mandatory but high-risk phase. The space between your drywall and exterior sheathing is a congested highway of structural framing, HVAC flex ducts, PEX water lines, PVC drain stacks, and existing live electrical cables. A single blind plunge cut with a rotary tool can result in catastrophic electrocution, severe water damage, or structural compromise.
According to the Consumer Product Safety Commission (CPSC), DIY electrical accidents frequently occur during the demolition and rough-in phases when workers assume a wall cavity is empty. Professional electricians mitigate these risks through rigorous pre-cut diagnostics, precise depth-control tooling, and strict adherence to the National Electrical Code (NEC). This guide details the exact safety protocols, tool selections, and structural rules you must follow before your blade breaks the paper face of your drywall.
Pre-Cut Diagnostics: Mapping the Cavity
Never rely on standard magnetic stud finders when cutting wall for electrical wiring. Magnetic finders only locate drywall screws; they cannot detect live AC voltage, PEX plumbing, or low-voltage data cables. You must invest in advanced radar or multi-sensor scanning technology.
Radar Wall Scanners vs. Capacitive Tracers
- Bosch D-tect 200 C Professional (Approx. $649): This radar-based scanner is the industry standard for high-stakes remodels. It detects live AC wires, non-ferrous metals (copper pipes), ferrous metals, and plastic water-filled pipes up to 8 inches deep. Its 3.5-inch display provides a visual cross-section of the wall cavity.
- Zircon MultiScanner x85 (Approx. $189): A more budget-friendly capacitive and AC-scanning option. While excellent for finding studs and live wires, it struggles to detect empty PVC drain pipes or PEX lines, requiring you to cross-reference with plumbing blueprints.
- Klein Tools ET910 Wire Tracer (Approx. $150): For tracing specific de-energized circuits through walls, this tone-and-probe kit is essential. It allows you to map the exact path of an existing Romex cable before you make a cutout for a new junction box.
Critical Safety Warning: Never trust a non-contact voltage tester (NCVT) like the Fluke 2AC-II ($35) to confirm a wire is dead through a wall. NCVTs are designed for exposed outlets and panel terminals. Thick drywall, plaster, or foil-backed insulation can easily block the electromagnetic field, yielding a false-negative reading. Always shut off the main breaker if you are unsure of the circuit routing.
Tool Selection Matrix: Safety vs. Speed
The tool you choose dictates your risk profile. Rotary spiral saws (often called RotoZips) are notorious for 'walking' or plunging too deep, severing wires or pipes behind the drywall. Oscillating multi-tools and manual saws offer vastly superior depth control.
| Tool Type | Model Example (2026) | Depth Control | Safety Profile | Best Use Case |
|---|---|---|---|---|
| Oscillating Multi-Tool | Milwaukee M18 FUEL ($299) | Excellent (Shoe guides) | High | Cutting junction box openings, precision outlet cutouts |
| Spiral / Rotary Saw | Milwaukee M18 FUEL RotoZip ($249) | Poor (Relies on user feel) | Low | Large, open drywall removal where cavity is verified empty |
| Manual Keyhole Saw | Stanley 6-Inch Jab Saw ($12) | Moderate (Blade length) | Very High | Working near known live panels or tight plumbing chases |
| Flush-Cut Plunge Saw | Fein MultiMaster MM 700 ($399) | Excellent (Depth stops) | High | Long horizontal runs for baseboard wire chases |
Structural Rules and NEC Compliance
Cutting wall for electrical wiring isn't just about avoiding electrocution; it is about maintaining the fire-rating and structural integrity of the building. The National Fire Protection Association (NFPA) outlines strict guidelines in the National Electrical Code (NEC) regarding how cables interact with framing members.
The 1.25-Inch Rule and Nail Plates
Under NEC Article 300.4(A)(1), any cable or raceway installed parallel to framing members must be kept at least 1.25 inches from the nearest edge of the stud. If you are fishing wire through a 2x4 stud (which is actually 1.5 inches wide), drilling a hole perfectly in the center leaves only 0.75 inches of wood on either side. Because this violates the 1.25-inch rule, you must install a 1/16-inch thick steel nail plate over the face of the stud to prevent future drywall screws from piercing the cable.
Notching vs. Boring Load-Bearing Studs
- Boring (Drilling Holes): Holes in load-bearing studs must be at least 5/8 inch from the edge of the stud and cannot exceed 40% of the stud's width. For a standard 3.5-inch wide 2x4, the maximum hole diameter is 1.4 inches.
- Notching (Cutting Edges): Notches in the outer third of a load-bearing stud's length cannot exceed 25% of the stud's depth. Notching the middle third is generally prohibited for structural integrity.
Step-by-Step Safe Cutting Protocol
Follow this exact sequence when cutting an opening for a new old-work (retrofit) electrical box or access panel.
- Execute Lockout/Tagout (LOTO): Turn off the breaker for the room. If the home was built before 1990, check for Multi-Wire Branch Circuits (MWBCs) where two hot legs share a neutral. Turn off both breakers or the main disconnect to eliminate shared-neutral shock hazards.
- Perform a Dual-Axis Scan: Scan the wall horizontally and vertically with a radar scanner (e.g., Bosch D-tect 200 C). Mark the center of all studs, live wires, and pipes with blue painter's tape.
- Template and Trace: Place your plastic old-work box against the wall, ensuring it does not overlap with the stud marks. Trace the inner lip of the box with a pencil.
- Set the Depth Stop: If using an oscillating multi-tool with a plunge-cut blade, set the depth shoe to 0.6 inches for standard 1/2-inch drywall, or 0.75 inches for 5/8-inch Type X fire-rated drywall. This ensures the blade cuts the drywall and the paper backing without reaching into the 3.5-inch stud cavity.
- Plunge and Pivot: Start the tool at maximum speed before touching the wall. Plunge straight in until the depth shoe rests flat against the drywall. Pivot and follow the pencil line. Never force the tool; let the oscillation do the work to prevent the blade from deflecting into the cavity.
- Cavity Verification: Before reaching your hand into the newly cut hole, insert an inspection mirror and a flashlight. Visually verify there are no loose wires, protruding nails, or sharp metal burrs from steel studs that could strip the insulation off your new Romex cable.
Edge Cases and Failure Modes
Even with perfect planning, unexpected conditions arise behind the wall. Knowing how to react to these failure modes separates professionals from amateurs.
Encountering a Vapor Barrier or House Wrap
In exterior walls, you will often encounter 6-mil polyethylene vapor barriers or Tyvek house wrap. Cutting these compromises the building envelope, leading to moisture intrusion and mold. Solution: Cut the drywall carefully, pull the vapor barrier through the hole, and use specialized airtight electrical boxes (like the CARLON Smart Box) that feature integrated rubber gaskets to seal the barrier back against the drywall.
Hitting a Steel Nail Plate Mid-Cut
If your oscillating tool blade suddenly vibrates violently and produces a high-pitched screech, you have hit a steel nail plate protecting an existing wire. Solution: Stop immediately. Do not attempt to cut through the plate with a bi-metal blade; you will destroy the blade and potentially damage the wire behind it. Relocate your cutout by at least 4 inches up or down the wall cavity.
Dealing with Fire Blocks
Building codes require horizontal 2x4 fire blocks in wall cavities to prevent flames from drafting up to the attic. If you are fishing wire vertically and hit a solid block, you cannot simply cut a massive hole in the drywall to bypass it. Solution: Use a flexible drill bit (such as a 54-inch Greenlee Flex bit) to drill through the fire block from inside the wall cavity, preserving the drywall and maintaining the fire-stop integrity.
Final Thoughts on Jobsite Safety
The physical act of cutting wall for electrical wiring takes less than a minute, but the preparation should take ten times as long. As the Occupational Safety and Health Administration (OSHA) emphasizes in their electrical safety guidelines, hazard assessment and mitigation are the primary defenses against jobsite fatalities. By investing in radar scanning technology, utilizing depth-controlled oscillating tools, and respecting the structural geometry outlined in the NEC, you ensure that your 2026 wiring projects remain safe, code-compliant, and structurally sound.