
The Hidden Dangers of Aging Marine Electrical Systems
Planning a boat electrical wiring renovation is one of the most daunting yet critical projects a vessel owner can undertake. Unlike residential wiring, marine environments subject every connection to salt spray, constant vibration, and extreme temperature fluctuations. A poorly planned refit doesn't just lead to flickering navigation lights or dead batteries; it introduces severe fire hazards and stray current corrosion that can compromise your hull's integrity. According to marine insurance claim data, electrical faults remain a leading cause of boat fires at the dock and underway. This guide provides a comprehensive, expert-level blueprint for planning your boat electrical wiring renovation, ensuring compliance with modern safety standards and long-term reliability on the water.
Phase 1: Auditing Your Existing Boat Electrical Wiring
Before you start tearing out old harnesses and ordering new components, you must thoroughly audit the existing system. Many older vessels, particularly those built before 2005, suffer from a mix of DIY modifications, undersized wiring, and non-marine-grade automotive components.
- Trace Phantom Loads: Disconnect the battery and use a digital multimeter (DMM) in series to measure current draw with all switches off. Any reading above 5 milliamps indicates a parasitic draw that must be isolated.
- Inspect for 'Green Death': Untinned copper wire exposed to marine air will oxidize, turning black and eventually green. This corrosion wicks under the insulation via capillary action, destroying the wire from the inside out. If you see green copper at any terminal, the entire run must be replaced.
- Identify Chafe Points: Examine areas where wiring passes through bulkheads or engine stringers. Older installations often lack proper grommets or conduit, leading to insulation wear and short circuits against the bilge water.
Phase 2: ABYC Compliance and Wire Sizing Matrix
When planning your boat electrical wiring layout, adherence to the American Boat & Yacht Council (ABYC) E-11 standards is non-negotiable. The ABYC dictates strict rules for overcurrent protection, wire insulation types (UL 1426 and SAE J1128), and voltage drop limits.
Understanding the 3% vs. 10% Voltage Drop Rule
Marine wire sizing is not based solely on ampacity (the current a wire can safely carry without melting); it is primarily driven by voltage drop. A 3% voltage drop is mandatory for navigation lights, electronics, and critical safety gear. A 10% drop is permissible for non-critical loads like cabin lighting or bait pumps.
| Circuit Type | Max Load (Amps) | One-Way Run Length | Required AWG (Tinned) | Overcurrent Protection |
|---|---|---|---|---|
| VHF Radio (Transmit) | 15A (Peak) | 15 ft | 10 AWG | 20A Fuse |
| Bilge Pump (Auto) | 5A | 20 ft | 12 AWG | 7A Fuse |
| Navigation Lights | 4A | 25 ft | 12 AWG | 5A Fuse |
| Electric Windlass | 80A (Peak) | 12 ft | 2/0 AWG | 100A Circuit Breaker |
Phase 3: Budgeting Your Marine Refit
A common mistake in renovation planning is underestimating the cost of marine-grade materials. Automotive wire and hardware store terminals will fail rapidly in a saltwater environment. For a typical 28-foot cruiser, a complete DC rewiring project in 2026 will require a specific budget allocation.
- Marine Wire: Premium tinned copper wire (like Ancor or Pacer Group) costs between $0.85 per foot for 14 AWG and $1.75 per foot for 10 AWG. Budget roughly $300 to $500 for primary wire.
- Distribution Panels and Fuse Blocks: Upgrading to a modern Blue Sea Systems ST Blade fuse block and a sealed panel system will cost between $150 and $350, depending on circuit count.
- Terminals and Connectors: Marine-grade, heat-shrink, adhesive-lined crimp terminals cost about $0.40 to $0.80 each. You will need hundreds of these. Budget $150.
- Conduit and Loom: Split loom tubing, cable clams, and edge protectors for bulkheads will add roughly $75.
Total Material Budget Estimate: $675 - $1,075 for a standard 28ft vessel DC refit.
Phase 4: Execution and Tooling Requirements
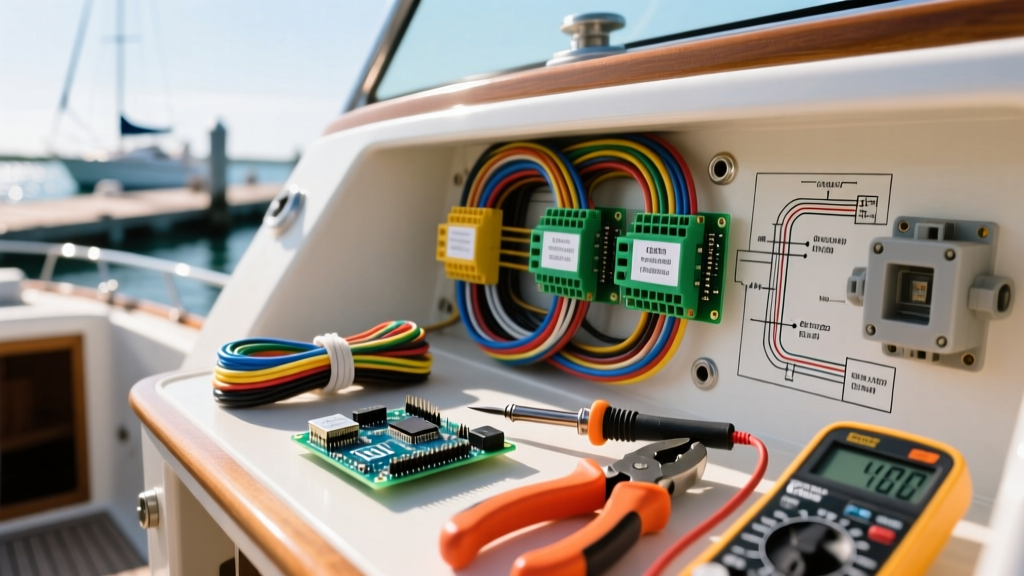
The physical execution of your boat electrical wiring plan relies heavily on the quality of your terminations. The marine industry strictly forbids soldering wire connections. Solder wicks moisture into the wire strands and creates a rigid joint that will crack under engine vibration, leading to arcing.
Expert Rule: Never use a standard hardware store crimping tool for marine electrical work. You must use a ratcheting crimping tool specifically calibrated for insulated marine terminals, such as the Ancor or Knipex marine crimpers. The ratchet ensures the exact compression force is applied, creating a gas-tight seal before the heat shrink is applied.
After crimping, apply heat evenly using a heat gun (not a lighter) until the adhesive sealant squeezes out from the edges of the heat shrink tubing. This adhesive barrier prevents salt air from reaching the copper strands.
Common Edge Cases and Failure Modes in Refits
Even with meticulous planning, specific edge cases can derail a marine electrical renovation. Anticipating these failure modes will save you hours of troubleshooting on the water.
- The Shared Ground Trap: Many older boats daisy-chain ground wires from one device to the next. During your refit, you must install a dedicated negative busbar. Every major load must have its own dedicated ground wire run directly back to the busbar to prevent ground-loop interference in sensitive electronics like fishfinders and chartplotters.
- Bilge Pump Float Switch Bypass: When wiring automatic bilge pumps, the float switch must be wired directly to the battery via its own dedicated fuse, bypassing the main battery switch. If a crew member turns off the main DC panel while the boat is at the dock, a leaking shaft seal will still trigger the pump and prevent the vessel from sinking.
- Alternator Sense Wire Errors: When upgrading charging systems, ensure the alternator's voltage sense wire is routed to the positive post of the house battery bank, not the alternator output post. This compensates for voltage drop across the heavy battery cables and ensures accurate charging profiles.
Expert FAQ: Marine Refit Troubleshooting
Why does my VHF radio reboot when I key the microphone?
This is a classic symptom of excessive voltage drop on the transmit cycle. When the VHF ramps up to 25 watts, it draws a massive transient current (often 15+ amps). If your wire is undersized, or if the connection at the fuse block is loose, the voltage at the radio drops below its minimum operating threshold (usually around 10.5V), causing a reboot. Upgrade the feed wire to 10 AWG and check all crimp terminations.
Can I use automotive blade fuses in my marine fuse block?
While the physical ATO/ATC blade fuses are often identical, the marine environment requires the fuse block itself to have a sealed, gasketed cover to prevent salt spray from bridging the exposed metal clips. Furthermore, always use tin-plated copper fuses rather than zinc-plated steel fuses, which will rust rapidly in a marine environment.
How do I route new wires through sealed, foam-filled hull cavities?
Use a flexible fiberglass fish tape and a shop-vac. Feed a lightweight pull-string attached to a small foam ball through the cavity, and use the vacuum on the opposite end to suck the ball and string through. Once the pull-string is through, tape your new marine wire to the string and pull it back. Always leave a secondary pull-string in the conduit for future upgrades.