
The Reality of Ceiling Light Wiring Failures
Ceiling light fixtures are central to a room's functionality and aesthetics, but when the electrical wiring fails, diagnosing the root cause requires a systematic, professional approach. Whether you are dealing with a completely dead fixture, an annoying flicker, or a concerning buzzing sound, the issue usually stems from a loose connection, an incompatible dimmer switch, or a degraded wire nut. In modern homes, the shift toward integrated LED fixtures and smart home controls has added new layers of complexity to standard lighting circuits. This comprehensive guide provides an expert-grade troubleshooting framework for resolving electrical wiring ceiling light fixture issues safely, efficiently, and permanently.
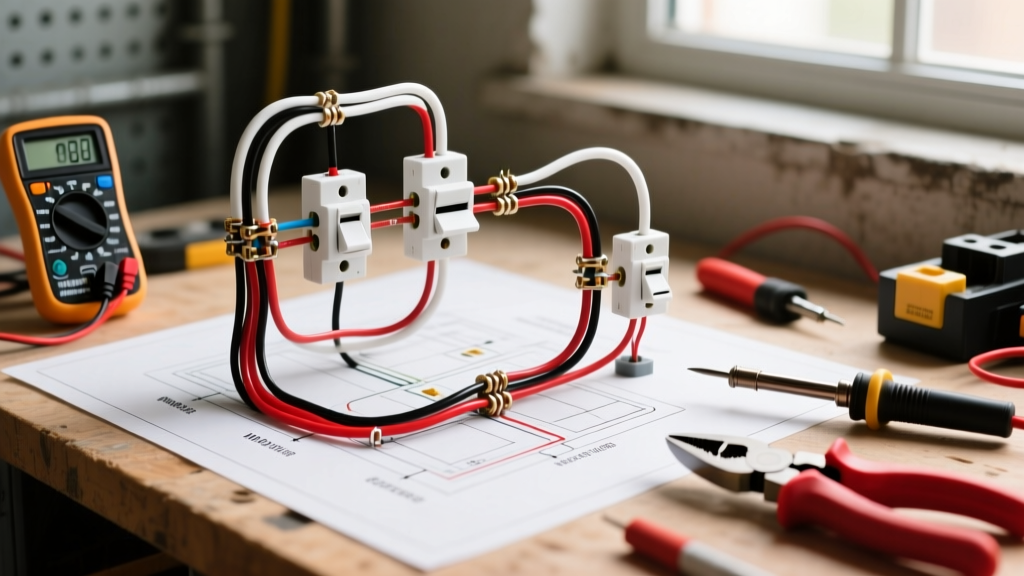
CRITICAL SAFETY WARNING: Never rely solely on the wall switch to de-energize a circuit. Always turn off the corresponding circuit breaker at the main panel and verify the absence of voltage using a dual-range non-contact voltage tester (NCVT), such as the Klein Tools NCVT-2, before removing the fixture canopy. According to the Electrical Safety Foundation International (ESFI), improper lockout/tagout procedures are a leading cause of residential electrical shocks.
Rapid Diagnostic Matrix for Ceiling Fixtures
Before dismantling the fixture, use this diagnostic matrix to narrow down the probable cause based on the specific symptoms your lighting circuit is exhibiting.
| Symptom | Primary Suspect | Secondary Suspect | Diagnostic Tool Required |
|---|---|---|---|
| Completely Dead | Tripped breaker or GFCI | Failed wall switch or disconnected hot wire | Fluke 117 True RMS Multimeter |
| Intermittent Flickering | Loose neutral connection | Incompatible LED dimmer switch | Visual inspection & Voltage tester |
| Buzzing or Humming | Dimmer on non-dimmable LED | Loose transformer laminations or arcing | Auditory check & Thermal camera |
| Delayed Turn-On | Failing integrated LED driver | Voltage drop from undersized wiring | Multimeter (Voltage drop test) |
Scenario 1: The Fixture is Completely Dead
When a ceiling light fails to illuminate entirely, the disruption in the circuit path is absolute. While a burnt-out bulb is the most obvious culprit in older fixtures, modern integrated LED panels and flush-mounts require a deeper investigation into the electrical wiring ceiling light fixture connections.
Step 1: Verify Power at the Source and Switch
Begin at the electrical panel. Ensure the breaker has not tripped. If the circuit is protected by an AFCI (Arc Fault Circuit Interrupter) breaker, a loose wire in the ceiling junction box may have generated an arc signature, causing the breaker to trip. Reset the breaker and test the wall switch. Single-pole switches rarely fail, but 3-way and 4-way switch configurations can suffer from internal traveler wire disconnections. Use a multimeter set to continuity mode to verify the switch is passing current when toggled.
Step 2: Inspect the Junction Box Connections
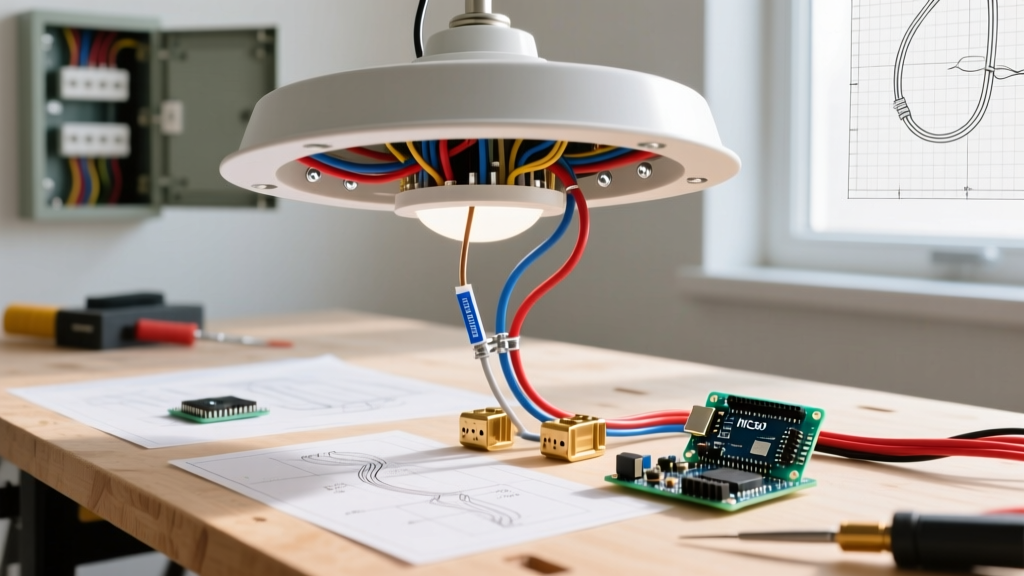
Remove the fixture canopy to expose the ceiling junction box. The most common failure point here is the connection between the branch circuit wires and the fixture pigtails. In older installations, standard twist-on wire nuts can loosen over time due to thermal expansion and contraction. Attic spaces above ceiling fixtures can reach 130°F in the summer and drop below freezing in the winter. This constant temperature cycling causes the copper and aluminum (if present) to expand and contract, eventually backing out standard wire nuts. If you find a loose wire nut, discard it and upgrade to Wago 221 lever connectors, which provide a gas-tight, maintenance-free connection that resists thermal vibration.
Step 3: Check for Integrated Driver Failure
If the wiring connections are secure and 120V is present at the fixture's input terminals, the internal LED driver has likely failed. Unlike screw-in bulbs, integrated drivers are sealed inside the fixture housing. If the driver's thermal paste has degraded or a capacitor has blown, the entire fixture must be replaced, as internal component-level repair is not NEC-compliant for standard residential fixtures.
Scenario 2: Flickering or Intermittent Operation
Flickering is not just an annoyance; it is a primary indicator of high-resistance connections or waveform incompatibility, both of which can lead to premature component failure or fire hazards.
The Loose Neutral Hazard
If the light flickers when other appliances on the same circuit turn on, or if the flickering is erratic, suspect a loose neutral (white) wire. A compromised neutral connection causes the voltage to float, potentially sending 120V fixtures up to 240V if they share a multi-wire branch circuit (MWBC). This will instantly destroy LED drivers and pose a severe fire risk. Tighten all neutral connections and ensure the neutral bus bar in the main panel is torqued to the manufacturer's specifications (typically 20-25 in-lbs).
Dimmer Switch Incompatibility
The transition to LED lighting has made dimmer compatibility a massive source of flickering. Older leading-edge (TRIAC) dimmers were designed for incandescent loads and chop the AC sine wave in a way that modern LED drivers cannot interpret smoothly. If you are using a legacy dimmer with a new LED ceiling fixture, replace it with an advanced trailing-edge or universal dimmer, such as the Lutron Diva DVCL-153P, which is specifically calibrated for low-wattage LED loads. Always consult the National Fire Protection Association (NFPA) National Electrical Code guidelines regarding maximum load wattages on dimming circuits to prevent overheating.
Scenario 3: Buzzing, Humming, or Sizzling Sounds
Acoustic anomalies in a ceiling fixture should never be ignored. The type of sound dictates the urgency of the repair.
- Low-Frequency Humming: This is typically caused by magnetic low-voltage (MLV) transformers in older track or recessed lighting, or by a dimmer switch vibrating against an incompatible LED driver. Upgrading to electronic low-voltage (ELV) drivers or universal dimmers usually eliminates this.
- High-Pitched Sizzling or Crackling: This is the sound of electrical arcing. Arcing occurs when current jumps across a microscopic gap in a loose connection, generating intense localized heat (often exceeding 1,000°F). If you hear sizzling, turn off the breaker immediately. Inspect the wire nuts for melted plastic or scorched wire insulation. The U.S. Consumer Product Safety Commission (CPSC) identifies arcing faults as a leading cause of residential electrical fires.
Professional-Grade Wiring Repair Protocol
When you identify a faulty connection during your troubleshooting, do not simply twist the wires back together. Follow this professional protocol to ensure a permanent, code-compliant repair:
- Cut and Re-Strip: Do not reuse the old, potentially oxidized or work-hardened ends of the copper wire. Cut back the wire by half an inch using flush-cut diagonal pliers.
- Precision Stripping: Use a dedicated wire stripper, like the Klein Tools 11055, set to the correct gauge (14 AWG for 15-amp circuits, 12 AWG for 20-amp circuits). Strip exactly 5/8 of an inch of insulation. Stripping too little leaves insulation inside the connector; stripping too much exposes bare copper outside the connector, creating a shock hazard.
- Align and Connect: Hold the branch circuit wire and the fixture pigtail perfectly parallel. If using Wago 221 lever nuts, lift the orange lever, insert the stripped wire until it hits the internal stop, and snap the lever down. This requires no twisting and provides a visual inspection window to confirm full insertion.
- Wire Management: Carefully fold the wires into the junction box in a 'Z' pattern. Do not jam them in forcefully, as this can stress the terminal connections on the fixture or push a wire nut off its seated position. Secure the fixture canopy using the provided mounting screws, ensuring no wires are pinched between the canopy and the drywall.
When to Call a Licensed Electrician
While many ceiling light troubleshooting tasks are well within the capabilities of an advanced DIYer, certain conditions require immediate professional intervention. If you open the junction box and discover aluminum branch wiring (common in homes built between 1965 and 1973), do not connect it directly to copper fixture pigtails without using approved COPALUM crimps or AlumiConn connectors. Furthermore, if you notice brittle, crumbling insulation (indicative of old rubber-coated or knob-and-tube wiring), or if the junction box itself is loose and lacking proper structural support to the framing, halt the project and consult a licensed electrician. Ensuring your electrical wiring ceiling light fixture repairs meet modern safety standards is the only way to guarantee long-term reliability and protect your home from electrical hazards.