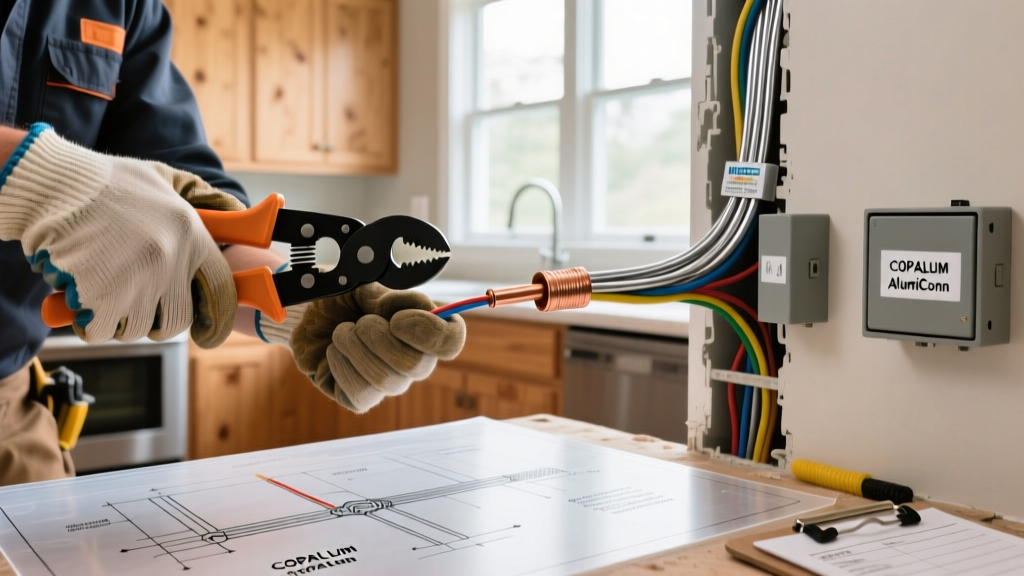

The Hidden Hurdle in Mid-Century Renovations
When planning a renovation for a home built between 1965 and 1973, discovering aluminum electrical wiring in the walls can abruptly alter your budget and timeline. During this era, copper prices spiked, prompting builders to install solid aluminum branch circuit wiring. While aluminum is an excellent conductor and is still used safely today for heavy feeder lines and utility service drops, the specific solid aluminum alloy used for 15A and 20A branch circuits in the 1960s presents severe fire hazards when terminated on standard brass or copper screw terminals.
For renovators, this means you cannot simply swap out old receptacles and switches for modern smart home devices or standard Decora outlets. The physical and chemical properties of older aluminum wire require specialized termination methods to comply with modern safety standards and secure homeowner's insurance.
Insurance Warning: Major carriers, including State Farm and Allstate, frequently require an Electrical Safety Authority (ESA) or licensed electrician certification proving that all aluminum branch wiring has been permanently remediated before they will bind a policy on a pre-1973 property.Identifying Your Aluminum Wiring Alloy
Before purchasing connectors or hiring a contractor, you must identify the specific alloy installed in the home. Not all aluminum electrical wiring is created equal, and the National Electrical Code (NEC) treats them very differently.
| Feature | AA-1350 Alloy (Pre-1972) | AA-8000 Series Alloy (Modern) |
|---|---|---|
| Composition | 99%+ Pure Aluminum | Alloyed with Iron, Copper, and Rare Earths |
| Creep Rate | High (Deforms under screw pressure) | Low (Matches copper creep rates) |
| Branch Circuit Status | Banned for new branch installations | Approved per NEC 310.106(B) |
| Renovation Action | Requires mandatory pigtailing/remediation | Safe with AL-rated terminals (CO/ALR) |
NEC-Compliant Remediation Strategies for Renovators
If your renovation uncovers AA-1350 solid aluminum wiring, you must mitigate the connection hazards. The Consumer Product Safety Commission (CPSC) recognizes only two permanent repair methods for existing aluminum branch wiring. You can review the historical data and safety recommendations in the official CPSC Publication 516 on Repairing Aluminum Wiring.
1. COPALUM Crimping (The Gold Standard)
The COPALUM system, originally developed by AMP (now TE Connectivity), uses a specialized crimping tool to cold-weld a copper pigtail to the aluminum wire. This creates a molecular bond that completely eliminates the risk of galvanic corrosion or thermal expansion loosening the connection.
- Pros: Permanent, maintenance-free, universally accepted by insurance companies, takes up less space in the junction box than lug connectors.
- Cons: Requires a factory-certified installer (there are very few left), requires the proprietary $1,000+ crimping tool, highest material and labor cost.
2. AlumiConn Lug Connectors (The Practical Alternative)
Manufactured by King Innovation, the AlumiConn 3-Port Lug Connector is the most practical solution for modern renovations. It features independent set-screws plated with a special alloy that bites into the aluminum, breaking the oxide layer. The connector comes pre-filled with an anti-oxidant inhibitor.
- Pros: Can be installed by any licensed electrician, highly reliable, readily available at electrical supply houses, torque-rated for precise installation.
- Cons: Bulky (can make fitting multiple pigtails into a standard 18-cubic-inch junction box difficult), requires strict adherence to torque specifications.
Many hardware stores sell purple Ideal 65 wire nuts marketed for copper-to-aluminum pigtailing. The CPSC and the NEC explicitly advise against using twist-on wire connectors as a permanent repair for AA-1350 aluminum wiring. They are prone to failure under thermal cycling and will likely cause your renovation to fail an electrical inspection or insurance audit.
Cost Breakdown: Budgeting for Aluminum Remediation
When estimating your renovation budget, you must weigh the cost of pigtailing against a full copper rewire. Below are the current average market rates for a standard 1,500-square-foot home with approximately 150 to 200 terminations.
| Remediation Method | Cost Per Connection | Whole-House Estimate | Timeline |
|---|---|---|---|
| COPALUM Crimp | $65 - $95 | $9,750 - $19,000 | 3 - 5 Days |
| AlumiConn Pigtailing | $18 - $28 | $2,700 - $5,600 | 2 - 4 Days |
| Full Copper Rewire | N/A | $14,000 - $24,000 | 5 - 8 Days |
Step-by-Step: Executing the AlumiConn Pigtailing Workflow
If you and your contractor choose the AlumiConn route, strict adherence to installation protocols is non-negotiable. According to the National Fire Protection Association (NFPA) NEC guidelines, improper torque is a leading cause of termination failure.
- De-energize and Verify: Turn off the breaker and use a non-contact voltage tester and a multimeter to confirm the circuit is dead.
- Strip with Precision: Strip exactly 5/16 inch of insulation from the aluminum wire. Do not nick or score the aluminum conductor. Scoring creates a weak point that will snap under the set-screw pressure.
- Insert and Seat: Insert the aluminum wire into one port of the AlumiConn and the copper pigtail into another. Ensure no bare wire is exposed outside the connector housing.
- Torque to Specification: Using a calibrated inch-pound torque screwdriver, tighten the set-screws to exactly 20 inch-pounds for 12 AWG wire, or 15 inch-pounds for 14 AWG wire. Overtightening will snap the aluminum; undertightening will cause arcing.
- Terminate the Pigtail: Connect the copper pigtail to a CO/ALR rated receptacle (such as the Leviton 5262-CW) or a standard copper-rated device, as the pigtail is now pure copper.
- Box Fill Calculation: Verify the junction box has adequate cubic inch capacity. An AlumiConn connector counts as a specific volume fill. If the box is overcrowded, install a deep 22-cubic-inch remodel box.
Common Failure Modes and Edge Cases in Renovations
Understanding why aluminum electrical wiring fails helps you spot hidden dangers during your demolition and rough-in phases.
Thermal Creep (Cold Flow)
Aluminum has a higher coefficient of thermal expansion than brass or steel. When current flows, the wire heats up and expands. When the load drops, it cools and contracts. Over years of thermal cycling, AA-1350 aluminum 'creeps' or flows away from the screw terminal pressure. This creates a microscopic air gap, leading to high-resistance arcing and melted faceplates.
Galvanic Corrosion
When aluminum and copper are in direct physical contact in the presence of ambient humidity, a galvanic reaction occurs. The aluminum acts as an anode and rapidly corrodes, turning into a powdery white substance that destroys the connection. This is why COPALUM (which creates an oxygen-free molecular bond) and AlumiConn (which uses a barrier plating and inhibitor paste) are mandatory for pigtailing.
Aluminum Oxide Insulation
Unlike copper oxide, which remains electrically conductive, aluminum oxide forms within minutes of the wire being stripped and is a highly effective electrical insulator. If an electrician strips an aluminum wire and leaves it exposed to the air while preparing the pigtail, the oxide layer will form and increase contact resistance. Always prep and terminate aluminum connections immediately.
'In renovation environments, the most common edge case is finding aluminum wiring that was previously 'repaired' with standard copper wire nuts and electrical tape by a DIY homeowner. These hidden time bombs are usually found melted inside junction boxes behind drywall. Always mandate a full thermographic infrared scan of the electrical panel and accessible junction boxes before closing up walls in a mid-century remodel.'
Final Renovation Checklist
Before scheduling your final municipal inspection, ensure your electrical contractor provides a signed letter of compliance detailing the exact remediation method used, the number of connections repaired, and the specific CO/ALR device model numbers installed. Submit this documentation to your home insurance underwriter immediately to prevent any lapses in coverage during the final stages of your renovation.