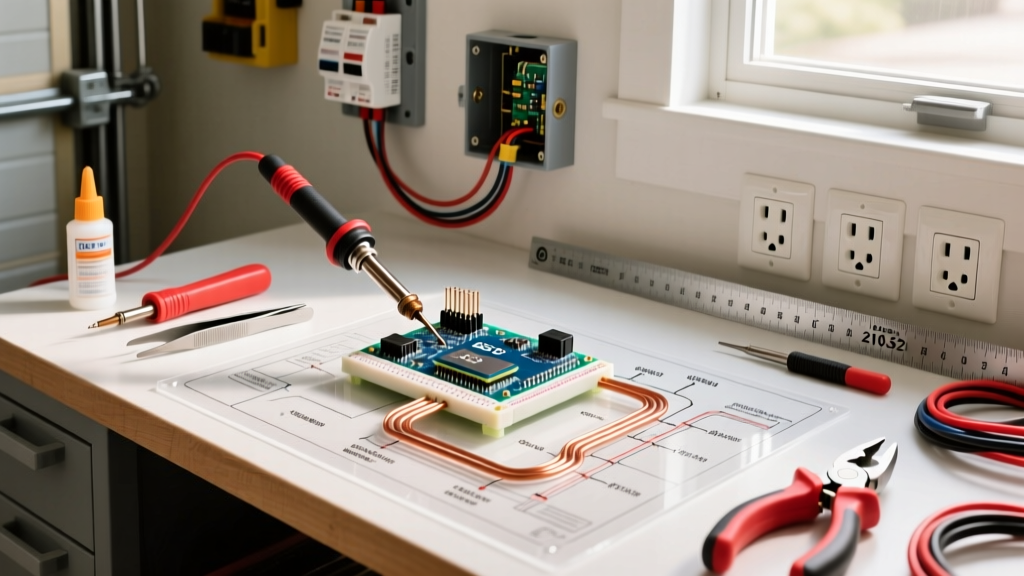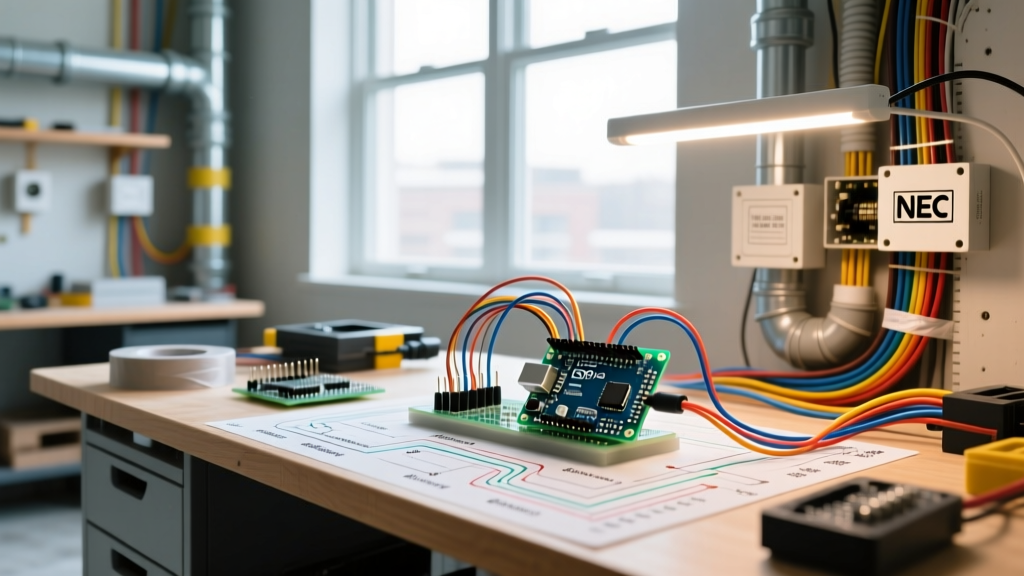

The Reality of New Construction Electrical Wiring in 2026
Building a new home is a monumental task, and the electrical infrastructure is its central nervous system. In 2026, the baseline for residential power has shifted dramatically. We are no longer just wiring for standard 120V receptacles; we are integrating Level 2 EV charging stations, solar-ready subpanels, smart home low-voltage backbones, and high-draw induction cooktops. For the ambitious owner-builder, tackling new construction electrical wiring as a DIY project presents a tempting opportunity to save tens of thousands of dollars. However, the margin for error is razor-thin, and the consequences of a flawed rough-in can range from failed municipal inspections to catastrophic electrical fires.
This comprehensive analysis breaks down the technical, financial, and regulatory realities of DIY versus professional electrical installation in new residential construction, providing you with a data-driven framework to make your decision.
The Three Phases of Residential Electrical Installation
To understand the complexity, we must dissect the workflow into its three distinct phases. Each phase requires specialized tools, code knowledge, and physical labor.
Phase 1: Underground and Service Entrance
This phase involves trenching, laying conduit, and pulling heavy-gauge service lateral cables. A standard 2026 new build often requires a 320A continuous service to accommodate dual EV chargers and electric HVAC systems. This requires pulling 350 kcmil or parallel 4/0 AWG aluminum XHHW-2 conductors through 3-inch PVC Schedule 80 conduit. Terminating these at the utility transformer and the main meter socket requires strict adherence to utility company specifications and precise torque settings.
Phase 2: The Rough-In
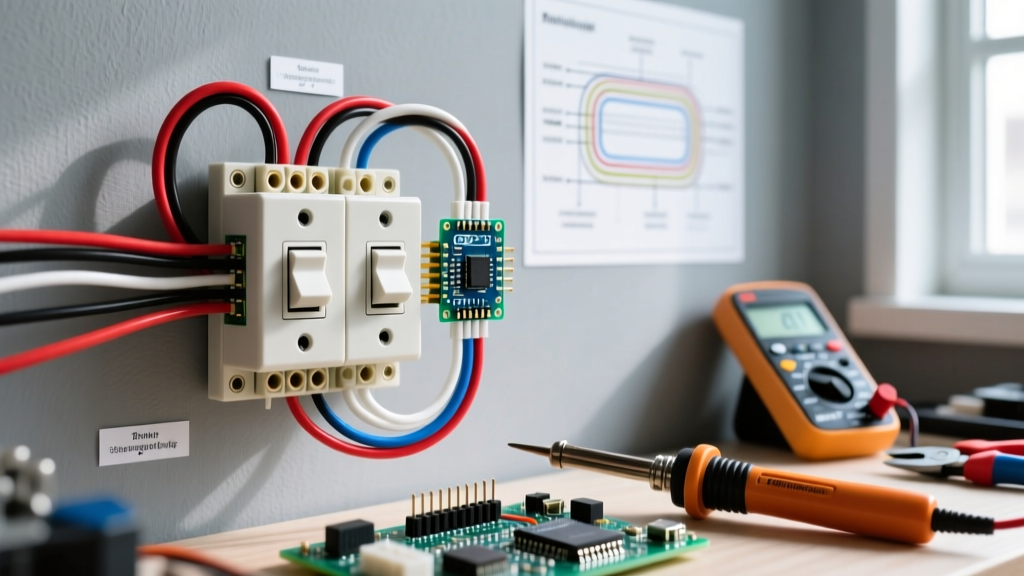
The rough-in is the most labor-intensive phase. It involves drilling hundreds of studs, installing nail plates, mounting junction boxes, and pulling miles of non-metallic sheathed cable (Romex). For a 2,500-square-foot home, expect to use roughly 6,000 to 8,000 feet of 12/2 AWG copper wire for 20A appliance circuits and 14/2 AWG for 15A lighting circuits. DIYers must also meticulously plan low-voltage runs (Cat6A, RG6, and 16/2 thermostat wire) before the drywallers arrive.
Phase 3: Trim-Out and Terminations
Once drywall and paint are complete, the trim-out phase begins. This involves stripping wires, making up boxes with wire nuts or push-in connectors (like Wago 221 series), installing devices (receptacles, switches, dimmers), and dressing the main load center. The final step is energizing the panel and verifying polarity, grounding continuity, and GFCI/AFCI trip times.
Cost Breakdown Matrix: DIY vs. Licensed Electrician
The financial argument is usually the primary driver for DIY electrical work. Below is a realistic cost matrix for a 2,500-square-foot, single-story new build in a moderate-cost-of-living region in 2026.
| Project Phase | DIY Material Cost | Pro Total Cost (Labor + Materials) | Time Investment (DIY) | Risk Level |
|---|---|---|---|---|
| Service Entrance & Meter | $1,800 - $2,500 | $4,500 - $6,500 | 20 - 30 Hours | Extreme (Utility Coordination) |
| Rough-In (Wire & Boxes) | $3,500 - $5,000 | $12,000 - $18,000 | 120 - 160 Hours | High (Box Fill / Nail Plates) |
| Load Center & Breakers | $1,200 - $1,800 | $3,000 - $4,500 | 15 - 25 Hours | Extreme (Busbar / Torque) |
| Trim-Out & Devices | $1,500 - $2,200 | $4,000 - $6,000 | 60 - 80 Hours | Moderate (Cosmetic / Polarity) |
| Total Estimated | $8,000 - $11,500 | $23,500 - $35,000 | 215 - 295 Hours | Compounded |
Note: Professional costs reflect prevailing 2026 union and non-union prevailing wage rates. DIY costs assume bulk purchasing of Southwire SIMpull and Siemens load centers at big-box retail or wholesale electrical supply houses.
Navigating the NEC: Where DIYers Hit the Wall
The NFPA 70 National Electrical Code (NEC) is a living document that grows more restrictive with every three-year cycle. Municipal inspectors in 2026 are heavily focused on a few critical areas where DIYers frequently fail:
- AFCI Protection (NEC Article 210.12): Almost all 120V, single-phase, 15- and 20-amp branch circuits supplying habitable rooms must have Combination-Type Arc-Fault Circuit Interrupter protection. DIYers often miswire shared-neutral (multi-wire) branch circuits, causing immediate AFCI tripping.
- Torque Specifications (NEC 110.14(D)): You can no longer tighten lugs 'until they feel tight.' The NEC mandates the use of a calibrated torque screwdriver or wrench (such as the Klein Tools 69060) for all terminations on breakers, neutral bars, and ground bars. Failure to provide a torque log to the inspector will result in an automatic fail in many strict jurisdictions.
- EV-Ready Receptacles: Many local amendments now require at least one dedicated 240V, 50A (NEMA 14-50) receptacle in the garage. This requires 6 AWG copper or 4 AWG aluminum THHN in conduit, with specific grounding requirements that differ from standard dryer circuits.
According to the Electrical Safety Foundation International (ESFI), electrical malfunctions remain a leading cause of residential fires. The rigorous inspection process enforced by the National Electrical Contractors Association (NECA) member firms is designed specifically to mitigate these hidden hazards.
Critical Failure Modes in DIY New Construction Wiring
When analyzing DIY failures, the issues rarely stem from a fundamental misunderstanding of how electricity flows. Instead, they arise from overlooked mechanical and spatial code requirements.
1. Box Fill Violations (NEC Article 314.16)
Every junction and device box has a maximum cubic inch capacity based on the number and gauge of wires, clamps, and devices inside. A standard single-gang plastic nail-on box (approx. 18 cubic inches) can legally hold only four 12/2 cables and one duplex receptacle. DIYers frequently cram six or seven cables into a single box to save time, creating a severe heat dissipation hazard and an automatic inspection failure.
2. Missing Nail Plates and Bored Hole Clearances
When drilling through framing studs to run wire, NEC 300.4(A)(1) mandates that holes must be at least 1.25 inches from the nearest edge of the stud. If you bore a hole closer than this to accommodate a stubborn pipe or duct, you must install a 1/16-inch steel nail plate over the stud face. DIYers routinely skip this step, leaving wires vulnerable to drywall screws and finish nails, resulting in dead shorts behind finished walls.
3. Improper Grounding Electrode Systems (GES)
A new build requires a robust grounding system, typically involving two 5/8-inch copper-clad ground rods driven 8 feet into the earth, spaced at least 6 feet apart, connected to the main panel with a continuous, unspliced 4 AWG bare copper wire. DIYers often attempt to splice this wire or use inadequate clamps (like standard hose clamps instead of listed acorn clamps), compromising the entire home's surge and fault-clearing capability.
The Verdict: A Decision Framework for Homebuilders
The Golden Rule of New Construction Wiring: If you are acting as the general contractor for your own home, you can legally pull the electrical permit in many jurisdictions as an 'owner-builder.' However, the liability for life-safety failures rests entirely on your shoulders.
When to DIY: If you have prior electrical experience, understand NEC box-fill calculations, own a calibrated torque screwdriver, and have the time to dedicate 250+ hours to the project, you can save $15,000 to $20,000. DIY is also highly recommended for the low-voltage rough-in (Cat6A, coax, security, and audio). Pulling low-voltage wire is labor-intensive but carries zero life-safety risk and does not require a licensed electrician.
When to Hire a Professional: If you are building a multi-story home, integrating complex solar/battery backup systems (like a Tesla Powerwall 3), or if your local municipality requires a master electrician's license to pull a service permit, hire a licensed contractor. The cost of tearing out drywall to fix a failed rough-in inspection will instantly erase any DIY material savings.
Frequently Asked Questions
Can I pull my own electrical permit for a new build?
In most US states, an owner-builder can pull an electrical permit provided they sign an affidavit stating they will occupy the home for a minimum period (usually 12 to 24 months) and will perform the work themselves. However, some municipalities strictly prohibit DIY service entrance work, requiring a licensed contractor for the meter and main panel installation.
What is the average cost per square foot for professional wiring?
In 2026, professional new construction electrical wiring typically ranges from $9.00 to $14.00 per square foot, depending on the region, the complexity of smart-home integrations, and the amperage of the main service. High-end custom homes with extensive Lutron RadioRA 3 lighting control systems can easily exceed $20.00 per square foot.
Do I need to install conduit for interior residential wiring?
Generally, no. Standard interior residential wiring uses Non-Metallic Sheathed Cable (NM-B / Romex) run directly through bored stud cavities. Conduit (EMT or PVC) is only required in areas where the cable is exposed to physical damage, such as unfinished basements, garages (below 8 feet), and surface-mounted runs.