
Why Hardwire LED Strips Directly to a Breaker Panel?
While plug-in LED strip kits are common for temporary DIY projects, permanent architectural lighting demands a hardwired approach. Relying on wall-warts and exposed receptacles creates clutter, introduces points of failure, and often violates local electrical codes for permanent installations. By integrating a dedicated circuit into your electrical panel, you ensure clean aesthetics, smart-home compatibility, and strict adherence to safety standards.
This guide provides a comprehensive wiring diagram for LED strip lights from a Panel & Breaker perspective. We will cover National Electrical Code (NEC) compliance, precise load calculations, component selection, and the critical low-voltage wiring topology required to prevent voltage drop and thermal throttling.
NEC Code Requirements for Low-Voltage Lighting
Before pulling any wire, it is vital to understand how the NEC classifies LED lighting systems. According to NFPA 70 (National Electrical Code), low-voltage lighting systems fall under specific articles depending on the power supply used:
- Article 411: Covers Lighting Systems Operating at 30 Volts or Less. This applies to the secondary (output) side of your LED driver.
- Article 725: Governs Class 1, Class 2, and Class 3 remote-control and power-limited circuits. If your LED driver is UL-Listed as a Class 2 power source (limited to 60V DC and 100VA), the low-voltage wiring does not need to be routed in conduit or rated for 600V, vastly simplifying installation.
Expert Note: Never connect LED strips directly to 120V AC mains. You must use a UL-listed LED driver (power supply) to step down the voltage to 12V or 24V DC. For architectural runs over 10 feet, 24V DC is the mandatory industry standard to mitigate voltage drop.
Load Calculation & Breaker Sizing
To determine the correct breaker size, we must calculate the continuous load. NEC Article 210.20(A) requires that branch circuit overcurrent devices be rated at 125% of the continuous load (defined as a load expected to run for 3 hours or more).
Example Calculation: High-Density 24V COB LED Strip
Let's assume you are installing a 16.4 ft (5m) reel of 24V COB SMD 2835 high-density strip drawing 14W per foot.
- Total Wattage: 16.4 ft × 14W/ft = 229.6W
- Driver Efficiency Factor: Add 15% for LED driver power loss (Mean Well XLG series operates at ~90% efficiency). 229.6W × 1.15 = 264W total AC draw.
- AC Amperage (at 120V): 264W / 120V = 2.2 Amps.
- Continuous Load Multiplier (125%): 2.2A × 1.25 = 2.75 Amps.
A standard 15-Amp breaker (rated for 1,800W max, 1,440W continuous) is more than sufficient for this run. In fact, a single 15A circuit can safely power up to five of these 16.4 ft strips if you utilize power injection and multiple LED drivers.
The Hardwired Wiring Diagram for LED Strip Lights
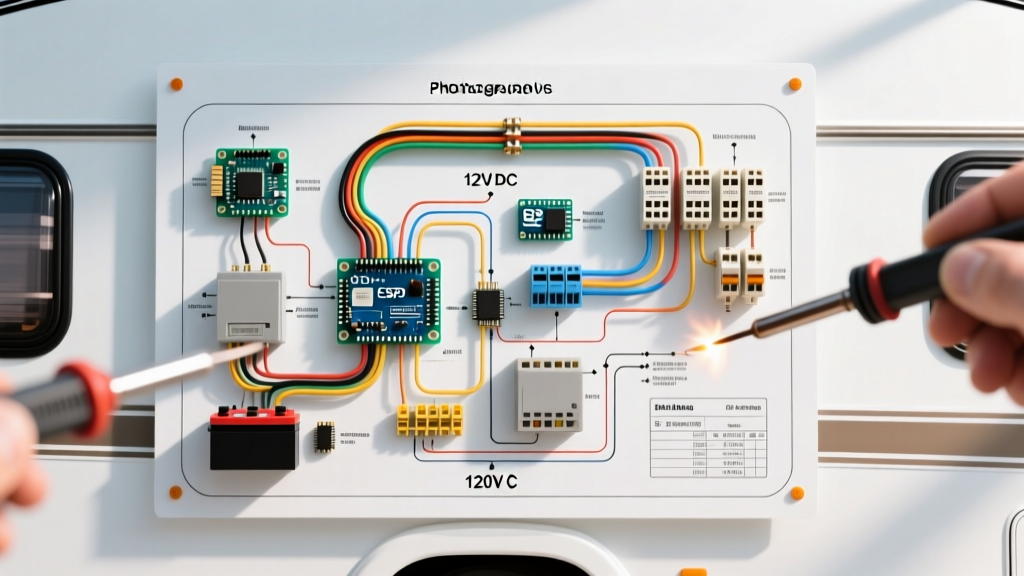
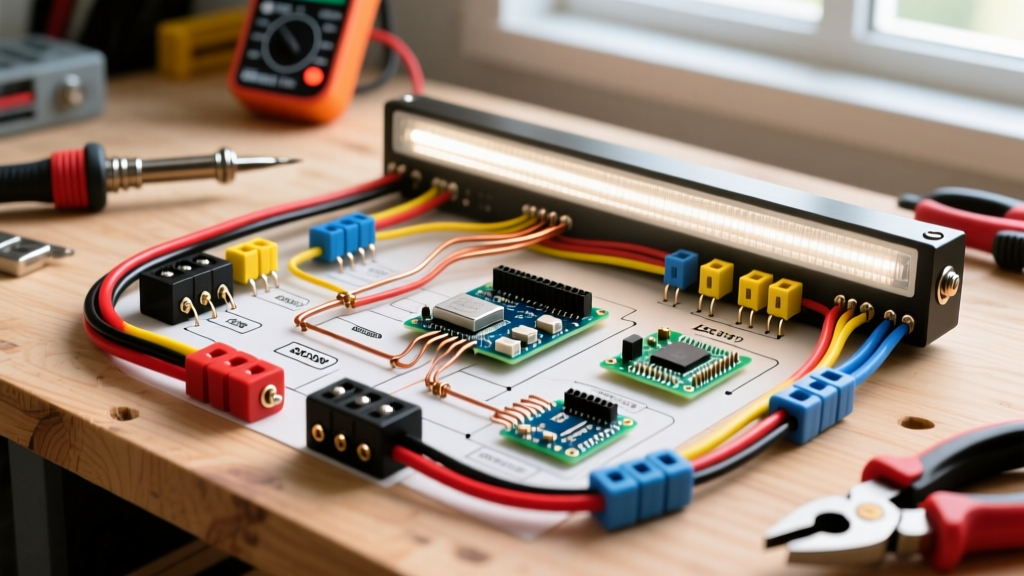
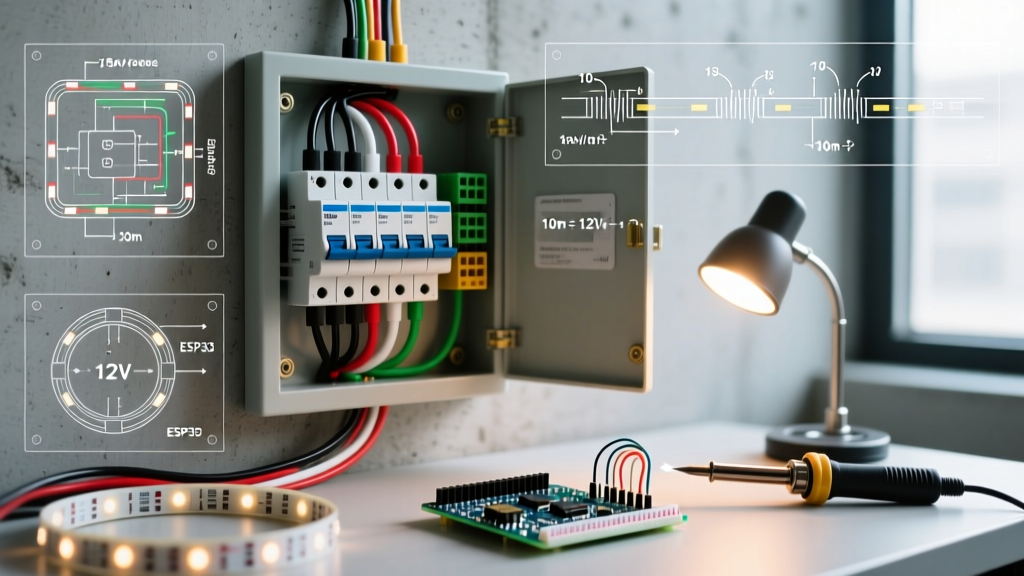
The topology of a hardwired LED system consists of three distinct zones: the AC Mains side, the LED Driver, and the DC Low-Voltage side.
Step-by-Step Wiring Flow
- Panel to Disconnect/Switch: Run 14/2 NM-B (Romex) from a dedicated 15A single-pole breaker (e.g., Square D HOM115) to a standard single-gang junction box housing a smart switch or ELV dimmer.
- Switch to LED Driver: Continue the 14/2 NM-B from the switch load-side to the LED driver's AC input terminal block (L, N, and Ground).
- Driver to DC Dimmer (Optional): If using a 0-10V or PWM low-voltage dimmer, wire the driver's DC output (V+, V-) to the dimmer's input.
- DC Dimmer to LED Strip: Run 12 AWG stranded low-voltage wire from the dimmer output to the copper solder pads on the LED strip. Ensure polarity (+ to +, - to -) is strictly observed.
Component Bill of Materials (BOM) & 2026 Pricing
Selecting commercial-grade components prevents premature failure. Below is a recommended BOM for a high-end residential or commercial installation.
| Component | Recommended Model / Spec | Estimated Cost (2026) | Purpose |
|---|---|---|---|
| Circuit Breaker | Square D HOM115 (15A) | $6.50 | Overcurrent protection |
| AC Wiring | 14/2 NM-B Copper (Romex) | $0.85 / ft | 120V AC mains delivery |
| LED Driver | Mean Well XLG-240-H-A (24V, 240W) | $78.00 | AC to DC conversion, IP67 rated |
| DC Wiring | 12 AWG Stranded Copper (2-conductor) | $0.65 / ft | Low voltage delivery (minimizes drop) |
| LED Strip | 24V COB SMD 2835 (CRI 90+, 14W/ft) | $35.00 / 16.4ft reel | Dot-free, high-lumen light emission |
Voltage Drop & DC Wire Gauge Selection
The most common failure in LED strip installations is not a blown breaker, but severe voltage drop on the DC side. As DC current travels through copper wire, resistance causes the voltage to sag. If a 24V strip receives less than 21V, it will exhibit dimming, flickering, and in the case of RGBW strips, severe color shifting.
According to data published by the Department of Energy's Solid-State Lighting program, maintaining less than a 3% voltage drop is critical for LED longevity and color consistency.
DC Wire Gauge Sizing Matrix (24V Systems)
| Total Run Length (One Way) | Current Draw (Amps) | Required Wire Gauge (AWG) | Voltage Drop % |
|---|---|---|---|
| Up to 5 ft | 10A (240W) | 14 AWG | 1.6% |
| 5 ft to 15 ft | 10A (240W) | 12 AWG | 2.4% |
| 15 ft to 30 ft | 10A (240W) | 10 AWG | 2.8% |
| Over 30 ft | 10A (240W) | 8 AWG or Power Injection | Varies |
Pro-Tip: If you must run strips longer than 16.4 ft (5m), do not simply daisy-chain them. The copper traces on the flexible PCB of the LED strip are typically only 2-3 oz and cannot handle the amperage of multiple reels. You must use power injection—running a parallel 12 AWG DC wire from the driver and tapping into the strip every 16.4 feet.
Common Failure Modes & Troubleshooting
Even with a perfect wiring diagram for LED strip lights, edge cases can cause system instability. Here is how to troubleshoot hardwired setups:
1. Thermal Throttling of the LED Driver
Symptom: Lights work for 20 minutes, then dim or shut off entirely, resetting after cooling down.
Cause: LED drivers like the Mean Well XLG series generate heat. If mounted inside a sealed junction box or an insulated ceiling joist bay without airflow, the internal thermal protection trips.
Fix: Mount the driver in a ventilated, accessible location (like a basement ceiling or utility closet) and ensure the metal casing is exposed to ambient air. Never bury a driver in blown-in insulation.
2. ELV Dimmer Flickering and Ghosting
Symptom: LED strips strobe at low dimming levels or remain faintly lit when the wall switch is turned off.
Cause: Mismatch between the dimmer's minimum load requirement and the LED driver. Many older ELV (Electronic Low Voltage) dimmers require a 15W minimum load.
Fix: Use a modern dimmer specifically rated for LED drivers, such as the Lutron SELV-300P, and adjust the low-end trim dial on the dimmer to eliminate ghosting.
3. Ground Loop Interference (Audio/Smart Home)
Symptom: Buzzing in nearby audio equipment or erratic behavior in smart home relays.
Cause: Multiple grounding paths creating a loop, often when the DC negative is accidentally grounded to a metal chassis that is also tied to AC earth ground.
Fix: Keep the DC negative (V-) floating. Only ground the AC earth wire to the LED driver's metal chassis and the panel's ground bar.
Frequently Asked Questions
Can I put LED strip lights on a standard 15A lighting circuit with other fixtures?
Yes, but it is not recommended for high-draw architectural lighting. You must add the LED driver's continuous AC draw to the existing loads on the circuit. If the combined continuous load exceeds 12 Amps (1,440W), you must upgrade to a 20A breaker and 12 AWG wire, or run a dedicated circuit.
Do I need a GFCI or AFCI breaker for hardwired LED strips?
NEC 2023/2026 updates mandate AFCI (Arc-Fault Circuit Interrupter) protection for almost all 120V, 15A and 20A branch circuits supplying outlets and lighting in dwelling units (living rooms, bedrooms, kitchens). Therefore, your dedicated breaker should likely be an AFCI type. GFCI is only required if the driver and strips are installed in damp/wet locations (like under outdoor kitchen counters), in which case you must use IP67-rated strips and a wet-location listed driver.
What is the maximum distance I can place the LED driver from the breaker panel?
There is no strict NEC limit on the 120V AC run to the driver, provided you account for standard AC voltage drop (using 14 AWG for runs under 50 ft, and 12 AWG for longer runs). However, the DC low-voltage run from the driver to the LED strip should be kept as short as possible (ideally under 15 ft) to prevent severe DC voltage drop. Always place the driver close to the lights, not close to the panel.