
The Core Anatomy of a Switch Loop: Beyond the Diagram
When homeowners and DIY enthusiasts search for a wiring diagram for a switch, they are usually looking for a simple visual map of where the black, white, and bare copper wires connect. However, a diagram is only as safe as the physical materials you use to execute it. In 2026, with the widespread adoption of smart home ecosystems and stricter enforcement of the National Electrical Code (NEC), understanding wire gauge (AWG) and color code mandates is just as critical as knowing which terminal receives the line voltage.
A standard single-pole switch interrupts the 'hot' leg of a circuit. But if you pair a 20-amp breaker with 14 AWG wire, or fail to re-identify a white neutral wire being used as a hot traveler, you are creating a severe fire and shock hazard. The U.S. Consumer Product Safety Commission (CPSC) consistently cites improper wire sizing and degraded connections as leading causes of residential electrical fires. This guide bridges the gap between theoretical diagrams and code-compliant, real-world execution.
Decoding the Circuit Paths
- Line (Hot): The unswitched power coming from the breaker panel. Always carries full circuit voltage.
- Load: The switched hot wire continuing from the switch to the light fixture or receptacle.
- Neutral: The return path to the panel. Historically not required at the switch box, but modern codes demand its presence.
- Ground: The safety fault path. Must be continuous from the panel, through the switch box, to the fixture.
NEC Wire Gauge Requirements for Switch Loops
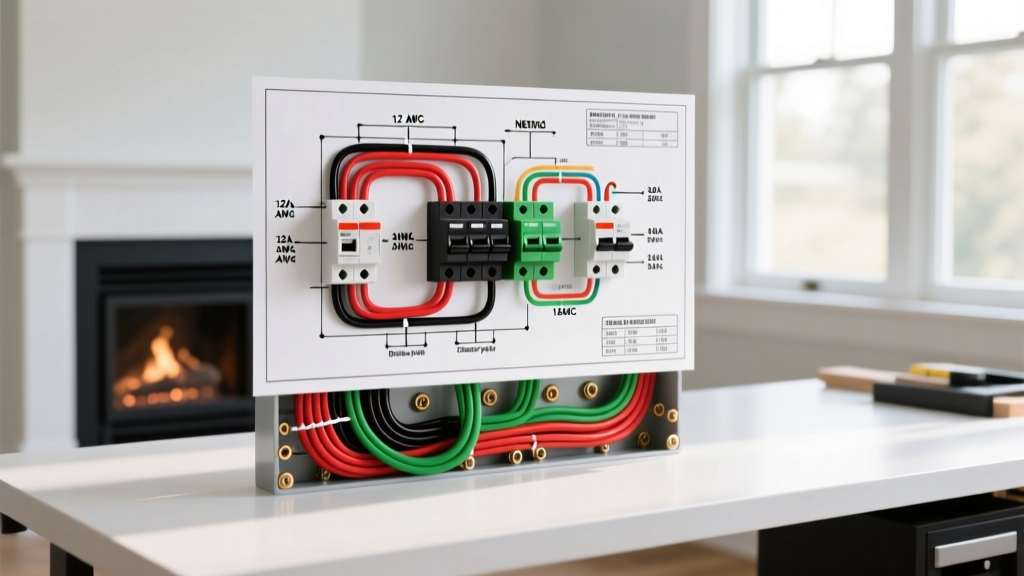
Wire gauge dictates how much current a conductor can safely carry before the insulation melts or a fire starts. According to NFPA 70 (National Electrical Code) Article 240.4(D), overcurrent protection for small conductors has strict limits. You cannot simply choose a wire based on availability; it must match the breaker protecting the circuit.
| Breaker Size | Minimum Copper Wire Gauge (AWG) | Max Wattage (120V Circuit) | Common Residential Application |
|---|---|---|---|
| 15 Amp | 14 AWG | 1,440W (Continuous) / 1,800W (Peak) | Standard bedroom/hallway lighting circuits |
| 20 Amp | 12 AWG | 1,920W (Continuous) / 2,400W (Peak) | Kitchen, bathroom, and garage lighting/receptacles |
| 30 Amp | 10 AWG | 2,880W (Continuous) / 3,600W (Peak) | Heavy appliances (rarely used for standard wall switches) |
Pro-Tip for Long Runs: If your switch loop or home run exceeds 50 feet from the breaker panel, voltage drop becomes a factor. Even on a 15-amp circuit, it is highly recommended to upsize to 12 AWG (like Southwire Romex SIMpull 12/2 NM-B, typically costing around $0.75 per foot) to ensure your smart switches and LED drivers receive a clean, steady 120V.
NEC Color Code Mandates & The 'Re-Identification' Rule
Color coding is not merely a suggestion; it is a life-safety standard enforced by the NEC and monitored by organizations like OSHA in commercial settings. Misinterpreting wire colors based on outdated diagrams is a primary cause of electrocution during retrofit projects.
Standard Color Assignments
- Black / Red / Blue: Hot, Line, Load, or Traveler wires. These are always assumed to be energized.
- White / Gray: Neutral (Grounded Conductor). Used for the return path.
- Bare Copper / Green: Equipment Grounding Conductor. Never carries current unless there is a fault.
Critical Code Alert (NEC 200.7(C)): In older 3-way switch diagrams, a 2-wire cable (Black and White) was often run between switches. The white wire was used as a 'hot' traveler. The NEC strictly requires that if a white wire is used as anything other than a neutral, it must be permanently re-identified at both ends using black or red electrical tape, or heat-shrink tubing. Failing to do so is a direct code violation and a massive shock hazard for the next person working on the box.
The Game Changer: NEC 404.2(C) and the Neutral Requirement
If you are looking at a wiring diagram for a switch printed before 2011, it likely shows a 'switch loop' where only the hot line and the switched load enter the switch box. There is no neutral wire in the box. This is no longer code-compliant for new construction or major renovations.
NEC 404.2(C) mandates that a neutral (grounded) conductor must be present at every wall switch box controlling lighting. Why? Because modern smart switches (like the Leviton Decora Smart D215A or Lutron Caseta hubs) require a continuous low-current path to power their internal Wi-Fi, Zigbee, or Bluetooth radios, even when the light is turned off. If you wire a new addition using old 14/2 switch loops without a neutral, you will fail your municipal electrical inspection and be forced to tear open the drywall to pull new 14/3 or 12/3 cable.
Step-by-Step: Wiring a Standard Single-Pole Switch (15A Circuit)
Assuming you are using 14/2 NM-B cable with a dedicated ground, follow these precise physical steps to ensure a low-resistance, arc-free connection.
- Strip the Sheathing: Remove the outer PVC jacket of the Romex cable, leaving at least 1/4 inch of sheathing entering the electrical box to protect the wire insulation from the box's metal or plastic edges.
- Strip the Conductors: Use precision wire strippers (like the Klein Tools 11055) to remove exactly 3/4 inch of insulation from the black and white wires. Stripping too little leaves exposed copper outside the terminal; stripping too much exposes bare hot wire inside the box.
- Pigtail the Ground: Never just loop the ground wire around the switch's green screw and leave the downstream ground unconnected. Use a green Ideal Industries wire nut to join the incoming ground, the outgoing ground, and a 6-inch bare copper 'pigtail' that connects to the switch.
- Connect Line and Load: Form a 'J-hook' in the black wires. Hook them clockwise around the brass terminal screws. This ensures that tightening the screw pulls the wire loop tighter, rather than pushing it out.
- Torque and Secure: Tighten the terminal screws to the manufacturer's spec (usually around 12-14 in-lbs for standard 15A Leviton switches). Wrap the switch body with high-quality 3/4-inch electrical tape (like 3M Super 33+) to cover the exposed terminal screws, preventing accidental shorts if the box is overcrowded.
Smart Switch Upgrades: Why Your Gauge and Cable Type Matters
When upgrading to smart lighting in 2026, the physical wiring diagram for a switch changes depending on the brand you choose. If your older home lacks a neutral wire in the switch box, you are limited to specific models.
- Lutron Caseta (PD-6WCL): This premium switch (retailing around $65) does not require a neutral wire. It bleeds a tiny amount of current through the LED bulb itself to stay powered. However, it requires the installation of a Lutron Pico remote or a specialized wallplate bracket.
- Leviton Decora Smart (D215A): This Matter-over-Thread enabled switch (around $18) requires a neutral wire. If you open your box and only see a black, white (acting as load), and bare copper, you cannot install this switch without pulling new 14/3 cable from the fixture or panel.
Common Failure Modes and Troubleshooting
Even with the correct wiring diagram for a switch, physical installation errors lead to premature failure. Watch out for these specific edge cases:
1. The 'Backstab' Push-In Connection Failure
Many cheap 15A switches feature push-in 'backstab' terminals on the rear. While UL-listed, these rely on a tiny internal spring clip to grip the 14 AWG wire. Over years of thermal expansion and contraction (heating up and cooling down), these springs weaken. The result is a high-resistance connection that causes the switch faceplate to feel warm to the touch, eventually melting the plastic or causing an arc fault. Always use the side-binding screw terminals or the screw-to-clamp plate terminals.
2. Shared Neutral Trips on AFCI/GFCI Breakers
In multi-gang switch boxes (e.g., controlling a bathroom fan and a vanity light), DIYers often tie all the white neutral wires together. If the fan is on a GFCI/AFCI protected breaker and the vanity light is on a standard breaker, sharing the neutral return path will cause an immediate imbalance. The GFCI breaker will detect current returning on a different circuit and trip instantly. Keep neutrals strictly isolated by their respective breaker circuits.
3. Mixing Solid and Stranded Wire in Wire Nuts
When connecting a smart switch's stranded pigtail to the home's solid 12 AWG Romex wire, do not pre-twist the wires together with pliers. The stranded wire will wrap around the solid wire without penetrating the core, leading to a loose connection. Instead, hold them perfectly parallel, let the stranded wire extend 1/16 inch past the solid wire, and twist the wire nut over them. The nut's internal coil will force the stranded wire to bite into the solid copper.
Final Verification
Before energizing the circuit, use a digital multimeter to check for continuity between the line and load with the switch toggled. Once the breaker is on, verify the voltage at the load terminal reads exactly 120V (or 240V for split-phase heavy loads) relative to ground. A proper understanding of wire gauge limits and strict adherence to NEC color codes ensures that your switch installation is not only functional but will remain safe for decades.