
The Reality of 220V vs. 240V Split-Phase Power
When homeowners, HVAC technicians, and DIYers search for a wiring diagram for 220 volt circuits, they are usually looking to install heavy-duty appliances like electric ranges, clothes dryers, or Level 2 EV chargers. However, from an electrical engineering and National Electrical Code (NEC) perspective, true '220V' is an outdated term. Modern North American residential grids deliver 240V split-phase power. The nominal voltage at the transformer is 240V, though it can fluctuate between 220V and 250V depending on grid load and distance from the substation.
Understanding this distinction is critical when reading panel schematics. A standard 120V circuit utilizes one hot leg (120V to neutral) and a neutral return. A 240V (colloquially 220V) circuit utilizes both hot legs of your split-phase panel (Leg A and Leg B), providing 240V across the two poles without requiring a neutral for pure resistive loads like baseboard heaters. However, appliances requiring 120V for control boards or motors (like dryers and ranges) require a 4-wire setup: two hots, one neutral, and one ground.
Core Components of a 220V/240V Circuit
Before landing wires in your main service panel or subpanel, you must identify the correct components. Using undersized breakers or incorrect wire gauges is a leading cause of residential electrical fires.
- Double-Pole Breakers: These occupy two adjacent slots in the panel, connecting to both the A and B bus bars. They feature a common internal trip mechanism; if one leg overloads, both legs disconnect simultaneously.
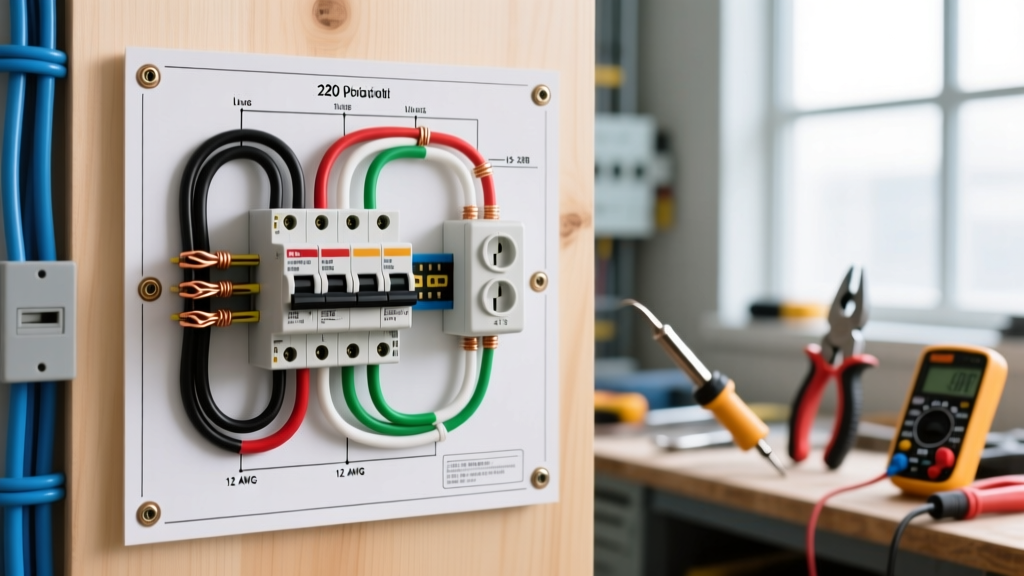
- Wire Color Coding (NEC Standard): For 240V-only loads (like water heaters), you can use black and white (re-identified with black tape) as your two hots. For 120/240V loads, you must use Black (Hot 1), Red (Hot 2), White (Neutral), and Bare/Green (Ground).
- Conductor Material: Copper is the standard for branch circuits (NM-B Romex or THHN). If you are running long distances and using Aluminum SER cable to save money, you must upsize the wire by at least two AWG gauges to match copper ampacity.
Wire Gauge, Breaker Sizing, and Cost Matrix (2026 Data)
Below is the definitive matrix for sizing your 240V circuits. Pricing reflects average 2026 retail costs for premium brands like Square D, Eaton, and Southwire.
| Breaker Amps | Copper AWG (NM-B) | Aluminum AWG (SER) | NEMA Receptacle | Typical Appliance | Est. Material Cost |
|---|---|---|---|---|---|
| 20A | 12 AWG | 10 AWG | NEMA 6-20R | Window AC, Power Tools | $15 (Breaker + Outlet) |
| 30A | 10 AWG | 8 AWG | NEMA 14-30R | Electric Clothes Dryer | $45 ($12 Breaker + $33 Outlet) |
| 40A | 8 AWG | 6 AWG | NEMA 14-40R | Older Ranges (Rare) | $60 |
| 50A | 6 AWG | 4 AWG | NEMA 14-50R | Modern Ranges, EV Chargers | $85 ($15 Breaker + $70 Outlet) |
| 60A | 4 AWG (THHN) | 2 AWG | Hardwired / NEMA 14-60 | Subpanels, Tankless Heaters | $120+ |
Expert Note: Never use a 50A breaker with 8 AWG wire, even if the appliance only draws 38 amps. The breaker protects the wire, not the appliance. The wire must be rated for the breaker's maximum continuous trip threshold.
Common 220V Receptacle Wiring Configurations
NEMA 14-50 (50A - Ranges and EV Chargers)
The NEMA 14-50 is the most versatile 240V receptacle in modern homes. According to the U.S. Department of Energy, a 14-50 outlet is the gold standard for Level 2 home EV charging, delivering up to 40 amps of continuous charge (NEC requires sizing the breaker at 125% of the continuous load, hence a 50A breaker for a 40A EV charger).
Wiring Sequence:
- Ground (Green Screw): Connect the bare copper ground wire.
- Neutral (Silver Screw): Connect the white neutral wire.
- Hot 1 (Brass Screw X): Connect the black wire.
- Hot 2 (Brass Screw Y): Connect the red wire.
NEMA 14-30 (30A - Electric Dryers)
Modern dryers require a 4-wire connection. Older homes may still have NEMA 10-30 (3-wire) outlets where the neutral and ground were bonded at the receptacle. The NEC strictly banned this practice (NEC 250.140) because a severed neutral could energize the dryer's metal chassis with 120V. Always upgrade to a 14-30R and remove the bonding strap on the back of the dryer.
NEMA 6-20 (20A - 240V-Only Loads)
Used for heavy-duty window air conditioners, portable welders, and commercial power tools. This is a 3-wire setup (Hot, Hot, Ground) because these devices do not require a 120V neutral return for control boards.
Step-by-Step Breaker Panel Integration
Installing a double-pole breaker requires precision and adherence to safety protocols. The Occupational Safety and Health Administration (OSHA) reports that arc flashes and electrical shocks during panel work are primary hazards for untrained individuals.
- Kill the Main & Verify: Turn off the main service disconnect. Use a non-contact voltage tester and a digital multimeter to verify zero voltage across the main bus bars.
- Route and Strip the Cable: Feed your NM-B cable through the panel knockout using a proper Romex connector. Strip back 12 inches of the outer sheath, leaving at least 1/4 inch of sheath inside the connector to prevent the clamp from biting into the individual wire insulation.
- Land the Ground: Terminate the bare copper wire to the equipment grounding bar. Torque to the manufacturer's specification (usually 20-25 in-lbs).
- Land the Neutral: Terminate the white wire to the neutral bar (or combined ground/neutral bar if in the main service panel, though separate bars are required in subpanels).
- Seat the Breaker: Snap the double-pole breaker (e.g., Square D QO250 or Eaton BR250) onto both bus bar stabs. Ensure it clicks firmly into place.
- Terminate Hots and Torque: Strip 1/2 inch of insulation from the black and red wires. Insert them into the breaker lugs. Critical Step: Use a calibrated torque screwdriver (like the Klein Tools 32500INS) to tighten the lugs to exactly 35-40 in-lbs. Loose lugs cause high resistance, heat buildup, and eventual panel fires.
2026 NEC Code Updates: GFCI Requirements
If you are pulling a permit in 2026, be aware that the NEC has drastically expanded Ground Fault Circuit Interrupter (GFCI) requirements for 240V receptacles. Under NEC 210.8(F), virtually all 125V through 250V receptacles supplied by single-phase branch circuits rated 150 volts or less to ground must be GFCI protected. This includes your NEMA 14-50 (EV chargers) and 14-30 (dryers).
Because standard GFCI outlets do not exist for 240V 50A configurations, you must install a 2-pole GFCI breaker in the panel (e.g., Square D QO250GFI). These breakers cost between $110 and $145, significantly more than a standard $15 breaker, and require you to route the circuit's neutral wire directly to the breaker's pigtail before landing the ground on the panel bar.
Troubleshooting Common 220V Panel Faults
When a 240V appliance fails to start, the issue often lies in the panel or the receptacle wiring. Use a multimeter set to AC Voltage (V~) to diagnose the fault:
- Reading 240V across L1 and L2, but 0V across L1-N and L2-N: You have an open neutral. The appliance will turn on, but 120V components (timers, motors) will fail. Check the neutral termination at the panel and the receptacle.
- Reading 120V across L1-L2: One of the hot legs is dead, or both hots are accidentally landed on the same phase (same bus bar leg). Ensure your double-pole breaker spans across both the A and B phases. In some panels (like certain older Federal Pacific or Zinsco panels), adjacent slots do not alternate phases, requiring specialized breakers.
- Breaker trips immediately upon appliance startup: Check for a short circuit in the appliance's heating element. Water heaters frequently suffer from sediment buildup that shorts the lower element to the metal tank, tripping the breaker instantly. Disconnect the appliance and test the breaker alone to isolate the fault.
For comprehensive safety standards and code adoptions in your local jurisdiction, always consult the National Fire Protection Association (NFPA) guidelines before modifying your main service panel. When in doubt, hire a licensed master electrician to perform the final terminations and torque verifications.