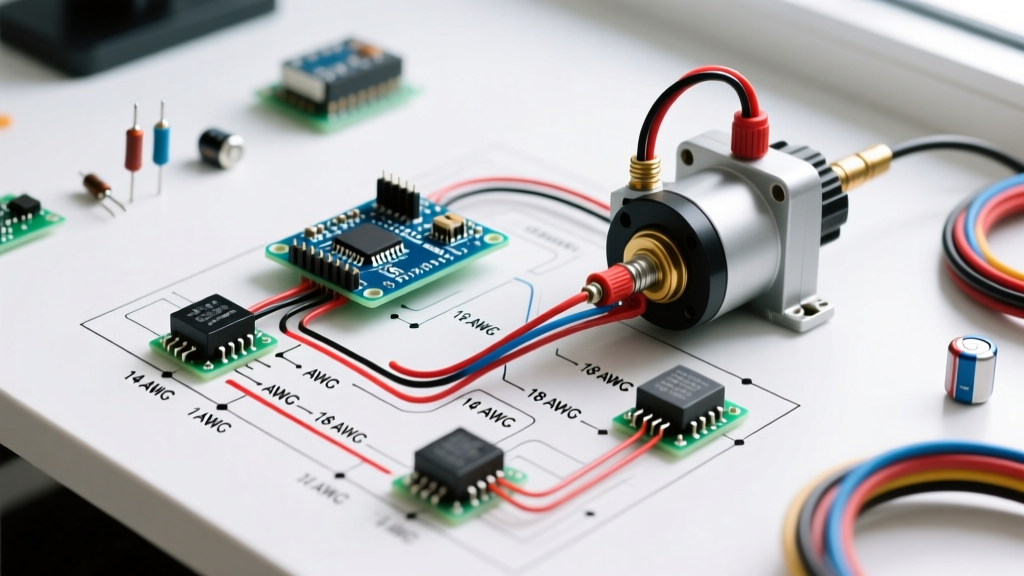

Introduction to High-Performance EFI Fuel Pump Circuits
Upgrading to an electronic fuel injection (EFI) system or supporting a high-horsepower boosted build requires more than just dropping a new pump into the tank. The electrical infrastructure is the lifeline of your fuel system. Many DIYers search for a reliable wiring diagram electric fuel pump guide, but fail to account for voltage drop, thermal limits, and modern safety requirements. In 2026, with the widespread adoption of E85 and flex-fuel tuning, fuel pumps are working harder and drawing more sustained current than ever before. A poorly planned circuit will lead to voltage starvation, causing the ECU to lean out the engine under heavy load—a catastrophic failure mode for forced-induction applications.
This installation planning guide provides a comprehensive, expert-level breakdown of the standard automotive fuel pump relay circuit. We will cover component selection, SAE wiring standards, precise routing techniques, and the critical troubleshooting steps required to ensure your pump receives the exact voltage it needs to maintain target fuel pressure.
The Anatomy of a Safe Fuel Pump Circuit
A robust fuel pump circuit never runs power directly from the battery or ignition switch to the pump. The high amperage draw (often 15 to 25 amps for modern high-flow pumps) would melt standard ignition wiring and create a severe fire hazard. Instead, the circuit utilizes a heavy-duty relay, a dedicated fuse, and safety cut-off switches.
Core Component Selection Matrix
Selecting the right components is the first step in your installation plan. Below is a matrix detailing the exact specifications required for a reliable 2026 EFI fuel pump setup.
| Component | Recommended Specification | Estimated Cost (2026) | Critical Notes |
|---|---|---|---|
| Relay | Mini ISO 4-Pin (Bosch-style), 40A rating | $8 - $15 | Use TE Connectivity or Hella brands. Avoid unbranded imports. |
| Primary Fuse | ATO/ATC Blade Fuse, 25A or 30A | $2 - $4 | Size fuse to wire capacity, not pump draw. 12 AWG = 25A max. |
| Wire (Power/Ground) | 12 AWG or 10 AWG SAE J1128 GXL | $1.20 - $1.80 / ft | GXL cross-linked insulation handles under-hood heat up to 125°C. |
| Inertia Switch | OEM-style 3-prong cutoff (e.g., SMP SW14) | $25 - $40 | Mandatory for safety; cuts power in a collision. |
| Connectors | Heat-shrink butt splices, Deutsch DT (pump side) | $15 - $30 / kit | Never use vinyl tape or non-sealed crimps inside the fuel tank. |
Decoding the Wiring Diagram Electric Fuel Pump Layout
The standard wiring diagram for an electric fuel pump relies on a 4-pin Mini ISO relay. Understanding the pinout is non-negotiable for proper installation. The relay acts as a heavy-duty switch, controlled by a low-amperage signal from your ECU or ignition switch.
Standard 4-Pin Relay Pinout Guide
- Pin 30 (Common / Power In): Connects directly to the positive battery terminal via the main 30A ATO fuse. This wire must be 12 AWG or 10 AWG and should be as short as possible.
- Pin 87 (Normally Open / Power Out): The heavy-gauge output wire that routes to the positive terminal of the fuel pump. This wire passes through the inertia safety switch before reaching the pump.
- Pin 86 (Coil Power): Connects to a switched 12V source. In modern EFI setups, this is triggered by the ECU's fuel pump relay output pin. In older carbureted-to-EFI swaps, it can be tied to an ignition-run 12V source.
- Pin 85 (Coil Ground): The ground trigger for the relay coil. This must be grounded to a clean, bare-metal chassis point. If using an ECU trigger, the ECU provides the ground path to activate the relay.
Expert Installation Tip: Always install a flyback diode (1N4001) across pins 85 and 86 (stripe facing pin 86) if your ECU manual specifies it. This prevents the inductive voltage spike generated when the relay coil collapses from damaging sensitive ECU driver transistors.
Wire Gauge & Material Specifications for 2026 EFI Systems
Wire gauge selection is where most amateur installations fail. The SAE J1128 Standard dictates the requirements for low-tension primary cables in automotive applications. For fuel pumps, you must use GXL or TXL cross-linked polyethylene wire, not standard PVC wire (like THHN used in household wiring), because PVC insulation will melt when routed near exhaust components or inside the hot fuel tank module.
For standard 255 LPH pumps (like the Walbro GSS342), 12 AWG wire is sufficient for runs up to 10 feet. However, for high-flow 340 LPH or 450 LPH pumps (such as the AEM 50-1215 or Bosch 044), the sustained current draw under high base fuel pressure can exceed 18 amps. In these scenarios, stepping up to 10 AWG wire for both the power and ground circuits is mandatory to prevent voltage drop.
Calculating Acceptable Voltage Drop
Fuel pump flow rates are rated at specific voltages (usually 13.5V). If your wiring is undersized, the pump might only see 11.5V at wide-open throttle, reducing fuel flow by up to 20%. According to Holley EFI technical documentation, the maximum acceptable voltage drop across the entire power and ground circuit is 0.2 volts.
Step-by-Step Installation Planning Flow
Follow this sequential workflow to ensure a safe, NFPA 70 (National Electrical Code) compliant, and reliable installation.
- Step 1: Battery to Relay (Pin 30). Crimp a 10 AWG ring terminal to a 30A ATO fuse holder. Mount the fuse holder within 6 inches of the positive battery post. Route the wire to the relay location in the engine bay.
- Step 2: Relay to Inertia Switch (Pin 87). Run a 12 AWG GXL wire from Pin 87 through the firewall to the cabin-mounted inertia switch. The inertia switch should be mounted vertically on a kick panel or firewall, away from foot traffic.
- Step 3: Inertia Switch to Pump. From the output side of the inertia switch, route the 12 AWG wire back through the firewall, along the chassis rail (avoiding exhaust and moving suspension components), and into the fuel tank access hatch.
- Step 4: The Ground Circuit. The ground wire is just as critical as the power wire. Run a dedicated 12 AWG ground wire from the pump negative terminal to a dedicated chassis ground stud. Do not rely on the fuel tank sending unit's thin ground wire.
- Step 5: ECU Trigger (Pins 85/86). Use 18 AWG wire for the low-amperage coil trigger circuit. Connect Pin 86 to the ECU's designated fuel pump relay output, and ground Pin 85 to the engine block.
Troubleshooting: Voltage Drop & Failure Modes
Even with a perfect wiring diagram electric fuel pump layout, physical installation errors can cause phantom issues. If your fuel pressure drops under boost or the pump whines loudly, perform these diagnostic checks.
The Millivolt Drop Test
Do not just measure voltage at the pump. You must measure the drop across the circuit while the pump is under load (engine running or deadheading the fuel pressure regulator).
- Set your digital multimeter to the DC Millivolt (mV) scale.
- Place the positive probe on the battery positive post and the negative probe on the pump's positive terminal (Pin 87 side). A reading over 200mV (0.2V) indicates high resistance in the power wire, fuse, or relay contacts.
- Next, place the positive probe on the pump's negative terminal and the negative probe on the battery negative post. Again, anything over 200mV indicates a poor ground connection or undersized ground wire.
Common Edge Cases and Failure Modes
- Relay Chatter: If the relay clicks rapidly when the key is turned on, the ECU trigger wire is likely picking up electromagnetic interference (EMI) from the ignition coils. Reroute the 18 AWG trigger wire away from coil packs and use shielded cable if necessary.
- Melted Relay Sockets: Cheap, off-shore relay sockets use thin brass tabs that cannot handle 20+ amps of continuous current. They will overheat and melt the plastic housing. Always use ceramic relay sockets or heavy-duty glass-filled nylon sockets with solid copper terminals for high-flow pump applications.
- Cavitation Noise: While often mistaken for an electrical issue, a loud whining pump can be caused by a restricted pre-pump filter or an undersized suction line pulling a vacuum, causing the fuel to boil. Ensure your pre-pump filter is rated for at least 100 microns and flows 300+ LPH.
Frequently Asked Questions
Can I use the factory fuel pump wiring for an aftermarket EFI pump?
Rarely. Factory wiring from the 1990s or early 2000s was designed for low-pressure, low-amperage return-style pumps drawing 5 to 8 amps. Modern high-pressure EFI pumps draw 15 to 25 amps. Running a modern pump on factory wiring will cause severe voltage drop, overheating, and potential electrical fires. Always run a new, dedicated heavy-gauge circuit with a relay.
Do I need a fuel pump speed controller (PWM)?
For pumps exceeding 340 LPH running on returnless systems or dead-head regulators, a PWM controller (like the Holley VR1 or Aeromotive Phantom) is highly recommended. It pulses the ground circuit to slow the pump down at idle, reducing fuel heating, noise, and wear, while ramping up to 100% duty cycle under heavy load.
Where should the main fuel pump fuse be located?
The main fuse must be located as close to the battery positive terminal as physically possible—ideally within 6 to 8 inches. This ensures that the entire length of the heavy-gauge power wire is protected in the event of a short circuit to the chassis.