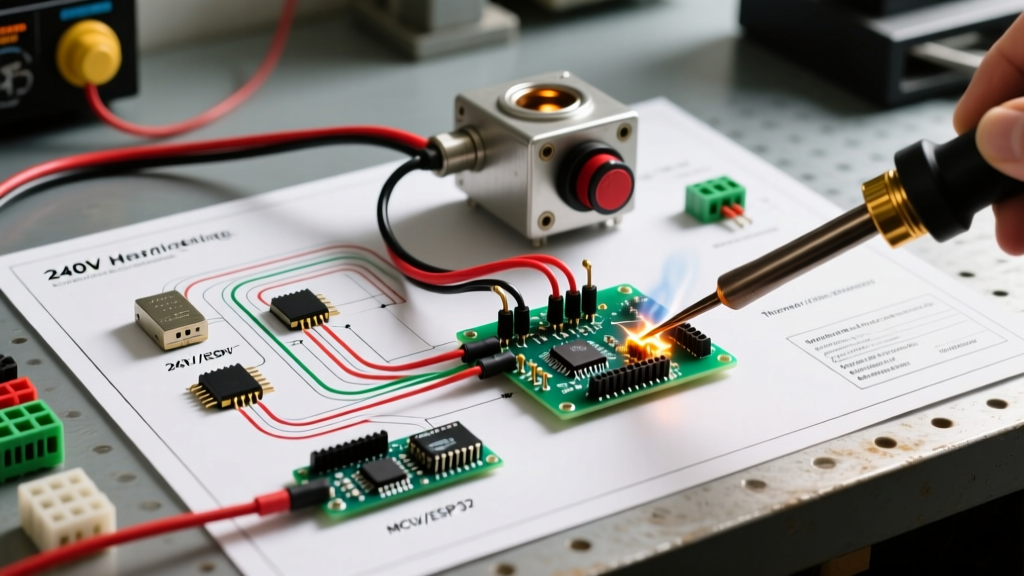

Introduction to Electric Furnace Wiring
Wiring an electric furnace requires a precise understanding of both high-voltage (240V) heating circuits and low-voltage (24V) control logic. Unlike gas furnaces that rely on a simple 120V blower and a 24V gas valve, an electric furnace wiring diagram must account for massive amperage draws from nickel-chromium resistance heating elements. In 2026, with copper prices fluctuating and modern ECM (Electronically Commutated Motor) blowers becoming standard, proper wire gauge selection and sequencer timing are more critical than ever to prevent voltage drops and breaker nuisance tripping.
This step-by-step walkthrough dissects the standard 15kW residential electric furnace wiring schematic, focusing on the integration of the main power disconnect, 24V transformer, multi-stage sequencers, and safety limit switches.
Core Components Breakdown
Before pulling any THHN wire through conduit, you must identify the primary nodes on your schematic. The table below outlines the critical components found in standard units like the Goodman BFE or Revco electric furnaces.
| Component | Function | Typical Voltage / Rating |
|---|---|---|
| Heating Elements | Convert electrical energy to heat via resistance. | 240V / 5kW per strip (approx. 20.8A) |
| Sequencer | Stages the engagement of elements to prevent massive inrush current. | 24VAC Coil / 240V 30A Contacts |
| Control Transformer | Steps down 240V line voltage to 24V for the thermostat and relays. | 240V Primary / 24V Secondary (40VA) |
| High-Limit Switch | Opens the 24V control circuit if the heat exchanger exceeds safe temps. | 24V / Opens at 150°F - 180°F |
| Blower Relay | Activates the blower motor on the 'Heat' speed terminal. | 24VAC Coil / 120V-240V Contacts |
Pre-Wiring Safety & NEC Compliance
CRITICAL SAFETY WARNING: Electric furnaces draw lethal current. According to OSHA Lockout/Tagout standards, you must physically lock out the main 240V disconnect and verify zero energy with a CAT III or CAT IV multimeter before touching any terminals. Furthermore, all fixed electric heating equipment installations must comply with NFPA 70 (NEC) Article 424.
Required Tools & Materials
- Wire Strippers & Crimpers: For 10 AWG to 6 AWG solid/stranded wire.
- Multimeter: Fluke 117 or equivalent (True RMS).
- Terminal Lugs: Insulated ring terminals (10-8 AWG, #10 stud size).
- Wire Nuts / Wago Connectors: Purple wire nuts for 10 AWG pigtails.
Step-by-Step Wiring Walkthrough
Step 1: Main Power & Disconnect Routing
The main power supply originates at the service panel. For a standard 15kW furnace (drawing roughly 62.5 Amps at 240V), NEC Article 310 and 424 require a dedicated circuit. You will typically route 6 AWG copper THHN through a 70-Amp double-pole breaker to a fused disconnect switch located within sight of the furnace. From the disconnect, run your 6 AWG feeders into the furnace's main junction block. Terminate the L1 and L2 lines securely on the main terminal block, ensuring a torque of at least 35 in-lbs to prevent arcing and thermal degradation over time.
Step 2: The 24V Control Transformer
The control circuit requires a 40VA transformer. Wire the H1 and H2 primary terminals to the L1 and L2 main power blocks (240V). On the secondary side, the X1 and X2 terminals will output 24VAC. Connect X2 directly to the 'C' (Common) terminal on your control board or terminal strip. Connect X1 to the hot side of your 24V control circuit, routing it first through the manual-reset high-limit switch for safety.
Step 3: Thermostat Integration
Run standard 18/5 or 18/8 thermostat wire from the wall-mounted thermostat to the furnace control board.
- R (Red): 24VAC Hot (from transformer X1, post-limit switch).
- W (White): Heat Call (routes to the sequencer coil and blower relay).
- C (Blue/Black): 24VAC Common (from transformer X2).
Step 4: Sequencer & Heating Element Wiring (The Core Diagram)
This is the most complex part of the electric furnace wiring diagram. A 15kW furnace usually has three 5kW element strips. If all three engaged at once, the inrush current would trip the main breaker. The sequencer prevents this by using a bimetallic strip that heats up slowly, staggering the element engagement.
- Stage 1 Sequencer: Wire the 24V 'W' call to the H1 coil terminal. Connect H2 to Common. The M1 and M2 contacts sit in the 240V L1 line feeding the first heating element. When energized, M1/M2 close in 5 to 10 seconds.
- Stage 2 Sequencer: Often, a single multi-pole sequencer handles stages 1 and 2. The second set of contacts (M3/M4) will close in 10 to 15 seconds, sending L1 to the second element strip.
- Element Termination: The L2 side of the 240V circuit is wired directly to the opposite end of the heating element coils. Ensure the ceramic wire nuts connecting the element pigtails to the main 10 AWG wire are rated for high heat (minimum 150°C).
Step 5: Blower Motor & Fan Relay Integration
As detailed by the U.S. Department of Energy, proper airflow is vital to prevent electric resistance elements from overheating. The blower must run whenever the elements are active. Wire the 24V 'W' signal in parallel to the blower relay coil. When the coil energizes, the line-voltage contacts close, sending 120V (or 240V, depending on the motor) to the 'Heat' speed tap (usually the Red wire) on the PSC blower motor. The 'Cool' speed tap (Black wire) remains isolated for AC operations.
Step 6: High-Limit Switches & Safety Interlocks
Electric furnaces utilize two types of limit switches: auto-reset and manual-reset. Wire the auto-reset limit switches (which open around 150°F) in series with the sequencer coils. If airflow drops due to a dirty filter, these switches open, cutting 24V to the sequencers and shutting off the elements while leaving the blower running to clear residual heat. The manual-reset limit (opening at 180°F+) is wired in series with the main 24V transformer hot leg, killing all control power if a catastrophic failure occurs.
Wire Gauge & Breaker Sizing Matrix
Selecting the wrong wire gauge is a leading cause of electrical fires in HVAC systems. Use the matrix below, based on 2026 NEC ampacity tables for 75°C rated copper conductors, to size your main feeders.
| Furnace Capacity (kW) | Max Amps @ 240V | Minimum Copper AWG | Breaker Size (Double Pole) |
|---|---|---|---|
| 10 kW | 41.6 A | 8 AWG | 50 A |
| 15 kW | 62.5 A | 6 AWG | 70 A |
| 20 kW | 83.3 A | 3 AWG (or dual 50A circuits) | 90 A (or 2x 50A) |
| 25 kW | 104.1 A | Must be split into multiple circuits | Multiple Breakers |
Common Failure Modes & Troubleshooting
When an electric furnace fails to produce heat, technicians often misdiagnose the heating elements themselves. In reality, the elements rarely burn out. Focus your diagnostics on these specific failure modes:
- Welded Sequencer Contacts: If a sequencer fails in the 'closed' position, the heating element will remain on continuously, even when the thermostat is satisfied. This will trip the manual-reset high limit. Fix: Replace the sequencer (approx. $35-$50 for a White-Rodgers replacement).
- Burnt Element Pigtails: The connection point between the element wire and the branch circuit wire is a high-resistance joint. If not torqued correctly, it generates intense heat, melting the wire nut and causing an open circuit. Fix: Cut back damaged wire, strip fresh copper, and use high-temp ceramic wire nuts.
- Transformer Blowout: If the 24V control wire to the thermostat shorts against the grounded chassis, it will instantly blow the 40VA transformer. Fix: Install an inline 3A automotive blade fuse on the 24V hot leg to protect the transformer in the future.
Final Commissioning & Testing
Once all wiring is terminated according to your specific unit's schematic, perform a final continuity check. With the power OFF, measure the resistance across the heating elements; a 5kW element should read approximately 11.5 ohms. Restore power at the main disconnect and measure 240V across L1 and L2 at the main block. Finally, initiate a heat call at the thermostat and use an infrared thermometer to verify that the sequencer contacts are closing in their designated time delays (Stage 1 at ~7 seconds, Stage 2 at ~12 seconds). Proper adherence to this walkthrough ensures a safe, efficient, and code-compliant installation.