
The Critical Link Between Your Electrical Panel and Whirlpool Dishwasher
When homeowners and DIYers search for a wiring diagram for Whirlpool dishwasher models, they often focus exclusively on the internal schematics—tracing the door switch, thermal fuse, and circulation pump. However, the most critical point of failure in any modern kitchen appliance installation is the branch circuit originating from your main electrical panel. A perfectly wired internal control board will still fail or cause a fire hazard if the panel-to-appliance connection ignores voltage drop, improper breaker sizing, or outdated grounding methods.
This guide bridges the gap between the internal Whirlpool schematic and your home's electrical panel. We will decode the power supply section of the wiring diagram, calculate exact wire gauge requirements, and ensure your breaker setup complies with the latest National Electrical Code (NEC) standards for kitchen environments.
Decoding the Power Supply Section of the Whirlpool Wiring Diagram
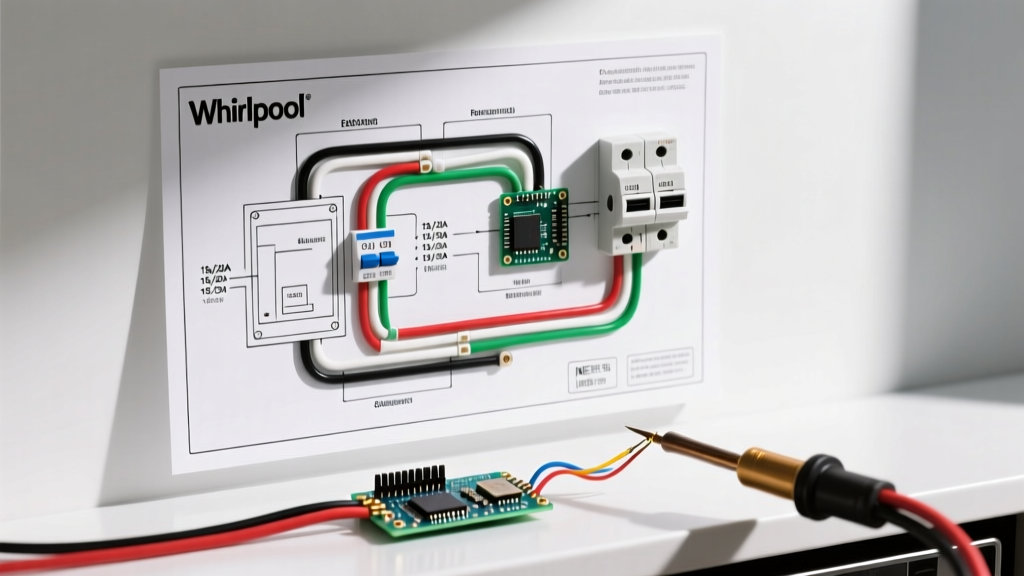
Every Whirlpool dishwasher (including popular 2024-2026 models like the WDF330PAHW and WDTA50SAHW) features a specific wiring diagram usually located inside the lower access panel or the junction box cover. While the schematic details complex logic board pathways, the power supply section is remarkably straightforward but demands precision.
Key Terminals and Wire Identification
- L1 (Hot/Line): Typically a black wire. On the Whirlpool diagram, L1 routes through the door switch and thermal fuse before splitting to the main control board and the motor relay. This is the wire that connects to your breaker's hot terminal.
- Neutral (N): Typically a white wire. It bypasses the safety switches and connects directly to the control board's neutral bus and the motor's neutral winding. This connects to your panel's neutral bar.
- Ground (GND): A bare copper or green wire. The diagram shows this terminating to the metal chassis and the junction box grounding screw. This must route back to the panel's equipment grounding bar.
Expert Insight: Never swap the Neutral and Ground wires at the dishwasher junction box. While the appliance might appear to power on, a floating neutral or bonded ground/neutral downstream of the main panel will cause immediate nuisance tripping on modern GFCI/AFCI breakers.
Panel & Breaker Requirements: NEC Compliance and Sizing
The NEC strictly regulates kitchen appliance circuits. As of the 2023 NEC updates (which remain the standard through 2026), dishwashers are no longer exempt from advanced arc-fault and ground-fault protection. According to NFPA National Electrical Code Articles 210.8(D) and 210.12(D), kitchen dishwashers require both GFCI (Ground Fault Circuit Interrupter) and AFCI (Arc Fault Circuit Interrupter) protection.
The Dual-Function Breaker Mandate
To meet code without installing a GFCI receptacle under the sink (which is often impractical for hardwired setups), you must install a Dual-Function (CAFCI + GFCI) circuit breaker in your main panel. These breakers cost between $45 and $65. For example, the Eaton BR115DF (for BR load centers) or the Square D HOM115DF (for Homeline panels) are industry standards. Standard single-pole breakers are now code violations for new dishwasher installations in most jurisdictions.
Wire Gauge, Run Length, and Voltage Drop Matrix
Whirlpool dishwashers draw between 10 to 15 amps during the heated wash and dry cycles. While a 15-amp circuit is the absolute minimum, a 20-amp circuit is highly recommended to prevent voltage drop during motor startup, which can corrupt the EEPROM on the main control board.
| Circuit Rating | Wire Gauge (NM-B) | Max Run Length (3% Drop) | Breaker Type Required | Estimated Material Cost |
|---|---|---|---|---|
| 15 Amp | 14 AWG (14/2 w/ Ground) | 50 feet | 15A Dual-Function (AFCI/GFCI) | $65 - $80 |
| 20 Amp (Recommended) | 12 AWG (12/2 w/ Ground) | 70 feet | 20A Dual-Function (AFCI/GFCI) | $75 - $95 |
Note: Run length is measured from the panel to the dishwasher junction box. If your run exceeds these lengths, you must step up to the next wire gauge (e.g., use 10/2 NM-B for a 20A circuit over 70 feet) to maintain the required 114V-126V operating range specified in the Whirlpool official installation guidelines.
Step-by-Step: Hardwiring from Panel to Junction Box
Hardwiring remains the most reliable method for Whirlpool dishwashers, eliminating the risk of loose receptacle connections under the sink. Here is the professional workflow for terminating the branch circuit.
Step 1: Mount the Junction Box
Use a dedicated appliance junction box (Whirlpool part # W10899393 or a standard 3x3x2 inch metal box). Secure it to the cabinet frame or the dishwasher's rear leveling leg bracket. Ensure the metal box is grounded using a green 10-32 grounding screw.
Step 2: Strip and Prepare the NM-B Cable
Strip 8 inches of the outer NM-B jacket. Leave the paper wrapping intact as it protects the wire insulation from heat. Strip exactly 5/8 inch of insulation from the black, white, and ground wires. Do not score the copper, as nicks create micro-fractures that lead to arc faults.
Step 3: Terminate with Lever Connectors
Discard the standard twist-on wire nuts. Instead, use Wago 221-412 lever nuts (approx. $0.60 each). They provide a gas-tight connection, require no twisting force (which can break stranded appliance pigtails), and allow for easy voltage testing via the built-in test ports.
- Insert the panel's black wire and the dishwasher's black pigtail into a Wago 221-412 and clamp down.
- Repeat for the white neutral wires.
- Connect the bare ground wires using a Wago 221-413 (3-port) if bonding to a metal junction box, or a 221-412 if using a plastic box.
Step 4: Torque Panel Connections
At the main electrical panel, torque the breaker's hot terminal and the neutral bar set-screws to the manufacturer's specification (typically 14 to 20 in-lbs for residential breakers). Loose neutral connections at the panel are the #1 cause of mysterious control board failures in Whirlpool dishwashers.
Troubleshooting Common Panel-to-Dishwasher Faults
Even with a perfect wiring diagram interpretation, real-world installations encounter edge cases. Here is how to diagnose panel-related faults.
Nuisance Tripping on Dual-Function Breakers
If your new Eaton or Square D dual-function breaker trips immediately upon starting the wash cycle, do not immediately assume the breaker is defective. The circulation pump motor on Whirlpool models can generate Electromagnetic Interference (EMI) during startup, which older AFCI algorithms misinterpret as an arc fault.
- Fix 1: Ensure the dishwasher is on a dedicated circuit. Sharing a neutral with a disposal will cause instantaneous GFCI trips.
- Fix 2: Check for pinched NM-B cables behind the dishwasher tub. A compressed cable alters the dielectric properties, causing micro-leakage to ground.
- Fix 3: Update the breaker firmware if your panel supports smart-breaker diagnostics (e.g., Square D Wiser), or replace with a newer generation breaker with refined motor-start masking algorithms.
Voltage Drop During Heated Dry
If the dishwasher stalls or the control board resets during the heated dry cycle, the heating element (drawing ~10 amps) is causing a voltage sag. Use a multimeter at the junction box during the cycle. If voltage drops below 110V, your 14 AWG wire run is too long. Upgrade the branch circuit to 12 AWG and a 20-amp breaker to resolve the sag.
Authoritative References and Further Reading
For the most current safety standards and manufacturer specifications, always consult primary sources before modifying your home's electrical panel: