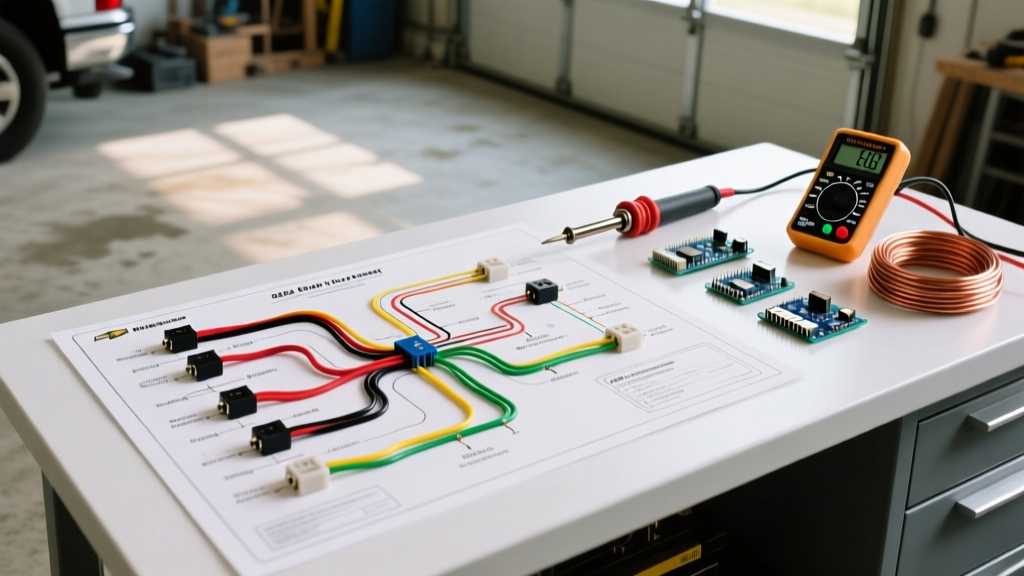

The GMT800 Electrical Architecture: Why the 2004 Silverado is Different
Upgrading the stereo in a GMT800 platform truck is rarely as simple as plugging in a standard aftermarket harness. When consulting the wiring diagram for 2004 Chevy Silverado radio configurations, technicians and DIYers quickly realize that the factory head unit is not just an audio source; it is a critical node on the vehicle's Class 2 Serial Data Bus. In 2026, as these trucks continue to dominate the roads as reliable workhorses and restoration projects, understanding this data bus is the difference between a seamless upgrade and a truck with a dead battery or missing safety chimes.
The 2004 model year represents a mature phase of the GMT800 generation. Unlike older vehicles that use a simple switched 12V accessory wire to turn the radio on and off, the 2004 Silverado's factory Delphi head unit receives a digital 'wake-up' command via the Class 2 data line. If you wire an aftermarket double-DIN receiver directly to constant 12V without a data bus interface, the unit will never sleep, resulting in a parasitic draw that will kill your battery in 48 hours.
Core Pinout: 2004 Silverado Factory Radio Harness
Before cutting or splicing a single wire, you must understand the factory pinout. The 2004 Silverado utilizes a standard GM 24-pin connector block (often visually split into two cavities). Below is the definitive pinout for the power, ground, and data circuits.
| Pin / Cavity | Wire Color | Function | Technical Notes |
|---|---|---|---|
| C1 - Pin A1 | Orange | Constant 12V+ Battery | Fused at the underhood block. Do not use for high-draw amps. |
| C1 - Pin A2 | Black/White | Chassis Ground | Must be clean. Poor ground causes alternator whine. |
| C1 - Pin A3 | Brown | Class 2 Serial Data | Carries the BCM wake-up signal and OnStar data. |
| C1 - Pin A4 | Brown/White | Panel Illumination | Variable voltage based on headlight/dimmer switch. |
| C1 - Pin A5 | N/A | Switched 12V Accessory | MISSING. Requires data interface or manual fuse tap. |
The Missing Accessory Wire Dilemma
As highlighted in the table, there is no traditional switched 12V (accessory) wire at the back of the 2004 Silverado radio. To power an aftermarket head unit, you have two options:
- The Data Bus Interface (Recommended): Use a module that listens to the Brown Class 2 data wire and generates a clean 12V accessory output when the BCM commands the radio on.
- The Manual Fuse Tap (Budget Method): Run a wire from the radio cavity to the driver's side fuse box, tapping into an ignition-switched fuse (such as the HVAC or 4WD control module fuse) using an add-a-circuit fuse tap.
Harness Selection Matrix: Base vs. Bose vs. OnStar
Choosing the wrong wiring harness is the most common failure point in GMT800 audio upgrades. The 2004 Silverado was available with three distinct audio ecosystems. Refer to this 2026 decision matrix to select the correct interface.
| Factory Trim Level | Required Interface Harness | Estimated Cost (2026) | Retained Features |
|---|---|---|---|
| Base / Non-Bose / No OnStar | Metra 70-1858 (Standard) + Fuse Tap | $18 - $25 | Basic power and speakers. Loses door chimes. |
| Non-Bose with OnStar | Metra GMOS-LAN-04 or Axxess GMOS-04 | $85 - $110 | Generates 12V accessory, retains OnStar & chimes. |
| Premium Bose / OnStar | PAC RP5-GM11 or Axxess GMR-04 | $110 - $145 | Bypasses Bose amp, retains SWC, OnStar, and chimes. |
For authoritative guidance on vehicle-specific fitments and harness compatibility, the Crutchfield Learning Center remains the industry gold standard for verifying GMT800 integration modules.
Motor Wiring Tutorial: Step-by-Step Dash Integration
When treating this installation with the rigor of a professional motor wiring tutorial, preparation and connection quality are paramount. The vibration profile of a pickup truck demands military-grade connections.
Step 1: Dash Disassembly and Safety
Disconnect the negative battery terminal and wait 15 minutes to allow the SRS (airbag) capacitors to discharge. The 2004 Silverado dash bezel is held in by tension clips and two 7mm hex screws located above the instrument cluster. Gently pry the bezel outward, disconnect the headlight switch and HVAC connectors, and remove the four 7mm screws securing the factory radio.
Step 2: Harness Preparation and Soldering
Never use twist connectors or electrical tape for automotive wiring. The temperature fluctuations in a truck cabin (from -20°F to 160°F) will cause tape to melt and twist connectors to loosen.
- Strip 3/8 inch of insulation from both the aftermarket harness and the GM interface harness.
- Use adhesive-lined marine heat shrink and crimp butt connectors, or twist, solder, and seal with standard heat shrink.
- Wrap the entire bundled harness in Tesa 51036 PET fleece tape. This eliminates the 'rattle' behind the dash when driving over washboard roads and provides excellent abrasion resistance.
Step 3: Bypassing the Bose Amplifier
If your 2004 Silverado has the factory Bose amplifier (located under the front passenger seat or center console), you must bypass it when installing an aftermarket head unit. The Bose amp uses low-level balanced signals and a proprietary turn-on voltage. Running standard high-level speaker wires from a new head unit into the Bose amp will result in severe clipping and blown speakers. Use your interface harness to route the new head unit's speaker outputs directly to the truck's door speaker wiring at the radio cavity, effectively bypassing the factory amp entirely.
Advanced Troubleshooting & Edge Cases
Even with the correct wiring diagram for 2004 Chevy Silverado radio applications, edge cases arise. Here is how to diagnose the most common GMT800 integration failures.
Troubleshooting: Parasitic Battery Draw
Symptom: Truck battery is dead after sitting for two days.
Cause: The aftermarket radio is wired to constant 12V, or the data bus interface is failing to detect the BCM 'sleep' command, keeping the radio's internal amplifier powered on.
Fix: Use a multimeter to measure current draw at the battery. Pull the radio fuse. If the draw drops from >50mA to <15mA, the radio is the culprit. Verify your data bus interface module is receiving the Class 2 signal and that the generated accessory wire drops to 0V when the truck is locked and the BCM goes to sleep (usually 10-15 minutes after shutting off the ignition).
Troubleshooting: Missing Door Chimes
Symptom: No 'ding' when the door is open or when the headlights are left on.
Cause: In the 2004 Silverado, the Body Control Module (BCM) routes all warning chimes through the left-front door speaker via the factory radio or Bose amplifier. Removing the factory radio breaks this circuit.
Fix: You must use a data bus interface (like the Metra GMOS-LAN-04) that features a built-in chime generator. This module intercepts the BCM data command and triggers an internal piezo buzzer or routes the audio through the left-front speaker channel to maintain safety compliance.
Retaining Steering Wheel Controls (SWC)
The 2004 Silverado steering wheel controls use a resistive ladder network. To retain these with an aftermarket Alpine, Pioneer, or Sony receiver, you will need a secondary SWC interface. The Axxess ASWC-1 or the PAC SWI-RC are the most reliable modules available in 2026. Wire the SWC data wire (usually found in the truck's main harness plug, often a yellow/red or green/white wire depending on the specific column harness) to the interface, and program the button presses according to the receiver's manual.
Final Expert Verdict
Successfully navigating the wiring diagram for 2004 Chevy Silverado radio upgrades requires respecting the vehicle's Class 2 data architecture. By investing in a high-quality data bus interface, utilizing marine-grade heat shrink, and properly bypassing the Bose amplifier, you can achieve modern infotainment features—like wireless Apple CarPlay and Android Auto—without sacrificing the truck's native safety warnings or battery health. For further technical bulletins on GM serial data networks, refer to the Metra Electronics technical support library, which provides up-to-date firmware flashes for their LAN interfaces to ensure compatibility with newer aftermarket head units.