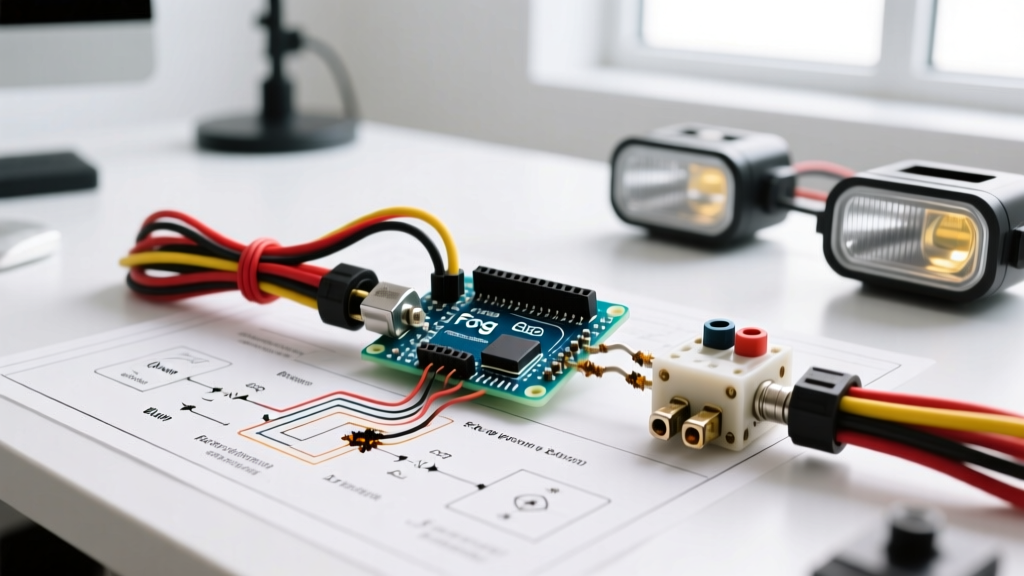

Why Fog Light Relays Fail in Modern Vehicles
Upgrading or repairing auxiliary lighting requires a solid grasp of the underlying schematic. When you are troubleshooting a wiring diagram for fog lights with relay configurations, you are typically dealing with a high-current load circuit isolated from a low-current factory switch. A standard pair of Hella 12V 55W halogen fog lights draws roughly 9.16 amps combined. While this seems manageable, routing 9+ amps through a delicate OEM dashboard switch or a multiplexed CAN-bus lighting module will melt the factory traces. The relay acts as the heavy-duty bridge.
However, in 2026, the integration of LED lighting and pulse-width modulation (PWM) in modern vehicle networks has introduced new failure modes. Relays chatter, fuses blow on startup, and dashboard warnings trigger erroneously. This guide dissects the standard 4-pin automotive relay schematic, providing a multimeter-driven troubleshooting matrix to isolate faults quickly and accurately.
Decoding the Standard 4-Pin Relay Schematic
Before probing with a digital multimeter (DMM), you must understand the two distinct circuits depicted in your wiring diagram: the control circuit and the load circuit. Most aftermarket and OEM fog light kits utilize a standard ISO mini relay (often a Bosch-style 30A unit).
The Control Circuit (Pins 85 & 86)
This is the low-current side of the diagram. Pin 86 typically receives switched 12V power from the cabin toggle switch or the OEM headlight module. Pin 85 routes to the chassis ground. When the switch closes, current flows through the relay's internal electromagnetic coil (drawing a mere 130mA to 150mA), creating the magnetic field required to pull the high-current contactor shut. If your fog lights do not turn on, but you hear a faint click from the engine bay, the control circuit is functioning, and the fault lies in the load circuit.
The Load Circuit (Pins 30 & 87)
This is the high-current side. Pin 30 is fed directly from the battery's positive terminal via a primary inline fuse (usually 15A or 20A for fog lights). Pin 87 is the output that routes power to the fog light fixtures. When the coil is energized, Pin 30 connects to Pin 87. If your wiring diagram includes a 5-pin relay, Pin 87a is the normally-closed (NC) terminal, which is typically left unused or capped in fog light applications.
Multimeter Troubleshooting Matrix
Use the following matrix to systematically isolate the failure point. Set your DMM to DC Volts for power checks and Ohms (Ω) for continuity and resistance checks. Always perform these tests with the vehicle's ignition in the 'ON' position and the fog light switch engaged.
| Symptom | Diagram Node to Probe | DMM Test & Expected Value | Probable Failure Mode |
|---|---|---|---|
| Lights completely dead, no relay click | Pin 86 (Control Power) | Voltage: Should read 12.2V - 12.6V | Blown cabin fuse, faulty toggle switch, or broken 16 AWG control wire. |
| Lights dead, no click, but Pin 86 has 12V | Pin 85 (Control Ground) | Continuity to chassis: Should read < 0.5Ω | Corroded ground ring terminal, painted chassis mounting point, or broken ground wire. |
| Relay clicks, but lights remain off | Pin 30 (Load Power) | Voltage: Should read constant 12.4V+ | Blown main inline fuse, corroded battery terminal connection, or severed 12 AWG feed. |
| Relay clicks, lights dim or flicker | Pin 87 to Light Harness | Voltage Drop: Should read < 0.1V under load | Pitted internal relay contacts, undersized wiring, or poor fixture ground. |
| Lights stay on after switch is off | Relay Socket Pins 30 & 87 | Continuity (Relay removed): Should read OL (Open Loop) | Internally welded relay contacts due to excessive inrush current or arcing. |
Advanced Edge Cases: CAN-Bus Interference & LED Upgrades
As of 2026, the vast majority of new vehicles utilize multiplexed CAN-bus networks to monitor exterior lighting. The Body Control Module (BCM) sends a high-frequency PWM signal or monitors the current draw on the lighting circuit to detect 'bulb out' conditions. This creates severe conflicts when consulting a traditional wiring diagram for fog lights with relay setups.
The PWM Flicker Issue
If you tap the control circuit (Pin 86) into an OEM lighting circuit that uses PWM for dimming or monitoring, the relay coil will rapidly energize and de-energize. This results in a loud, rapid clicking from the relay and severe flickering of the fog lights. Furthermore, the low current draw of the relay coil (150mA) compared to a standard 55W halogen bulb (4.58A) will trick the BCM into thinking a bulb has blown, triggering a dashboard warning and potentially cutting power to the circuit entirely.
The Solution: You must install a CAN-bus decoder module or a bypass capacitor between the OEM trigger wire and the relay's Pin 86. A 470µF 25V electrolytic capacitor wired in parallel across Pins 85 and 86 can smooth out the PWM signal, providing a steady voltage to hold the relay coil closed. Alternatively, use an opto-isolator module to completely separate the OEM BCM circuit from your aftermarket relay control circuit.
Expert Pro-Tip: Dielectric Grease Application
Never apply dielectric grease directly onto the bare metal mating surfaces of your ground ring terminals before crimping or bolting. Grease is an insulator and will increase resistance, causing voltage drop and heat. Instead, secure the bare metal ring terminal to a sanded, unpainted chassis point, torque it down, and then coat the exterior of the terminal with dielectric grease to prevent moisture and galvanic corrosion.
Component Sourcing & Wire Sizing Standards
Using the correct materials is non-negotiable for automotive safety. According to the SAE J1128 Standard for low-tension primary automotive cable, wire gauge must be selected based on the continuous current load and the total length of the wire run to mitigate voltage drop.
- Load Circuit (Pins 30 & 87): Use 12 AWG stranded copper wire for runs up to 15 feet. While 14 AWG can technically handle 15A, the 12 AWG wire provides a crucial buffer against voltage drop, ensuring your fog lights receive a full 13.5V from the alternator for maximum lumen output.
- Control Circuit (Pins 85 & 86): 16 AWG or 18 AWG wire is perfectly adequate, as the coil draw is minimal.
- Relay Selection: Avoid unbranded, ultra-cheap relays. Source OEM-spec components like the Bosch 0332014150 30A Mini Relay or equivalent Hella heavy-duty relays. These units feature internal arc-suppression resistors or diodes that protect your vehicle's sensitive electronics from inductive voltage spikes when the coil de-energizes.
Expert FAQ
Can I use a 5-pin relay instead of a 4-pin relay for my fog lights?
Yes. A 5-pin relay simply includes a normally-closed (NC) terminal, labeled Pin 87a. In a standard fog light wiring diagram, you simply ignore and insulate Pin 87a. The coil operation (85/86) and the normally-open load contacts (30/87) function identically to a 4-pin unit.
Why does my inline fuse blow the exact moment I turn the fog lights on?
If the fuse blows instantly, you have a dead short to ground on the load side of the relay (Pin 87). This is often caused by a pinched wire passing through the firewall, a faulty fog light bulb socket where the positive terminal is touching the metal housing, or water intrusion inside the light assembly causing an internal short.
Do I need a relay if I am only installing low-wattage LED fog lights?
Even if your LED pods only draw 3 amps total, you should still use a relay if you are tapping into a factory headlight switch. Factory switches and BCM traces are designed for specific resistive loads. Adding an aftermarket harness with a relay ensures you are not voiding warranties or risking thermal damage to the vehicle's multiplexed lighting modules.