
Decoding the Standard 12V Jack Circuit
When your electric trailer jack refuses to lift or lower at the campsite, the immediate instinct is often to blame the motor. However, as any seasoned RV technician will tell you, the motor is usually the last component to fail. The true culprit almost always lies within the 12V DC wiring harness. Understanding an electric trailer jack wiring diagram is your most effective tool for isolating the fault, saving you from unnecessarily replacing a $300 motor head when a $14 breaker or a corroded ground wire is to blame.
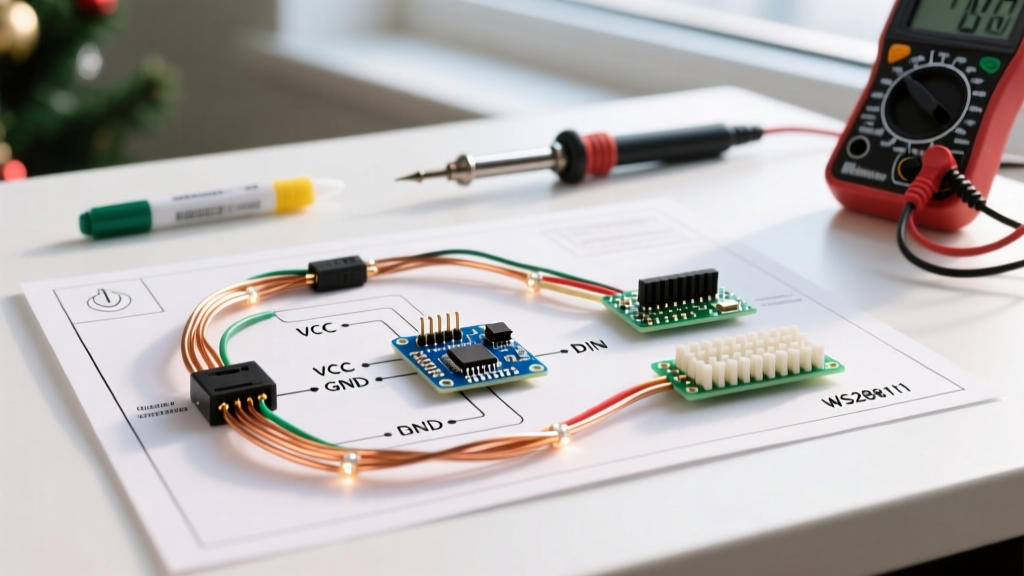
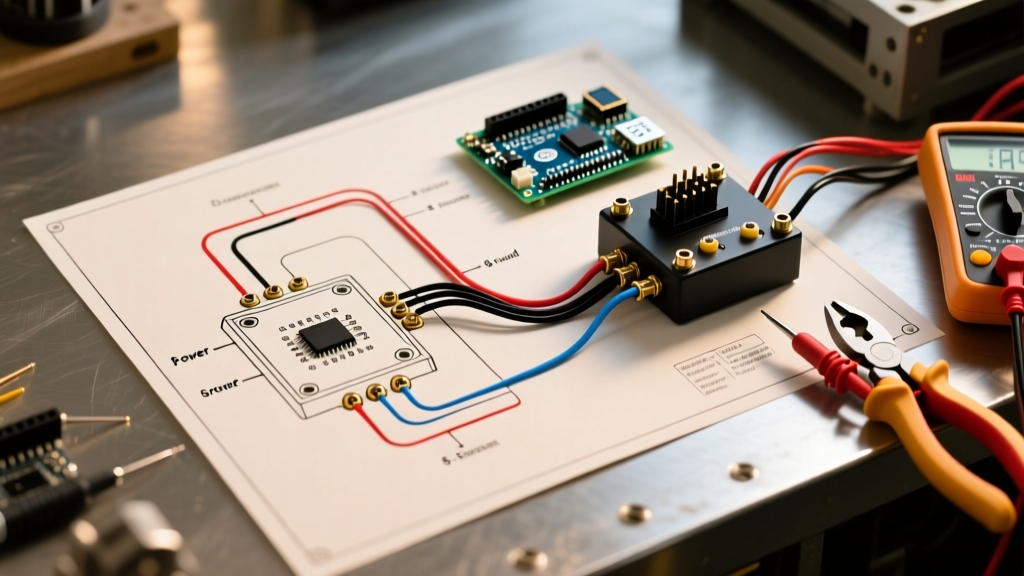
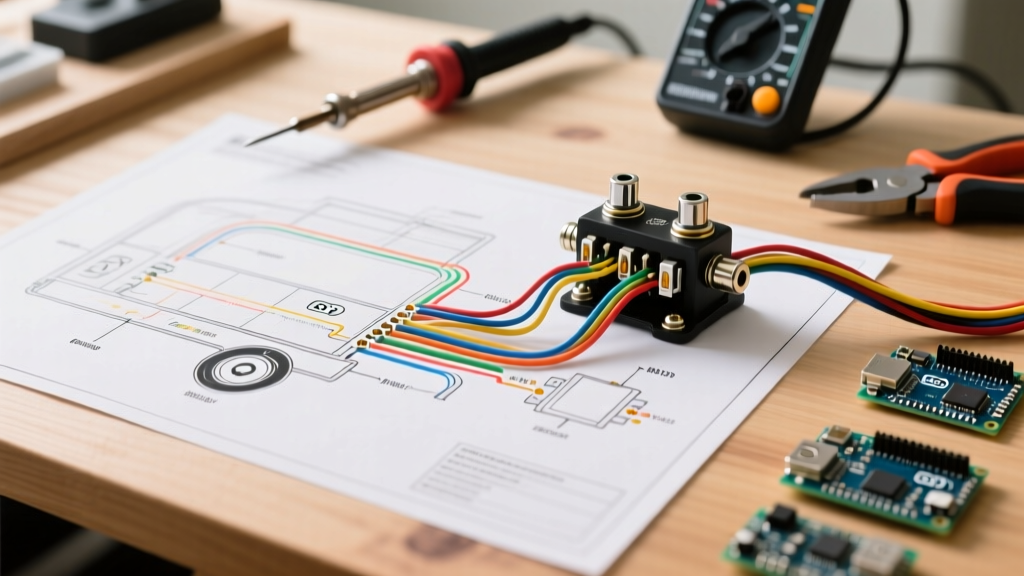
A standard electric trailer jack circuit consists of five primary nodes: the power source (trailer battery or tow vehicle 7-way plug), the inline overcurrent protection (auto-reset breaker), the control switch (DPDT or relay-driven), the DC motor assembly, and the chassis ground return. By mapping these nodes against your specific wiring diagram, you can systematically eliminate variables using a digital multimeter.
Diagnostic Matrix: Symptoms vs. Wiring Nodes
Before unspooling your multimeter leads, match your jack's specific behavior to the diagnostic matrix below. This will point you directly to the node on the wiring diagram that requires testing.
| Symptom | Probable Cause | Diagram Node to Check |
|---|---|---|
| Motor clicks, but no movement | Severe voltage drop / Bad ground | Chassis Ground / 7-Way Pin 1 |
| Breaker trips immediately upon switch actuation | Short to ground / Seized gearbox | Motor Leads / Inline Breaker |
| Jack works on TV power, but not trailer battery | Dead trailer battery / Blown reverse polarity fuse | Battery Node / 7-Way Pin 4 |
| Motor runs slowly, dims tow vehicle lights | Undersized wiring / Micro-corrosion on plug | 12V Feed Wire / 7-Way Connector |
| Switch feels mushy, intermittent operation | Internal carbon tracking in DPDT switch | Control Switch Terminals |
Step-by-Step Voltage Drop Testing
According to Fluke Corporation's electrical testing guidelines, voltage drop testing is vastly superior to simple continuity testing for diagnosing high-current DC circuits like trailer jacks. Continuity tests use negligible current and will often show a 'good' connection even if a wire is frayed to a single strand. Voltage drop testing evaluates the circuit under a real-world load.
- Verify Source Voltage: Set your multimeter to DC Volts. Measure directly at the trailer battery terminals. A healthy, fully charged 12V deep-cycle battery should read between 12.6V and 12.8V at rest. If it reads below 12.2V, charge the battery before proceeding; the jack motor requires sufficient amperage to overcome initial stall torque.
- Test the Inline Breaker: Locate the auto-reset breaker (usually mounted within 18 inches of the battery positive terminal, per NFPA 1192 RV safety standards). Place your red probe on the battery side of the breaker and the black probe on the load side. Actuate the jack switch. A voltage drop greater than 0.2V across the breaker indicates internal corrosion or a failing bi-metallic strip. Replace the breaker.
- Test the Control Switch: Move your probes to the input and output terminals of the jack's toggle switch. Under load, the switch should drop no more than 0.1V. If you see a 2V to 4V drop here, the internal copper contacts are pitted or carbon-fouled. Replacement DPDT switches for models like the Husky HB4500 typically cost between $15 and $25.
- The Ground Path Fallacy: Place your red probe on the motor's negative terminal (or the jack's mounting flange if it relies on chassis grounding) and your black probe directly on the battery's negative terminal. Actuate the jack. If you read more than 0.2V, your ground path is compromised. For jacks relying on the A-frame for grounding, remove the jack, sand the A-frame down to bare metal, and apply dielectric grease before re-bolting.
Expert Insight: Never rely solely on the trailer's A-frame for a high-amperage ground return. Moisture and rust between the jack base and the A-frame create immense resistance. Running a dedicated 10 AWG ground wire directly from the jack motor's negative terminal to the trailer battery's negative busbar eliminates 80% of 'dead motor' complaints in older rigs.
Component Specifications & 2026 Replacement Costs
When your wiring diagram tracing confirms a failed component, you must replace it with parts that match or exceed the original amperage ratings. Using undersized components is a leading cause of electrical fires in RVs.
- Inline Auto-Reset Breakers: Most standard 3,500 lb to 4,500 lb capacity jacks (e.g., Bulldog Powered Drive BD500199) require a 30A breaker. Heavy-duty 5th wheel pin box jacks drawing higher stall currents require a 40A breaker. 2026 Cost: $12 - $18 (Bussmann or Littelfuse brands).
- Wire Gauge: 10 AWG stranded copper is the absolute minimum for runs up to 15 feet. If your battery is mounted in a rear compartment and the wire run to the front A-frame exceeds 15 feet, you must step up to 8 AWG wire to prevent voltage drop. 2026 Cost: $1.20 - $1.80 per foot.
- 7-Way Connector (Pin 4): The 12V auxiliary pin on a standard 7-way RV plug is rated for roughly 30A to 40A. If your jack draws power from the tow vehicle, ensure the truck's charge line is wired with at least 10 AWG wire. Many factory truck tow packages use a paltry 12 AWG wire for Pin 4, which will starve the jack of amperage. Upgrading the truck-side charge wire costs roughly $40 in materials.
- Motor and Gearbox Assembly: If the motor draws massive amperage (verified via a DC clamp meter) but the spindle doesn't move, the internal planetary gears are likely stripped or the drop leg is bent and binding. 2026 Cost: $180 - $350 for complete replacement heads (e.g., Lippert Smart Jack 1817981).
Real-World Case Study: Lippert Smart Jack Intermittent Failure
Consider the widely used Lippert Smart Jack (Model 1817981). A common issue reported by owners is the jack working perfectly in the 'down' direction, but failing or stuttering when extending (lifting) the trailer tongue. The wiring diagram for this unit reveals a simple DPDT switch reversing polarity to change motor direction.
Because lifting the trailer requires significantly more torque—and therefore higher amperage—than lowering it, a failing switch or a slightly corroded 7-way plug will manifest only during the high-load extension phase. By referencing the diagram and performing a voltage drop test specifically on the 'extend' throw of the switch, technicians routinely isolate the fault to a single corroded terminal on the back of the switch assembly, saving the owner from buying a $280 replacement motor head.
Sizing Wire and Breakers Correctly for Custom Installs
If you are installing an aftermarket electric jack or extending the wiring on a custom-built trailer, you must adhere to strict overcurrent protection guidelines. The etrailer wiring FAQ and installation database emphasizes that the breaker must be sized to protect the wire, not just the motor.
If you use 10 AWG wire, your inline breaker must not exceed 40A. If your specific jack motor requires a 50A breaker due to extreme peak stall currents (common in 5,000+ lb tongue weight applications), you are legally and safely required to upgrade the entire wire run to 8 AWG or even 6 AWG stranded marine-grade tinned copper. Furthermore, always use heat-shrink ring terminals with adhesive-lined shrink tubing rather than standard vinyl crimp terminals; the vibration of highway towing will quickly loosen standard crimps, leading to arcing and melted insulation.
Final Diagnostic Checklist
Before declaring your electric trailer jack motor dead, ensure you have verified the following against your wiring diagram:
- Battery resting voltage is above 12.4V.
- Voltage drop across the inline breaker is less than 0.2V under load.
- Voltage drop across the ground return path is less than 0.2V under load.
- The 7-way plug Pin 4 (if used for power) is free of green copper oxide corrosion.
- The motor draws no more than its rated peak amperage (usually 25A-35A) using a DC clamp meter.
By treating the wiring diagram as a systematic roadmap rather than a confusing schematic, you can confidently diagnose and repair your electric trailer jack, ensuring reliable operation for the 2026 camping season and beyond.