
The Anatomy of an Electric Fence Circuit
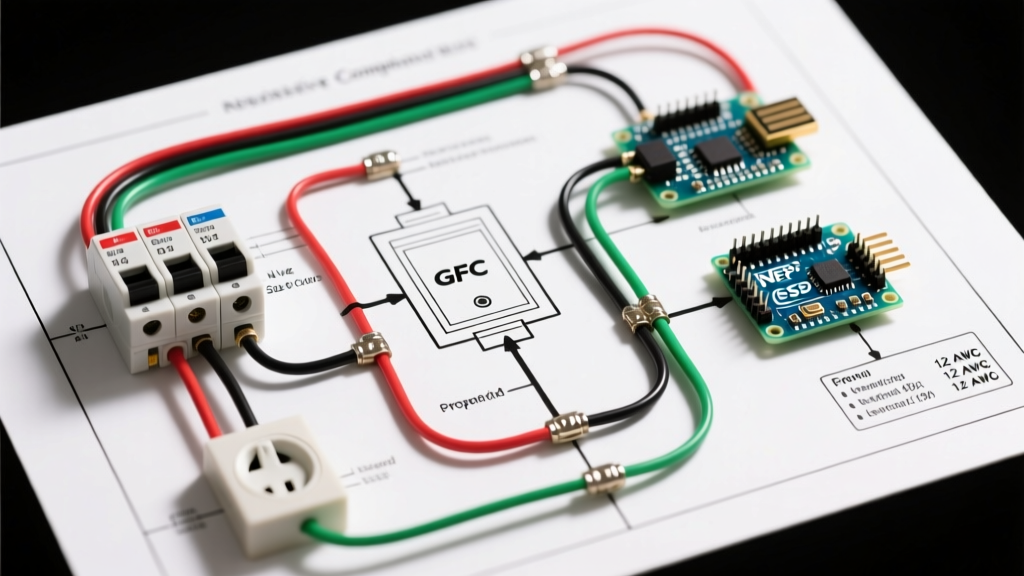
Unlike household AC wiring, which relies on a closed-loop neutral return to the transformer, an electric fence operates as an open circuit. When you study a standard wiring diagram electric fence layouts, you will notice the circuit is only completed when an animal touches the hot wire, allowing the pulse to travel through their body, into the soil, and back to the energizer's ground rods. Because the earth itself acts as the return conductor, troubleshooting voltage drops requires a fundamentally different approach than standard residential electrical diagnostics.
If your livestock are pushing through the fence or your predator deterrence is failing, the fault rarely lies in the energizer itself. According to agricultural extension data, over 85% of electric fence failures stem from improper grounding, vegetation shorts, or high-resistance wire splices. This guide will teach you how to read your wiring diagram to isolate and fix these specific faults.
Core Components in a Standard Wiring Diagram
The Energizer and Hot Wire Path
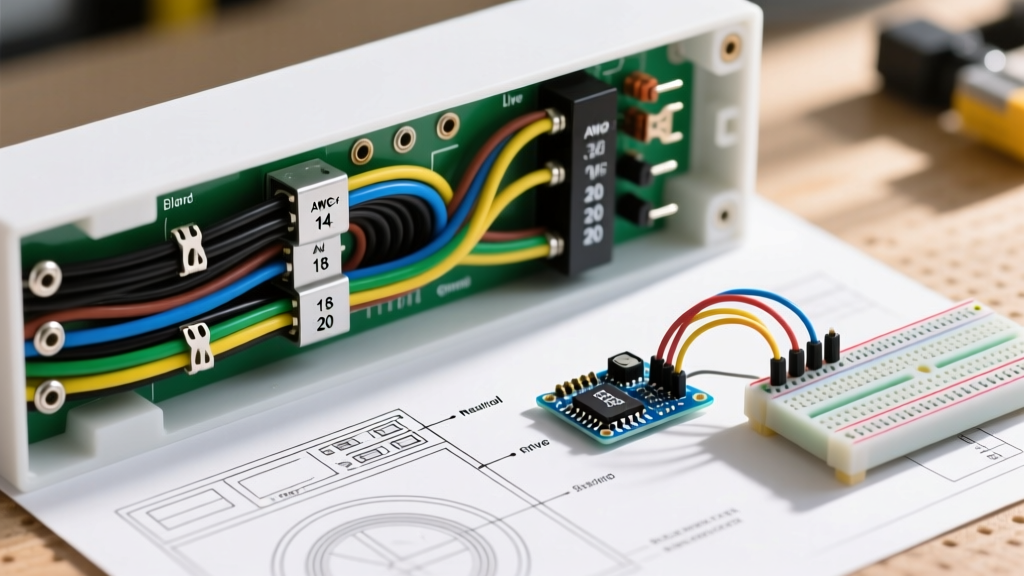
The energizer (or charger) is the heart of the system, converting mains or battery power into high-voltage, low-amperage pulses (typically 150 to 300 microseconds in duration). In your wiring diagram, the hot terminal connects to the fence line via a heavily insulated hook-up wire (minimum 14 AWG, rated for 20,000V). Modern units like the Gallagher M5800i (retailing around $750 in 2026) include built-in impedance monitoring, but they still rely on flawless external wiring to deliver the pulse.
The Grounding Array (The #1 Failure Point)
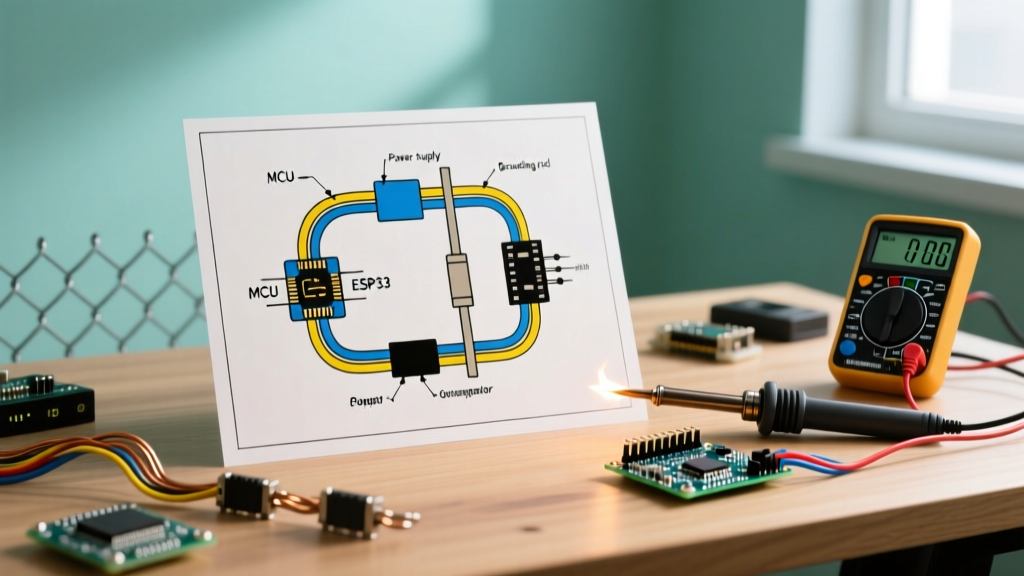
The ground terminal on your energizer must connect to a dedicated ground rod array. A standard wiring diagram dictates a minimum of three 6-to-8-foot galvanized steel ground rods, driven into the soil and spaced at least 10 feet apart. They must be bonded together using #6 AWG bare galvanized wire and heavy-duty ground clamps.
Expert Warning: Galvanic Corrosion. Never use copper ground rods if your fence wire and ground return wire are galvanized steel. The dissimilar metals, combined with soil moisture, create a galvanic cell that will corrode your connections within 18 to 24 months. Always match your ground rod material to your wire material, or use specialized dielectric clamps.
Troubleshooting Matrix: Symptom vs. Wiring Fault
Use this diagnostic matrix to cross-reference your physical symptoms with the wiring diagram to pinpoint the exact failure node.
| Symptom Observed | Probable Wiring Fault | Diagnostic Step |
|---|---|---|
| Low voltage at energizer hot terminal (under 3,000V) | Failing ground rod array or corroded ground clamp. | Perform a 'Short-to-Ground' test (detailed below) to measure ground system resistance. |
| High voltage at energizer, but under 2,000V at end of line | Undersized wire gauge, excessive vegetation contact, or poor inline splices. | Walk the line with a digital fault finder; check all crimp sleeves for rust and high resistance. |
| Energizer ticking rapidly or showing 'Short' error code | Dead short to ground (broken insulator, hot wire touching metal T-post). | Isolate zones using cut-out switches on your diagram until the energizer clears the fault. |
| Energizer completely dead after a thunderstorm | Lightning surge bypassed the arrestor and fried the internal PCB. | Check wiring diagram to ensure the lightning arrestor was wired in parallel, before the main fence line. |
Step-by-Step Diagnostic Flow Using Your Diagram
Step 1: Isolate the Energizer
Before walking miles of fence line, verify the source. Turn off the energizer and disconnect both the hot wire and the ground wire from the terminals. Turn the unit back on and use a digital multimeter or dedicated fence tester (like the Zareba Digital Voltmeter) across the terminals. A healthy modern energizer should read between 7,000V and 10,000V in open air. If it reads low, the energizer's internal capacitor or transformer has failed.
Step 2: The 'Short-to-Ground' Test
This is the most critical test for evaluating the ground return path shown in your wiring diagram. Reconnect the ground wire to the energizer, but leave the hot wire disconnected. Take a piece of heavily insulated wire and intentionally short the hot terminal directly to the first ground rod. Turn the energizer on. Now, measure the voltage on the furthest ground rod in your array. If you read more than 300V to 400V on the ground rod, your ground system is inadequate. The soil resistance is too high, meaning the pulse cannot return to the energizer. You must add more ground rods or install a ground enhancement material (GEM) like bentonite clay around the rods.
Step 3: Trace the Hot Wire for Leakage
If the energizer and ground system pass, the fault is on the hot wire. Reconnect the fence line. Use an inductive fault finder (such as the Gallagher Fault Finder, approx. $120). This device clamps over the wire and reads the magnetic field of the pulse. Follow the direction of the arrows on the device; when the arrows disappear or reverse, you have passed the point where current is leaking into the soil or vegetation.
Real-World Case Study: Fixing a Gallagher M5800i Voltage Drop
In early 2026, a homesteader running a 5-mile perimeter fence for cattle reported a severe voltage drop from 8,500V at the Gallagher M5800i energizer down to 1,800V at the furthest corner. The wiring diagram showed a continuous run of 12.5 AWG high-tensile wire.
Upon inspection, the fault was not vegetation. The original installer had spliced broken wires using standard aluminum crimp sleeves. Over three years, moisture ingress caused the aluminum to oxidize, creating massive electrical resistance at 14 different splice points. The fix involved cutting out the corroded crimps and replacing them with Gripple inline wire joiners, which use a ceramic-lined, self-tightening mechanism that maintains conductivity and physical tension. Post-repair voltage at the end of the 5-mile line stabilized at 7,200V.
Wire Gauge and Material Selection for 2026 Upgrades
When modifying your wiring diagram to add new zones or replace old lines, wire selection dictates your voltage drop over distance. Here is how common materials compare in terms of resistance per mile:
- 12.5 AWG High-Tensile Steel (Class 3 Galvanized): ~11 ohms/mile. The gold standard for permanent perimeter fencing. Handles physical tension up to 200,000 PSI.
- 14 AWG Galvanized Steel: ~18 ohms/mile. Acceptable for shorter runs (under 2 miles) or interior cross-fencing.
- 9-Strand Polywire (with stainless steel filaments): ~120 to 250 ohms/mile. Strictly for temporary, rotational grazing setups. Never use for runs longer than 1,500 feet without a parallel hot wire.
- Turbo Wire (Copper/Steel blend): ~3 ohms/mile. Premium pricing (approx. $180 per 1,300ft roll), but carries pulse exceptionally well for massive multi-mile commercial operations.
Lightning Arrestors and Zone Isolation
A complete wiring diagram must include a lightning arrestor (diverter). This component is wired in parallel between the hot terminal and the ground terminal, typically within 3 feet of the energizer. Its job is to provide a path of least resistance to the earth for massive voltage spikes, sacrificing its internal carbon block to save the energizer's microprocessors.
Additionally, incorporate cut-out switches into your diagram every 1,000 feet or at every major zone intersection. When a short occurs, you can systematically open these switches to isolate the fault to a specific 1,000-foot segment, saving hours of walking the line.
Authoritative References and Safety Standards
When designing or troubleshooting your electric fence wiring diagram, always adhere to regional agricultural and electrical safety guidelines. For comprehensive design parameters, grounding specifications, and safety clearances near utility lines, consult the following authoritative resources:
- Penn State Extension: Electric Fencing Design and Construction - Provides exhaustive data on wire tensile strength, grounding rod requirements, and energizer sizing.
- Ontario Ministry of Agriculture, Food and Rural Affairs - Excellent guidelines on safety clearances, lightning protection, and integrating solar energizers into remote grid setups.
By treating your electric fence not as a simple wire, but as a complex, earth-return circuit mapped by a precise wiring diagram, you can systematically eliminate voltage drops and maintain a secure, reliable perimeter for your livestock and property.