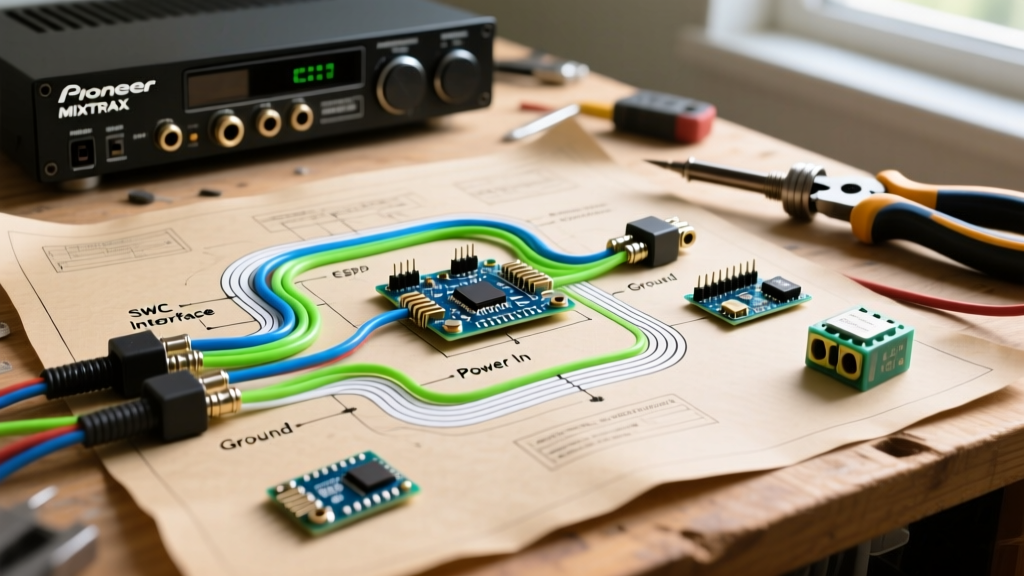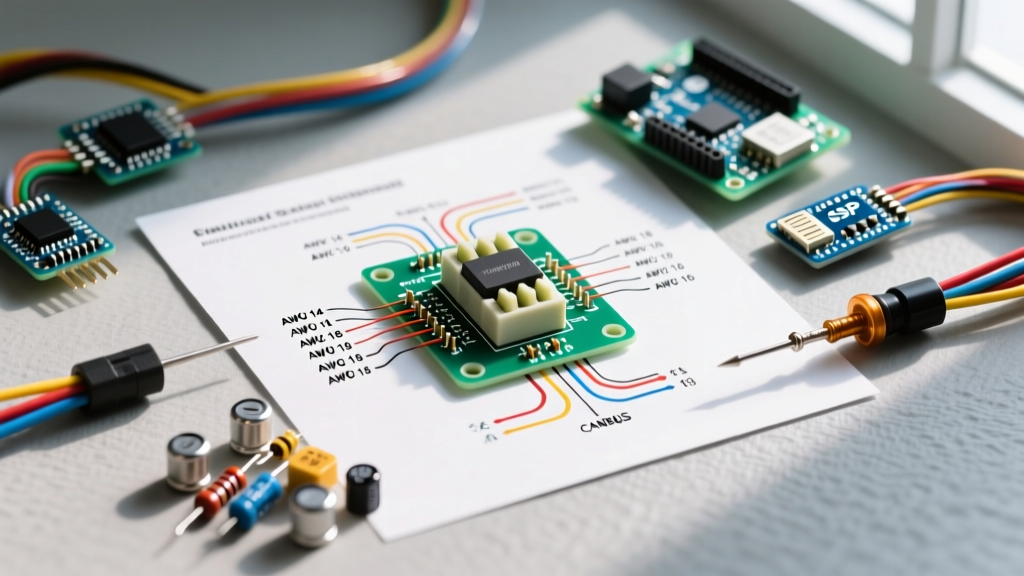

Decoding the Automotive Electrical Wiring Diagram Switch Layout
Whether you are rigging a 2026 Ford Bronco Raptor for overlanding or adding a 6-gang rocker switch panel to a Toyota Tacoma for auxiliary lighting, understanding the underlying circuit is non-negotiable. Modern vehicles are rolling networks of CANBUS modules, smart Battery Management Systems (BMS), and pulse-width modulated (PWM) circuits. When analyzing an automotive electrical wiring diagram switch layout, the most common mistake DIYers make is treating the vehicle's 12V system like a static residential circuit. It is not. Vibration, extreme temperature swings, and sensitive ECU monitoring demand a specialized approach to switch wiring.
This guide bypasses generic theory and dives straight into the exact pinouts, wire gauge mathematics, and modern vehicle edge cases you need to wire a relay-driven switch panel safely and reliably.
The Anatomy of a Vehicle Switch and Relay Circuit
A proper off-road switch panel never routes high-amperage loads directly through the dashboard switch. Doing so causes voltage drop, excessive heat, and eventually melted plastic housings. Instead, the switch acts as a low-amperage trigger for a Bosch-style ISO Mini relay, which handles the heavy lifting.
Standard 5-Pin Rocker Switch Pinout (SPST)
Most aftermarket switch panels (like those from Nilight, Rigid Industries, or ARB) use a standardized 5-pin SPST (Single Pole, Single Throw) rocker switch. Here is the exact pinout you will see on the back of the switch housing:
- Pin 2 (Power In): Receives 12V+ from your centralized fuse block.
- Pin 3 (Power Out): Sends the 12V+ trigger signal to the relay coil (Pin 86) when the switch is flipped.
- Pin 6 (Ground): Completes the circuit for the internal LED indicator light on the switch face.
- Pins 7 & 8: Typically unused in standard SPST configurations (reserved for DPST or daisy-chain variations).
Bosch ISO Mini Relay Pinout (5-Pin)
The relay is the muscle of your electrical wiring diagram switch setup. Understanding the 5-pin layout is critical for troubleshooting:
- Pin 30 (Common): 12V+ Input directly from the battery via a primary inline fuse.
- Pin 85 (Coil Ground): Grounded to the vehicle chassis.
- Pin 86 (Coil Trigger): Receives the 12V+ signal from Switch Pin 3.
- Pin 87 (Normally Open): 12V+ Output to the auxiliary load (e.g., LED light bar, winch contactor).
- Pin 87a (Normally Closed): Unused in standard auxiliary lighting setups.
The Golden Rule of Automotive Relays: Never wire Pin 87a into a standard lighting circuit. If wired incorrectly, it can backfeed voltage into the system when the switch is off, causing parasitic draws that will drain your vehicle's battery overnight.
Wire Gauge Selection and SAE Standards
Automotive wire is rated differently than residential copper wire. According to AAA Automotive Electrical Basics, vehicle wiring must account for high under-hood temperatures and the fact that 12V systems require thicker wires to prevent voltage drop over long runs. Always use SAE J1128 compliant cross-linked polyethylene (TXL or GXL) stranded wire.
| Load Amperage | Wire Length (One Way) | Recommended AWG (TXL) | Primary Fuse Size (ATO) |
|---|---|---|---|
| 5A - 10A | Under 10 ft | 14 AWG | 15A |
| 10A - 15A | 10 ft - 15 ft | 12 AWG | 20A |
| 15A - 25A | 15 ft - 20 ft | 10 AWG | 30A |
| 30A - 40A | Over 20 ft | 8 AWG | 50A |
Note: Wire length is measured from the battery to the load and back to the ground. If your total circuit loop exceeds 20 feet, step up one AWG size to mitigate voltage drop, which can cause HID ballasts to fail to ignite or LED drivers to flicker.
The 2026 CANBUS and PWM Edge Case
If you are wiring a switch panel in a modern vehicle (2022-2026 Jeep Wrangler 4xe, Ford Bronco, or Toyota Tacoma), you must be aware of Pulse Width Modulation (PWM). Modern smart BMS systems do not always provide a steady 12V to accessories like the cigarette lighter, dome lights, or tail lights. Instead, they pulse the voltage thousands of times per second to monitor circuit health and detect blown bulbs.
The Symptom: Rapid Relay Clicking
If you use an 'Add-a-Circuit' fuse tap to pull your switch trigger signal from a PWM-monitored circuit, the relay coil will receive pulsed DC. This causes the relay to click rapidly, the switch LED to strobe, and the auxiliary lights to flicker violently.
The Solution: PWM Filtering and Upfitter Switches
- Use Factory Upfitter Switches: Vehicles like the Bronco and Super Duty trucks come with pre-wired upfitter switches tied directly to the BCM (Body Control Module) that provide a clean, filtered 12V signal. Use these as your trigger source whenever possible.
- Install a PWM Filter: If you must tap into a pulsed circuit, solder a 4700µF electrolytic capacitor in parallel with the relay coil (Pin 85 and 86). This capacitor absorbs the pulses and releases a steady 12V stream, keeping the relay engaged smoothly.
- Find an Ignition-Switched Constant Source: Use a multimeter to find a fuse that only has power when the key is in the 'ON' position but is not monitored by the CANBUS (e.g., the radio accessory fuse or rear wiper fuse).
Termination: Why Solder Fails in Automotive Environments
A common misconception among DIYers is that soldering wire connections is superior to crimping. In a static home environment, this is true. In a vehicle subjected to constant high-frequency vibration and thermal cycling, solder is a liability. Solder wicks up into the stranded wire, creating a rigid point exactly where the flexible wire meets the connector. Over time, vibration causes the wire to snap at this rigid boundary.
The Professional Standard: Use adhesive-lined heat shrink crimp connectors (e.g., Ancor or Tinfoseal). The mechanical crimp handles the vibration and tensile stress, while the inner layer of hot-melt adhesive seals out moisture and prevents galvanic corrosion—a critical factor when routing wires through the firewall into the engine bay.
Troubleshooting Common Switch Diagram Failures
| Symptom | Root Cause Analysis | Actionable Fix |
|---|---|---|
| Switch LED is on, but lights do not turn on. | Pin 3 is outputting 12V, but the relay coil ground (Pin 85) has high resistance or is painted over. | Scrape away paint and primer at the chassis ground point. Use a star washer to bite into bare metal. |
| Aux lights turn on, but switch LED stays off. | Switch Pin 6 (Ground) is not connected, or the internal LED resistor is blown. | Verify continuity on Pin 6 ground wire. If ground is good, the switch internal LED is dead; replace the switch. |
| Relay clicks once, then auxiliary lights dim and die. | Voltage drop due to undersized wire on Pin 30 or Pin 87, causing the relay coil to drop out as the high-amp load engages. | Upgrade Pin 30 and 87 wiring to 10 AWG or 8 AWG. Ensure the primary battery fuse is not undersized. |
| Parasitic battery drain overnight. | Switch Pin 2 is wired to a constant 12V source, and the switch internal LED is drawing 15mA continuously, or Pin 87a is backfeeding. | Wire Switch Pin 2 to an ignition-switched fuse tap so the entire panel loses power when the vehicle is off. |
Compliance and Safety Regulations
When wiring external auxiliary lights, your electrical wiring diagram switch setup must also comply with road safety regulations. According to the NHTSA Vehicle Lighting Regulations, auxiliary off-road lights must be wired so they cannot be activated simultaneously with standard high beams on public roads. Always wire a dedicated 'kill switch' or use a relay logic circuit that automatically cuts power to the light bar when the vehicle's high beams are turned off, or install physical lens covers when driving on highways.
Frequently Asked Questions
Can I wire multiple auxiliary lights to a single switch and relay?
Yes, but you must calculate the total amperage draw. If you are running three 40W LED pods (approx. 2.5A each at 14.4V), your total draw is 7.5A. A standard 40A Bosch relay and 12 AWG wire will handle this easily. However, if you add a 150W light bar (10.4A), your total draw approaches 18A. You must then upgrade the relay output wire (Pin 87) to 10 AWG and use a 25A or 30A inline fuse to prevent a fire hazard in the event of a short circuit.
Do I need a fuse on the trigger wire between the switch and the relay?
Technically, the relay coil draws less than 150mA, so the risk of a short is low. However, best practice dictates placing a 2A to 5A mini-fuse on the 18 AWG trigger wire between the switch panel and the relay. If the trigger wire chafes against the firewall and shorts to ground, this small fuse will blow, protecting your switch panel's internal PCB traces from melting.
Why use a centralized fuse block instead of individual inline fuses?
Routing six individual wires from the battery, each with its own inline fuse, creates a messy, high-resistance 'rat's nest' at the battery terminal. Using a marine-grade fuse block (like the Blue Sea Systems ST Blade Compact) allows you to run a single heavy-gauge wire (e.g., 4 AWG) from the battery to the block, protected by a single high-amperage ANL or Mega fuse. From the block, you can branch off cleanly to your switch panel and relays, making future troubleshooting and maintenance significantly easier.