
Decoding the Wiring Diagram for AC Condensers
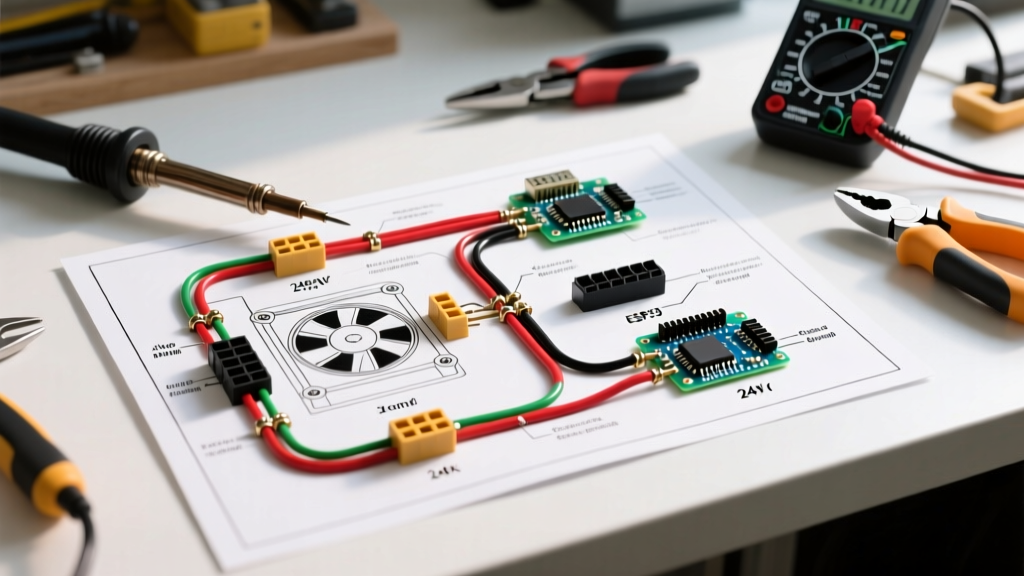
Interpreting a wiring diagram for AC systems can feel overwhelming for DIYers and junior technicians alike. However, whether you are installing a standard single-stage unit or a 2026 SEER2-compliant variable-speed inverter, the electrical architecture always divides into two distinct circuits: the 240V high-voltage power supply and the 24V low-voltage control circuit. In this step-by-step walkthrough, we will break down the exact wiring sequence for a standard 3-ton (36,000 BTU) central air conditioner condenser, translating the schematic on the inside of the service panel into actionable, physical connections.
Safety & Compliance Warning: Working with 240V circuits carries a severe risk of arc flash and electrocution. Always verify power is off using a CAT III or CAT IV non-contact voltage tester and a multimeter. Furthermore, while this guide covers electrical wiring, handling refrigerant lines requires EPA Section 608 certification. Always adhere to the National Electrical Code (NFPA 70) and local amendments.
Standard vs. Inverter Condenser Wiring (2026 Landscape)
Before pulling any wire, identify your condenser type. The wiring diagram for AC units differs drastically between traditional and inverter models:
- Standard Single/Two-Stage Condensers: Use a 240V line-voltage whip (L1, L2, Ground) and a simple 24V control circuit (Y and C wires) to energize the contactor coil.
- Variable-Speed Inverter Condensers (e.g., MrCool, Senville, Bosch): Often require 208/230V power wired directly to the outdoor board, plus a 4-wire shielded communication cable (S1, S2, S3, Ground) to talk to the indoor air handler. Note: Never run communication wires in the same conduit as high-voltage lines to prevent electromagnetic interference (EMI).
This walkthrough focuses on the universally common standard 240V contactor-based condenser.
Material Sizing and 2026 Cost Estimates
Sizing your breaker and wire gauge is dictated by the data plate on the condenser. You must look for two values: MCA (Minimum Circuit Ampacity) and MOCP (Maximum Overcurrent Protection). For a typical 3-ton unit, the MCA is usually around 20A-22A, and the MOCP is 30A or 35A.
| AC Tonnage (BTU) | Typical MCA / MOCP | Required Copper Wire (THHN) | Breaker Size | Est. Material Cost (2026) |
|---|---|---|---|---|
| 1.5 Ton (18k) | 12A / 15A | 14 AWG (12 AWG Rec.) | 15A Double-Pole | $45 - $60 |
| 2.0 Ton (24k) | 15A / 20A | 12 AWG | 20A Double-Pole | $55 - $75 |
| 3.0 Ton (36k) | 22A / 30A | 10 AWG | 30A Double-Pole | $75 - $95 |
| 4.0 Ton (48k) | 28A / 40A | 8 AWG | 40A Double-Pole | $110 - $140 |
| 5.0 Ton (60k) | 35A / 50A | 6 AWG | 50A Double-Pole | $140 - $180 |
*Costs include 50ft of liquidtight flexible metallic conduit (LFMC), 10/2 THHN wire, a 60A non-fused disconnect box, and a standard double-pole breaker.
Step-by-Step High-Voltage Wiring Walkthrough
Step 1: Install the Double-Pole Breaker
At your main service panel, install a 30A double-pole breaker. Ensure the breaker is in the OFF position. Strip 3/4-inch of insulation from your 10 AWG black and red THHN wires. Torque the breaker terminal screws to the manufacturer's specification (typically 35-40 in-lbs for 10 AWG wire). Connect the bare copper ground to the panel's ground bus bar.
Step 2: Route the Whip and Disconnect Box
Per NEC Article 440.14, a disconnecting means must be within sight from and readily accessible from the air-conditioning equipment. Mount a 60A non-fused pull-out disconnect box on the exterior wall within 6 feet of the condenser. Run your 10/2 THHN wires through 1/2-inch LFMC (liquidtight whip) from the house exterior to the disconnect box, securing the conduit with strain-tight fittings.
Step 3: Terminate the Disconnect
Inside the disconnect box, land the black and red wires on the LINE terminals (top). Land the ground wire on the grounding lug. On the LOAD side (bottom), connect the wires that will run through the whip directly to the condenser's access panel. Pro Tip: The Electrical Safety Foundation International (ESFI) heavily emphasizes using a calibrated dial torque screwdriver for these connections; loose lugs cause high-resistance faults and melted disconnects.
Step 4: Land the Line Voltage at the Contactor
Open the condenser's electrical service panel. You will see the contactor—a heavy-duty relay with L1 and L2 terminals. Route the black and red wires from the disconnect whip into the high-voltage knockouts. Secure them with a cord grip or conduit fitting to prevent vibration from pulling the wires loose over time. Terminate the black wire to L1 and the red wire to L2. Land the ground wire on the chassis ground lug. According to ENERGY STAR HVAC installation guidelines, proper grounding and secure terminations are critical for maintaining the efficiency and longevity of the compressor.
Step-by-Step Low-Voltage Control Wiring
The 24V control circuit tells the contactor when to pull in, starting the compressor and fan. This power originates from the 24V transformer inside your indoor air handler, not the outdoor unit.
- Run the Thermostat Wire: Use 18/5 (18-gauge, 5-conductor) solid copper unshielded wire. Run it from the indoor air handler control board, through the wall, and out to the condenser via a separate low-voltage conduit or secured alongside the whip (outside the liquidtight jacket).
- Identify the Wires: Standard HVAC color coding dictates Yellow (Y) for the compressor contactor and Blue (C) or White (W) for the 24V common. We will use Yellow and Blue.
- Connect at the Air Handler: Connect the Yellow wire to the 'Y' terminal on the indoor control board. Connect the Blue wire to the 'C' (Common) terminal on the 24V transformer or control board.
- Connect at the Contactor Coil: At the outdoor condenser, locate the two 1/4-inch spade terminals on the contactor's electromagnetic coil. It does not matter which spade gets Yellow and which gets Blue, as it is a simple 24V AC loop. Push the spade connectors on firmly. If they feel loose, crimp new 18 AWG female quick-disconnect terminals onto your wires to prevent arcing.
Troubleshooting Common Wiring Failures
Even with a perfect wiring diagram for AC systems, field conditions introduce variables. Here are three specific failure modes to watch for:
- Contactor Chatter or Burnout: If the contactor buzzes loudly or the coil melts, check for voltage drop on the 24V line. If the wire run exceeds 75 feet, 18 AWG wire suffers from voltage drop. Upgrade to 16 AWG thermostat wire for long runs to ensure the coil receives a full 24V.
- Tripped Breaker on Startup: If the 30A breaker trips instantly when the thermostat calls for cooling, you likely have a shorted compressor winding or a wire that has chafed against the sharp metal edge of the condenser access panel. Always use rubber grommets on metal knockouts.
- Thermostat Wire Ground Faults: If the 24V control wire is stapled too tightly or stripped by rodents, the bare copper can touch the grounded copper refrigerant line. This will immediately blow the 3A or 5A automotive-style fuse located on the indoor air handler's control board.
Final Verification and Energizing
Before closing the panels, perform a continuity check. With the power OFF and the disconnect pulled, use your multimeter to verify there is no short between L1 and Ground, or L2 and Ground. Once verified, insert the disconnect pull-out block, turn on the main panel breaker, and set your thermostat to cooling. You should hear a definitive, solid "clack" from the outdoor contactor, followed by the fan and compressor engaging. Properly executing this wiring diagram ensures your AC system operates safely, efficiently, and reliably through the peak summer months.