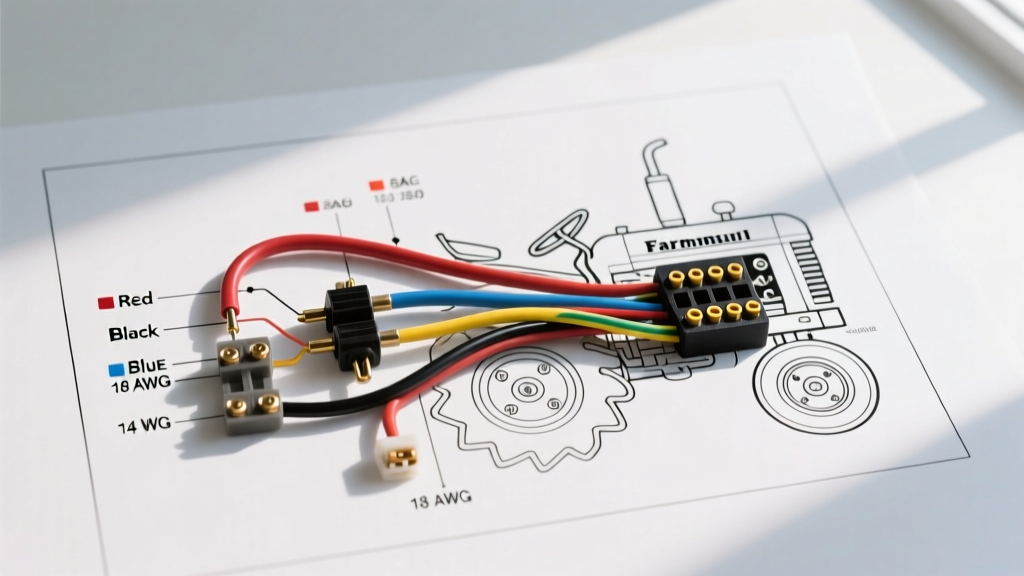

Decoding the Standard Wiring Diagram for Sprinkler System Controllers
Whether you are upgrading to a smart Wi-Fi controller like the Rachio 3 or troubleshooting a legacy Hunter X-Core, understanding the underlying electrical topology is critical. A standard wiring diagram for sprinkler system installations revolves around a 24VAC (Volts Alternating Current) closed-loop circuit. This guide breaks down the exact wiring pathways, wire gauge requirements, and advanced relay configurations you need for a flawless, code-compliant irrigation setup in 2026.
Core Components in the Irrigation Circuit
Before tracing the wires, identify the four primary nodes in your system:
- The Controller (Timer): The brain of the operation. It steps down 120VAC mains power to 24VAC via an internal or external transformer.
- Solenoid Valves: Electromechanical switches (typically 24VAC, 50/60Hz) that open the water diaphragm. Expect an inrush current of 0.3A to 0.5A per valve when activating.
- The Common Wire: The shared return path that completes the circuit for every single zone.
- Field Wires (Hot Legs): Individual conductors running from the controller's zone terminals to each specific solenoid.
Step-by-Step: Reading the Wiring Diagram
1. The Common Wire Daisy Chain
The most common mistake in DIY irrigation wiring is treating each valve as an isolated home-run back to the controller. The Common wire (usually white or black) does not go back to the controller for every valve. Instead, it is spliced in the valve box, daisy-chaining from the controller's COM terminal to Valve 1, then spliced to Valve 2, Valve 3, and so on. This topology saves hundreds of feet of copper wire and simplifies trenching.
2. The Zone (Hot) Wires
From the controller's numbered terminals (e.g., 1, 2, 3), individual colored wires run to the second terminal on each respective solenoid. When the controller activates Zone 1, it sends 24VAC down the red wire to Solenoid 1. The current passes through the solenoid coil, exits via the white Common wire, and returns to the controller's COM terminal, energizing the magnetic plunger to open the valve.
Safety Note: Always disconnect the 24VAC transformer or unplug the controller before splicing field wires. Working on live wires risks shorting the transformer's internal thermal fuse, which typically costs $15 to $25 and requires soldering to replace.
Upgrading to Smart Controllers: Mapping Legacy Wiring
In 2026, smart controllers like the Orbit B-hyve XR or Hydrawise Pro-HC are the industry standard. Fortunately, the field wiring diagram for a smart sprinkler system is identical to legacy analog timers. The smart controller simply replaces the mechanical switches with digital relays and Wi-Fi modules. However, ensure your smart controller's internal transformer can handle the total inrush amperage if you are running multiple master valves or flushing zones simultaneously. Most residential smart controllers max out at 1.0A total output.
Wire Gauge Selection Matrix (24VAC Systems)
Voltage drop is the silent killer of irrigation systems. If the voltage at the solenoid drops below 18VAC, the valve will chatter, overheat the coil, or fail to open entirely. Use this matrix based on Irrigation Tutorials standards for maximum distance from the controller to the furthest valve, assuming a standard 0.5A inrush load.
| Wire Gauge (AWG) | Max Distance (1 Valve) | Max Distance (2 Valves Simultaneous) | Recommended Use Case |
|---|---|---|---|
| 18 AWG | 75 feet | 40 feet | Small residential urban lots |
| 16 AWG | 120 feet | 65 feet | Standard suburban yards |
| 14 AWG | 190 feet | 100 feet | Large properties, sports fields |
| 12 AWG | 300 feet | 160 feet | Commercial parks, golf courses |
Advanced Wiring Scenarios
Integrating a Master Valve
A master valve is installed on the main water line upstream of all zone valves to prevent catastrophic flooding if a zone valve fails to close due to debris. In your wiring diagram, the master valve's hot wire connects to the MV (Master Valve) terminal on the controller, while its other wire ties into the main Common daisy chain. The controller automatically energizes the MV terminal whenever any downstream zone is active.
Pump Start Relay Wiring (3-Wire vs. 2-Wire)
If your system draws from a well, you need a pump start relay like the Intermatic T10601R. The controller's MV or P/MV terminal sends 24VAC to the relay's low-voltage coil (terminals 1 and 2). This closes the high-voltage contacts (terminals 3, 4, and 5) to start the 120V or 240V well pump. According to EPA WaterSense guidelines, ensuring proper pump relay integration prevents dry-running, saves water, and significantly extends the pump motor lifespan.
Sensor Integration: Rain and Soil Moisture
Modern wiring diagrams for sprinkler systems almost always include a sensor loop. Controllers feature SEN and SEN-C (Sensor Common) terminals. This is a Normally Closed (NC) circuit. The 24VAC common wire passes through the rain sensor's micro-switch before reaching the valve common wires. When the rain cup fills, the switch opens, breaking the 24VAC return path and disabling all zones instantly. When wiring soil moisture sensors, ensure you select the correct NO (Normally Open) or NC jumper setting inside the sensor housing to match your controller's logic board.
Real-World Troubleshooting and Failure Modes
When your system fails, use a digital multimeter to diagnose the exact point of failure based on these common electrical faults:
- Chattering Valves (Voltage Drop): Measure AC voltage at the solenoid while the zone is active. If it reads below 19VAC, your wire gauge is too thin for the distance, or you have corroded wire nuts increasing resistance. Upgrade your splices to direct-burial gel-filled connectors (e.g., DBRY-6 or 3M Scotchlok).
- Transformer Burnout (Short Circuit): If the controller display is completely dead and the transformer feels hot to the touch, a hot field wire has shorted to the common wire or bare ground. Isolate zones by disconnecting wires one by one until the transformer resets or the display turns back on.
- Solenoid Coil Failure: Disconnect the wires and measure resistance (Ohms) across the solenoid terminals. A healthy 24VAC solenoid (like the ubiquitous Hunter 458200) will read between 20 and 60 ohms. A reading of OL (Open Line) means the internal copper winding is broken. Replace the solenoid immediately; they typically retail for $12 to $18.
Final Commissioning Checklist
- Verify all field wire splices are encapsulated in waterproof silicone gel caps to prevent copper oxidation.
- Confirm the Common wire is securely seated in the
COMterminal and torqued properly to prevent arcing. - Test the rain sensor bypass switch on the controller faceplate to ensure the physical override functions correctly.
- Run a manual 2-minute test per zone while monitoring the controller's amperage draw if supported by your smart model.
By strictly adhering to this wiring diagram for sprinkler system layouts and respecting 24VAC voltage drop limits, you ensure a reliable, low-maintenance irrigation infrastructure that protects your landscape and conserves water efficiently.