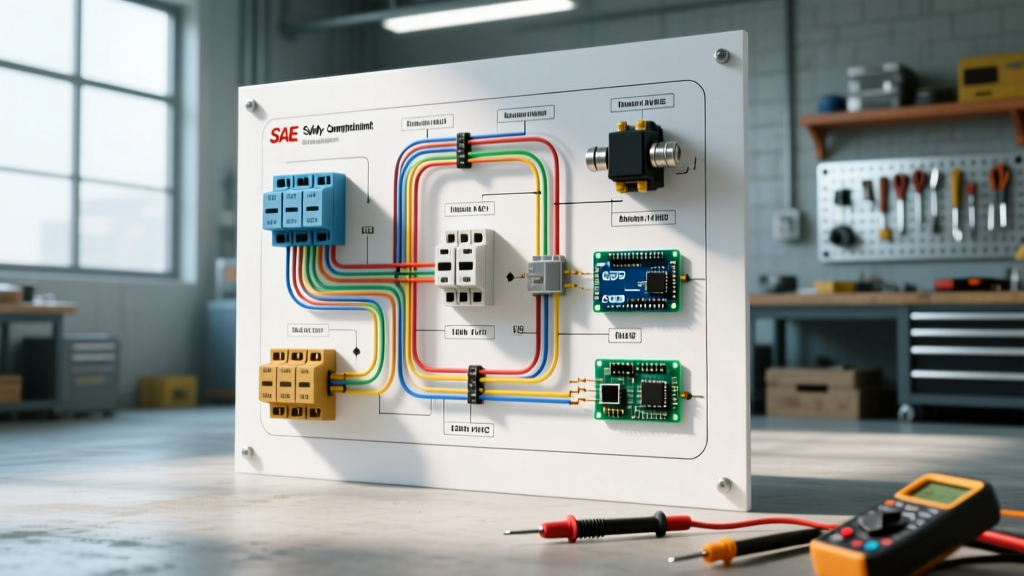

The Hidden Dangers of High-Draw Plow Hydraulics
Interpreting a wiring diagram for snow plow installations requires far more than simply connecting a motor to a battery. Modern electric-over-hydraulic (EOH) snow plow systems, such as the BOSS HTX, Meyer E-47, and Western Ultramount 2, routinely pull between 150 and 250 amps under peak load. When temperatures drop below 10°F, hydraulic fluid viscosity increases, pushing these amp draws even higher. A poorly executed wiring harness doesn't just cause voltage drop; it leads to melted insulation, welded solenoid contacts, and catastrophic alternator fires. As of the 2026 model year, with the widespread adoption of LIN-bus controlled smart alternators and multiplexed CAN-bus vehicle networks in 3/4-ton and 1-ton trucks, adhering to strict safety codes and isolation protocols is non-negotiable.
Core Safety Standards & SAE Compliance
Before routing a single cable, professional installers must align their wiring diagrams with specific automotive and federal safety standards. Ignoring these codes is the primary cause of warranty voids and electrical fires in commercial fleets.
- SAE J1128 (Low Tension Primary Cable): Standard PVC or THHN wire becomes brittle and cracks at sub-zero temperatures. According to SAE International's J1128 standard, snow plow main power feeds must use Cross-Linked Polyethylene (XLPE) insulated cable rated for continuous 125°C operation. XLPE maintains flexibility at -40°F, preventing the insulation from shattering when the cable is routed near the truck's suspension and steering linkage.
- SAE J1171 (Ignition Protection): Because snow plow solenoids are mounted in the engine bay where road salt, slush, and potential fuel vapors mix, all high-current relays must be SAE J1171 compliant for external ignition protection and marine-grade moisture resistance.
- FMVSS 108 (Lighting Integration): The National Highway Traffic Safety Administration (NHTSA) mandates that auxiliary plow lighting cannot interfere with or dim the vehicle's OEM headlamps. Proper wiring diagrams utilize isolation modules to completely disconnect the truck's headlamp circuit from the plow harness when the plow is attached.
CRITICAL SAFETY WARNING: Never route the main plow motor ground through the truck's chassis or engine block. The high-amperage return path (up to 250A) will overwhelm the factory chassis ground straps, causing current to seek alternative paths through wheel bearings, steering U-joints, or transmission housings, leading to rapid galvanic corrosion and bearing failure. Always run a dedicated 1/0 AWG or 2 AWG ground cable directly from the plow motor to the vehicle's negative battery terminal.
Wire Gauge Sizing & Voltage Drop Matrix
Selecting the correct wire gauge is dictated by the specific hydraulic pump motor's peak amperage and the total round-trip cable length (positive + negative). A 15% voltage drop at the motor terminals will cause the pump to overheat and the circuit breaker to trip prematurely. Below is the 2026 industry-standard sizing matrix for common commercial plow setups.
| Plow Model / Pump Type | Peak Amp Draw | Main Cable Gauge (XLPE) | Solenoid Rating | MEGA Fuse Size |
|---|---|---|---|---|
| BOSS HTX / Standard Duty | 150A - 170A | 2 AWG | 200A Continuous | 175A |
| Meyer E-47 / E-57 | 180A - 200A | 2 AWG (up to 12ft run) | 200A Continuous | 225A |
| Western Ultramount 2 | 220A - 250A | 1/0 AWG | 250A Continuous | 250A |
| Fisher XLS (High-Flow) | 240A+ | 1/0 AWG | 250A Continuous | 250A |
Note: A premium 1/0 AWG XLPE cable kit with a Littelfuse MEGA block and marine-grade heat shrink terminals typically costs between $160 and $240 in 2026. Do not compromise on copper-stranded, tinned marine wire for the control circuits.
Solenoid Isolation: Continuous vs. Intermittent Duty
The most common failure mode in DIY snow plow wiring diagrams is the use of a standard automotive starter relay (intermittent duty) to switch the plow motor. Starter relays are designed to engage for 5 to 10 seconds during engine cranking. A snow plow hydraulic pump, however, may run continuously for 3 to 5 minutes while clearing a heavy drift.
The Welded Contact Hazard
When an intermittent-duty solenoid is subjected to continuous 180A loads, the internal copper coil overheats, and the magnetic field weakens. This causes the internal contacts to arc and physically weld together. If this occurs, the plow motor will continue to run even after the operator turns off the in-cab controller, rapidly draining the battery and potentially causing an electrical fire. Code-compliant diagrams mandate the use of a Continuous-Duty Solenoid, such as the Trombetta 114-1211-010 or the White-Rodgers 586-902. These units feature heavier gauge internal coils, silver-alloy contact pucks, and are potted in epoxy to resist salt-water intrusion.
Modern CAN-Bus & Smart Alternator Protection
Wiring a snow plow into a 2024-2026 GM Silverado, Ram 2500, or Ford Super Duty requires navigating complex Body Control Modules (BCM) and smart alternators. Modern alternators use a LIN-bus signal from the BCM to adjust voltage output based on battery temperature and electrical load. A sudden 200A draw from a plow motor can cause the BCM to misinterpret the load as a short circuit, triggering a U-code (e.g., U1510 or U0140) and putting the alternator into a "limp mode" that outputs only 12.8V—far too low to keep the truck running and plow pumping simultaneously.
The OEM Snow Plow Prep Package (RPO VYU)
If your truck is equipped with the GM RPO VYU (Snow Plow Prep Package), the factory wiring diagram includes a dedicated 40A auxiliary battery feed, a high-idle solenoid trigger, and a BCM-integrated plow lighting multiplexer. When wiring an aftermarket plow to a VYU-equipped truck:
- Do Not Tap the High-Beam Wire: Tapping directly into the OEM headlamp wiring to trigger the plow isolation relay will cause the BCM to detect an abnormal voltage drop, triggering a "Headlamp Circuit Malfunction" warning on the dash and disabling the plow lights.
- Use the Upfitter Interface Module: Connect the plow's lighting trigger wires to the dedicated blunt-cut upfitter wires located under the dash or near the fuse block, which are pre-programmed to handle auxiliary lighting loads without throwing CAN-bus faults.
- High-Idle Integration: Wire the plow controller's "high idle" trigger to the OEM PTO (Power Take-Off) circuit to automatically raise the engine RPM to 1,500 when the plow is activated, ensuring the alternator generates maximum amperage to offset the hydraulic pump draw.
Lighting Harness: Multiplex vs. Relay Systems
According to technical bulletins from BOSS Snowplow and Meyer, the industry has largely transitioned from traditional 4-relay lighting harnesses to solid-state Multiplex Modules (e.g., Meyer MSC, BOSS Smart Hitch 3, Fisher FleetFlex). Multiplex modules send digital signals over a single twisted-pair CAN wire to the plow's receiver, drastically reducing the number of pins required on the grill connector.
When diagnosing or upgrading a lighting diagram:
- 3-Plug vs. 4-Plug Configurations: Older 4-plug systems separate power, ground, and lighting into distinct connectors. Modern 3-plug (Fisher FleetFlex) or 2-plug (BOSS 13-pin) systems integrate everything. Ensure your cab-side harness matches the exact pinout of the plow's multiplex module; mismatching a 2026 plow with a 2018 truck harness will result in crossed turn signals and blown logic boards.
- LED Headlamp Draw: If upgrading the plow to LED headlamps (which draw only 3A compared to 12A for halogen HB4 bulbs), you must install load-resistors or reprogram the multiplex module. Without the resistive load, the truck's BCM will assume the headlamp bulb is burnt out and will cut power to the circuit via PWM (Pulse Width Modulation).
Common Failure Modes & Troubleshooting Edge Cases
Even with a perfect wiring diagram, environmental factors introduce edge cases that require advanced troubleshooting.
1. Grill Connector Voltage Drop
The multi-pin grill connector is the most vulnerable point in the system. Road salt and magnesium chloride brine cause galvanic corrosion on the brass pins. A voltage drop test across the grill connector (measuring from the truck-side pin to the plow-side pin while the motor is under load) should read less than 0.2V. If it reads higher, the pins must be cleaned with electrical contact cleaner and coated with dielectric grease (specifically Nyogel 760G, which is formulated for high-amperage DC connections, unlike standard silicone grease which can increase resistance).
2. Control Valve Ground Loops
If the plow's hydraulic valves (which draw 8A to 12A each) are grounded to the plow frame instead of being run back to the truck's battery via the control harness, the high-current return path from the main motor can elevate the plow frame's voltage potential. This "floating ground" causes the low-amperage valve coils to receive insufficient voltage, resulting in slow or erratic blade angling. Always verify that the wiring diagram specifies a dedicated 10 AWG ground wire for the valve manifold, routed directly alongside the positive control wires back to the cab isolation module.
Final Installation Checklist
Before energizing the system, verify the following code-compliant parameters:
- [ ] Main MEGA fuse is installed within 7 inches of the positive battery terminal.
- [ ] All XLPE cables are secured with UV-resistant, stainless-steel Adel clamps (no zip-ties near moving suspension components).
- [ ] Continuous-duty solenoid is mounted vertically to prevent internal moisture pooling.
- [ ] Dedicated 1/0 AWG or 2 AWG ground cable is bolted directly to the negative battery post, bypassing the chassis.
- [ ] In-cab controller is wired to an ignition-switched 10A source to prevent parasitic battery drain when the truck is parked.