
Why Expedition Vehicles Use Residential 240V Water Heaters
Custom expedition vehicles, high-end Skoolie conversions, and marine vessels are increasingly abandoning cheap, poorly insulated 120V RV water heaters. Instead, builders are integrating residential single-element 240V units, such as the Rheem Marathon MR50245 or the ProLine XE series. Why? Residential tanks feature up to 2.5 inches of polyurethane foam insulation, dropping standby heat loss to less than 0.5°F per hour. This extreme thermal retention is critical for off-grid boondocking where every watt-hour from your lithium battery bank matters.
However, integrating a residential appliance into a mobile DC/AC architecture requires precise engineering. This guide provides the exact single element 240v electric water heater wiring diagram adapted for mobile, off-grid vehicle environments, addressing the unique challenges of chassis vibration, ambient heat, and split-phase power generation.
Vehicle Power Architecture: Generating 240V on the Road
Unlike a fixed home, a vehicle does not have a native 240V grid connection. To power a 240V single-element heater, your RV must utilize one of two split-phase architectures:
1. 50-Amp Shore Power (NEMA 14-50P)
When plugged into a campground pedestal, a 50-amp RV shore power cord delivers two 120V legs (L1 and L2) that are 180 degrees out of phase. The voltage potential between L1 and L2 is 240V. Your vehicle's internal transfer switch routes this directly to the dual-pole breaker panel.
2. Stacked Inverter Setup (Off-Grid Boondocking)
To run the heater off-grid, you must stack two 120V inverters to create a 240V split-phase output. The industry standard for this in 2026 is using two Victron MultiPlus-II 12/3000/120-50 inverters configured in a split-phase master/slave topology via a VE.Bus split-phase cable. This setup provides a clean 240V sine wave, allowing your water heater's thermostat to operate safely without the harmonic distortion that damages sensitive contacts.
Bill of Materials (BOM) for Mobile 240V Integration
Do not use standard residential Romex (NM-B) cable in a vehicle. The constant vibration and flexing of a driving chassis will cause solid copper wires to fatigue, snap, and arc inside the walls. Use stranded wire in flexible conduit.
| Component | Specification / Model | Estimated Cost (2026) |
|---|---|---|
| Double-Pole Breaker | Siemens Q220 (20A) or Square D QO220 | $14.50 |
| Wire | 10 AWG Stranded THHN/THWN-2 (Black, Red, Green) | $1.40 / ft |
| Conduit | 3/8" Liquid-Tight Flexible Metal Conduit (LFMC) | $2.10 / ft |
| Disconnect Box | Reliance Controls 30A Non-Fused (Model DPF221RP) | $28.00 |
| Wire Terminals | 10 AWG Ring Terminals (Heat Shrink Seal) | $0.85 / ea |
Step-by-Step: Single Element 240V Electric Water Heater Wiring Diagram
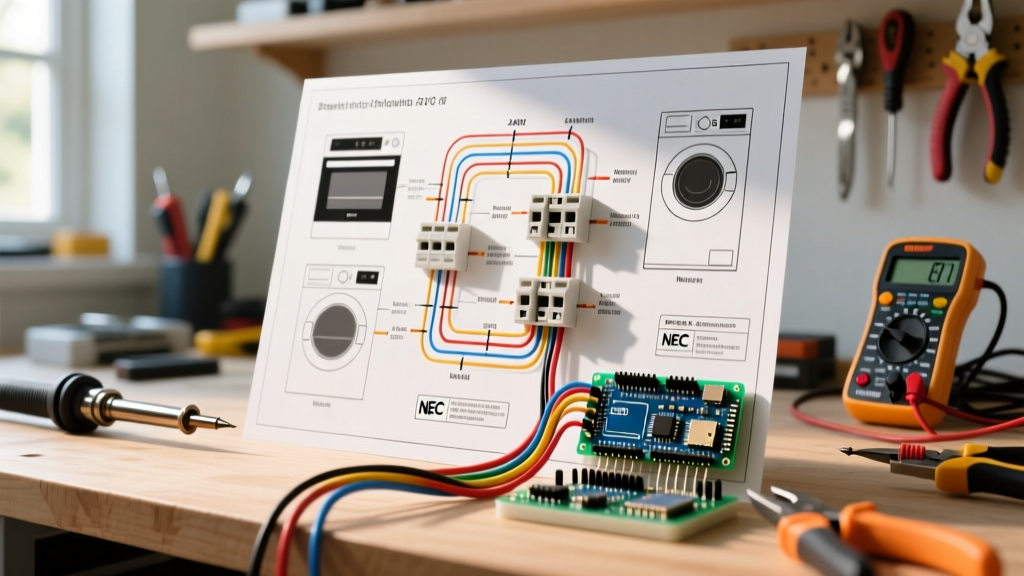
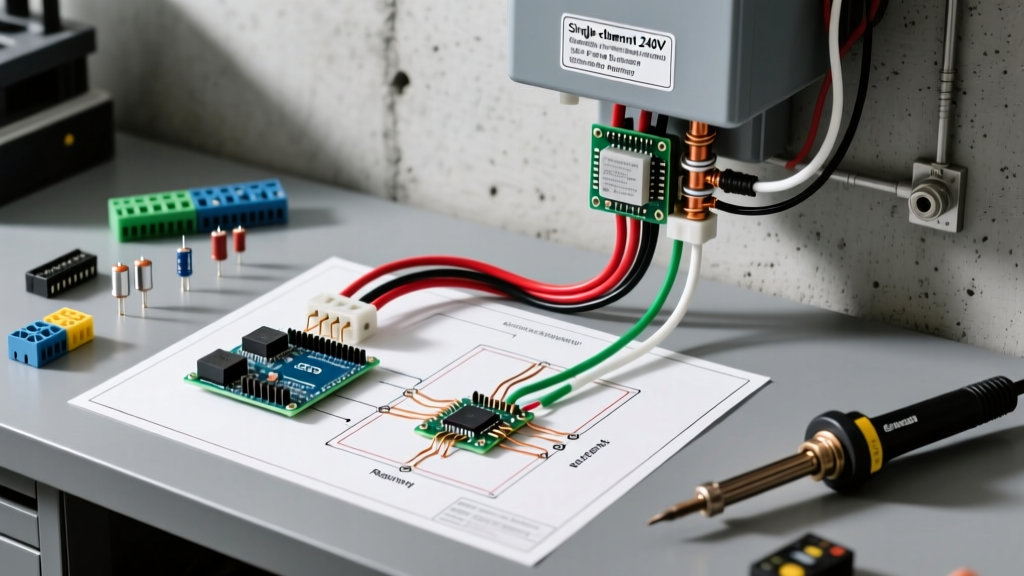
A single-element 240V water heater requires two hot legs and a ground. It does not require a neutral wire. Follow this sequence to ensure NEC Article 551 (Recreational Vehicles) compliance and mobile safety.
Step 1: Breaker Panel Integration
Install the 20A double-pole breaker (e.g., Siemens Q220) in your vehicle's main AC distribution panel. Connect the L1 (Black) and L2 (Red) stranded THHN wires to the breaker terminals. Torque the terminal screws to exactly 12 in-lbs using a digital torque screwdriver. Loose connections in a vibrating vehicle will quickly oxidize and cause thermal runaway.
Step 2: Routing Through the Chassis
Feed the Black, Red, and Bare Copper (Ground) wires through 3/8" Liquid-Tight Flexible Metal Conduit (LFMC). LFMC is mandatory for runs exposed under the floorboards or through the engine bay, as it protects against road debris, moisture, and chassis flex. Secure the conduit with stainless steel P-clamps every 18 inches.
Step 3: The Local Disconnect
Mount a 30A non-fused disconnect box (like the Reliance DPF221RP) within sight of the water heater, typically inside the RV's utility closet. Wire the L1 and L2 from the panel into the top lugs of the disconnect. This allows you to physically lock out the 240V power when performing winterization or element replacement, a critical safety requirement when working alone in a remote vehicle.
Step 4: Heater Element Termination
From the bottom lugs of the disconnect, run the final whip to the water heater's junction box. Crimp heat-shrink ring terminals onto the 10 AWG stranded wires. Attach Black to the L1 element terminal, Red to the L2 element terminal, and the Bare Copper to the green grounding screw on the tank chassis. Torque the element nuts to 1.5 Nm. Apply a small bead of dielectric grease over the terminals to prevent corrosion from the high-humidity environment typical of RV bathroom closets.
Thermal Management & Wire Sizing in Vehicle Environments
One of the most common mistakes in expedition vehicle builds is ignoring ambient temperature correction factors. According to the U.S. Department of Energy, water heaters are often placed in unconditioned spaces. In an RV, the utility bay can easily exceed 120°F (49°C) during summer desert travel.
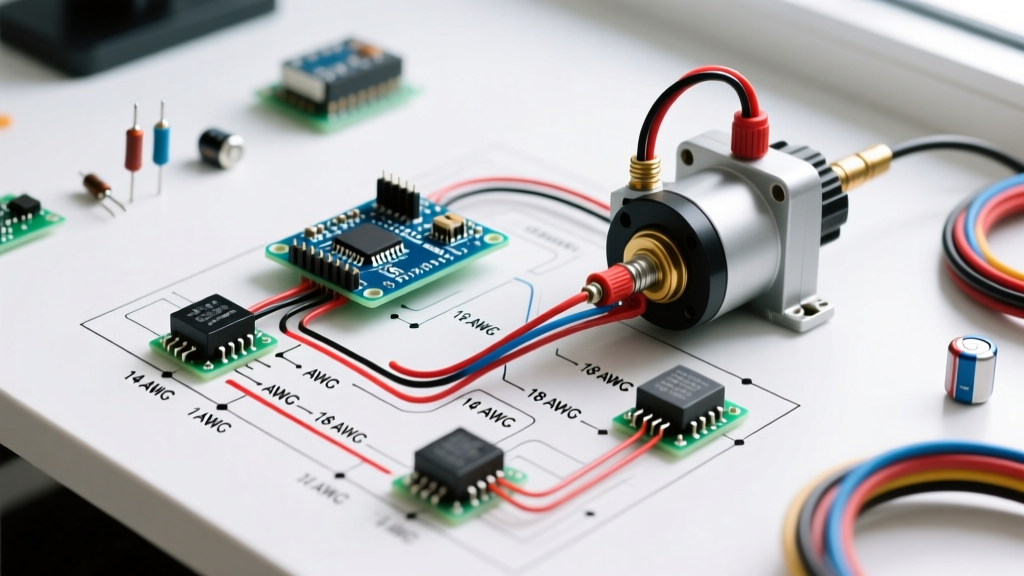
While a standard residential 2000W element on a 240V circuit draws only 8.3 amps (which theoretically allows for 14 AWG wire on a 15A breaker), the NEC requires you to derate wire ampacity in high-heat environments. By upsizing to 10 AWG THHN stranded wire on a 20A breaker, you eliminate voltage drop over long vehicle wire runs (often 40+ feet from the inverter bay to the rear bathroom) and ensure the wire insulation does not degrade under the floorboards.
Troubleshooting Edge Cases & Inverter Sync Failures
CRITICAL WARNING: Never assume a campground 50-amp pedestal is wired correctly. Miswired pedestals are a leading cause of RV electrical fires.
Edge Case 1: Campground Pedestal Miswiring
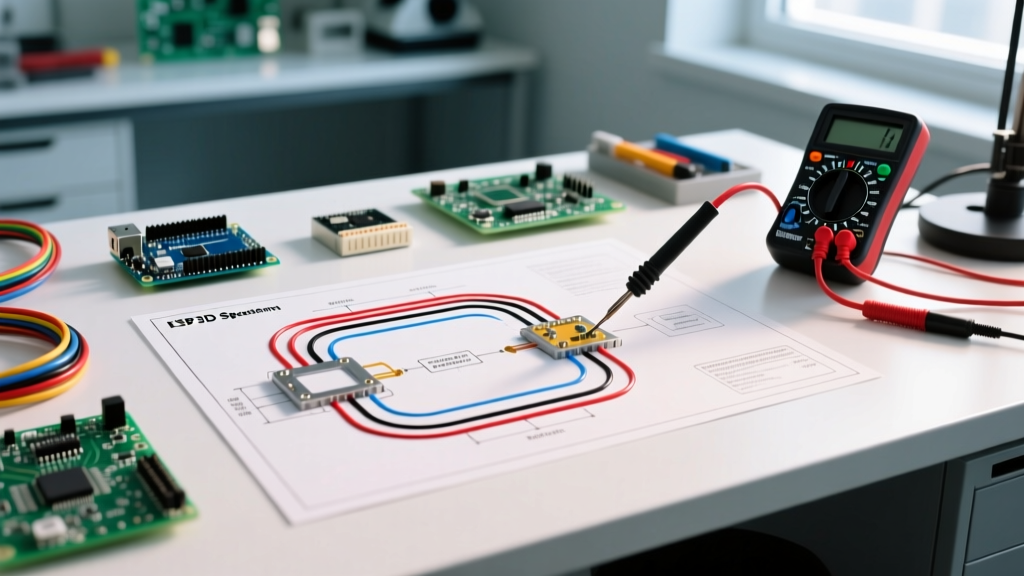
Before connecting your vehicle's 50-amp cord to a new pedestal, use a digital multimeter to test the receptacle. Measure L1 to L2. It must read ~240V. Measure L1 to Ground (~120V) and L2 to Ground (~120V). If L1 to L2 reads 0V, the pedestal is miswired with both legs on the same phase. Connecting your split-phase inverter charger to this pedestal will cause a catastrophic dead short and destroy your transfer switch.
Edge Case 2: Stacked Inverter Phase Sync Loss
If your Victron split-phase system loses the VE.Bus communication cable, the slave inverter will shut down, and your 240V output will drop to 0V. The water heater will simply fail to heat. To diagnose this, check the Victron VRM portal or the Cerbo GX display for a "Split Phase Sync Lost" alarm. Ensure the RJ45 split-phase cable is routed away from high-current DC cables to prevent EMI (Electromagnetic Interference) from disrupting the sync signal while driving.
Edge Case 3: Element Dry-Firing
If the vehicle's water pump is off and the tank is empty, turning on the 240V breaker will cause the single copper element to dry-fire and burn out in less than 30 seconds. Always install a low-water cutoff relay (such as the TitanControls Apollo 11) wired in series with the disconnect contactor, ensuring the element only receives 240V when the tank's internal pressure confirms it is full of water.
Final Commissioning Checklist
- Verify all breaker and element terminations are torqued to manufacturer specifications.
- Confirm 10 AWG stranded THHN is used for all mobile chassis runs.
- Test L1-L2 voltage at the heater junction box before finalizing the cover plate.
- Verify the local disconnect operates smoothly and physically isolates both hot legs.
- Log the initial amperage draw (should be exactly 8.3A for a 2000W element at 240V) using a clamp meter on one of the hot legs.
By adhering to this specialized single element 240v electric water heater wiring diagram, your custom RV or expedition vehicle will enjoy rapid hot water recovery and unmatched thermal retention, completely off-grid and safe for the rigors of the road.