
Treating Trailer Wiring with Appliance-Grade Rigor
When most DIYers wire a trailer, they treat it as an afterthought—splicing cheap PVC wires with twist-on connectors and relying on the hitch ball for a ground. As electrical professionals, we must treat a trailer harness with the exact same rigor as hardwiring a 240V home appliance or a commercial HVAC unit. A poorly executed harness leads to severe voltage drop, melted connectors, and, most critically, the failure of electric trailer brakes on steep downgrades.
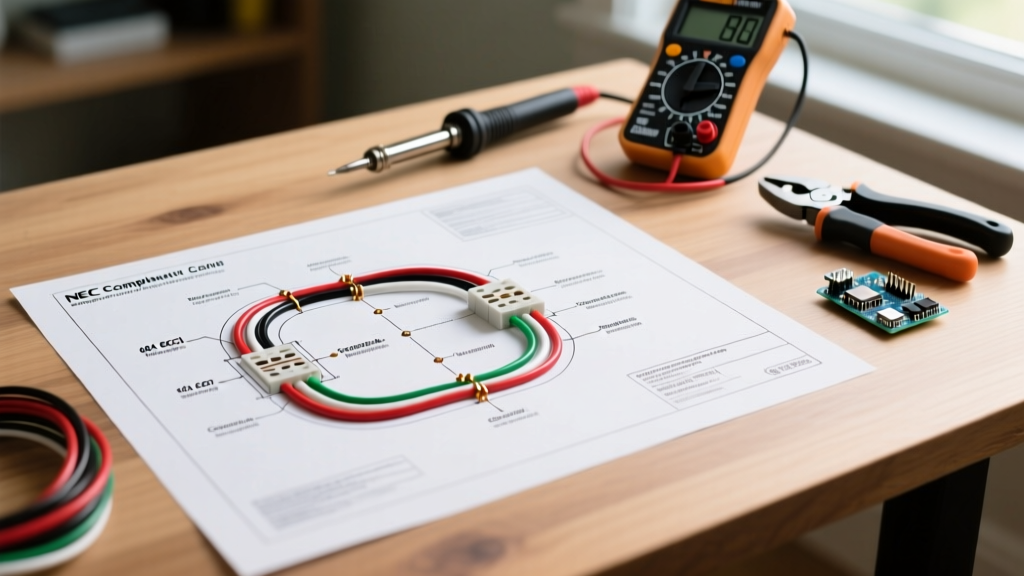
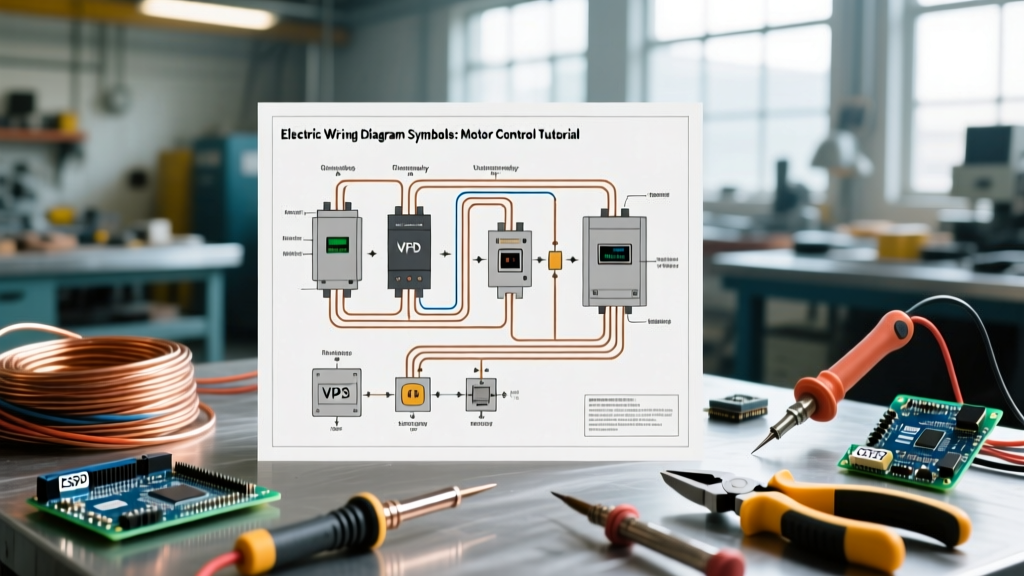
Understanding and correctly implementing a seven pin wiring diagram for trailer applications requires more than just matching colors. It demands a strict adherence to wire gauge mathematics, environmental sealing, and dedicated circuit protection. This guide breaks down the SAE J286 standard 7-way blade connector through the lens of high-reliability appliance wiring.
The 7-Way Blade Pinout Matrix (SAE J286 Standard)
The standard RV 7-way blade connector is governed by the SAE J286 standard. While aftermarket kits often include pre-molded plugs, building a custom harness from the plug back to the trailer junction box requires precise wire sizing. Below is the definitive pinout matrix, including the minimum acceptable wire gauges for a standard 25-foot trailer harness.
| Pin | Function | Standard Color | Min. AWG (Pure Copper) | Max Continuous Load |
|---|---|---|---|---|
| 1 (Ground) | System Ground | White | 10 AWG | 30A+ |
| 2 (Tail) | Running / Marker Lights | Brown | 12 AWG | 10A |
| 3 (Left) | Left Turn / Stop | Yellow | 12 AWG | 10A |
| 4 (Right) | Right Turn / Stop | Green | 12 AWG | 10A |
| 5 (Brakes) | Electric Trailer Brakes | Blue | 10 AWG | 15A - 20A |
| 6 (Aux) | 12V Auxiliary / Battery Charge | Black or Red | 10 AWG (or 8 AWG) | 30A - 40A |
| 7 (Reverse) | Reverse Lights / Lockout | Purple | 14 AWG | 5A |
Wire Selection: Why Standard PVC Fails in the Field
If you are sourcing wire for a custom trailer harness, avoid standard PVC-jacketed copper wire found in big-box hardware stores. PVC becomes brittle in freezing temperatures, melts easily when routed near exhaust components, and degrades rapidly under UV exposure.
Instead, specify GXL (General Cross-Linked) or TXL (Thin-Wall Cross-Linked) automotive wire. According to Southwire's technical specifications, cross-linked polyethylene (XLPE) insulation can withstand continuous temperatures up to 125°C (257°F) and offers superior abrasion resistance against road debris. Furthermore, you must verify that the wire is pure bare copper, not Copper-Clad Aluminum (CCA). CCA wire has roughly 60% higher electrical resistance than pure copper, which will catastrophically increase voltage drop on your electric brake circuit.
The Voltage Drop Reality Check
Let's run the math on the electric brake circuit (Pin 5). A typical tandem-axle trailer draws about 12A to 15A during hard braking. The wire run from the tow vehicle's controller to the trailer axles is roughly 35 feet one-way (70 feet round-trip).
- Using 12 AWG Pure Copper: 70 ft x 0.00159 ohms/ft = 0.111 ohms. At 15A, voltage drop is 1.66V. Your brakes only receive 10.34V, reducing braking torque by up to 15%.
- Using 10 AWG Pure Copper: 70 ft x 0.001 ohms/ft = 0.07 ohms. At 15A, voltage drop is 1.05V. Your brakes receive a much healthier 10.95V.
Always oversize the ground (Pin 1) and brake (Pin 5) wires to 10 AWG to ensure maximum current delivery to the brake magnets.
Heavy-Duty Circuit Protection
In appliance wiring, we never rely solely on the main panel breaker; we use localized disconnects and fuses. The same applies to the 12V Auxiliary pin (Pin 6). This circuit is often used to charge a trailer breakaway battery or power a 12V fridge. If a short occurs in the trailer's junction box, the tow vehicle's 40A main fuse will blow, potentially killing the tow vehicle's ECU or auxiliary systems.
Expert Directive: Install a 40A auto-reset thermal circuit breaker (such as the Bussmann 187-Series or Littelfuse Mega) within 18 inches of the trailer's main power distribution block on the auxiliary line. This isolates trailer faults from the tow vehicle's sensitive CAN-bus electrical system.
Step-by-Step Appliance-Grade Termination
The number one cause of trailer wiring failure is moisture ingress at the crimp terminals. Follow this exact termination protocol to ensure a 20-year lifespan for your harness.
- Precision Stripping: Use a ratcheting wire stripper (like the Knipex TwinForce or Wirematic) to strip exactly 3/8-inch of insulation. Never nick the copper strands; a nicked strand creates a localized stress riser that will snap under highway vibration.
- Ratcheting Crimps Only: Discard cheap plier-style crimpers. Use a ratcheting crimper calibrated for the specific terminal size (e.g., Titan 11110 or IWISS IWS-3220M). A proper crimp deforms the terminal barrel into a hexagonal or quad-point shape, creating a cold-weld gas-tight seal.
- Dual-Wall Heat Shrink: Standard thin-wall heat shrink is useless for outdoor wiring. You must use dual-wall polyolefin heat shrink tubing with an inner meltable adhesive lining. When heated, the inner adhesive melts and flows into the wire strands, completely blocking capillary action and moisture migration.
- Dielectric Grease Application: Before mating the 7-way plug into the socket, pack the interior of the female socket with a generous amount of silicone dielectric grease (e.g., Permatex 22058). This prevents galvanic corrosion between the brass pins and the socket contacts.
Common Failure Modes & Edge Cases
Even with a perfect 7-way wiring implementation, environmental and systemic edge cases can cause ghost faults. Here is how to troubleshoot them like a master technician.
1. The Hitch Ball Ground Loop
The Symptom: Taillights dim when the turn signal is activated, or the breakaway switch fails to engage the brakes during testing.
The Cause: The installer relied on the steel hitch ball and coupler to carry the return current for the 12V system. Rust, grease, and paint act as insulators.
The Fix: The white ground wire (Pin 1) must be terminated directly to the trailer's main steel frame using a star washer and a self-tapping metal screw, sanded down to bare, shiny metal. Apply a coating of fluid film or corrosion inhibitor over the terminal after tightening.
2. LED Hyperflashing and CAN-Bus Rejection
The Symptom: Upgrading to LED trailer markers causes the tow vehicle's turn signals to hyperflash, or the tow vehicle's dashboard throws a 'Trailer Wiring Fault' error.
The Cause: LEDs draw less than 0.5A, whereas incandescent bulbs draw 2.1A. Modern tow vehicles use solid-state flasher relays and CAN-bus monitors that detect the low amperage and assume a bulb is burnt out.
The Fix: Do not splice in cheap load resistors (they generate excessive heat and can melt plastic fenders). Instead, install an LED-specific, solid-state flasher relay in the tow vehicle, or use a dedicated CAN-bus bypass module (like the Curt 56282) designed to simulate the correct resistive load without generating thermal waste.
3. The 'Weak Brakes on Downgrades' Anomaly
The Symptom: Brakes feel strong on flat ground but fail to hold the trailer back on a 6% downgrade.
The Cause: Voltage drop. Brake magnets are highly sensitive to voltage. As the tow vehicle's alternator struggles on a steep grade (running A/C, engine cooling fans, and headlights), system voltage drops to 13.2V. Combined with a 1.5V drop across undersized 12 AWG trailer wiring, the magnets only see 11.7V, drastically reducing their magnetic clamping force.
The Fix: Upgrade the entire brake circuit (Pin 5) and the main ground (Pin 1) to 8 AWG pure copper wire, and ensure the tow vehicle's brake controller output wire is also upgraded to match.
Final Inspection Protocol
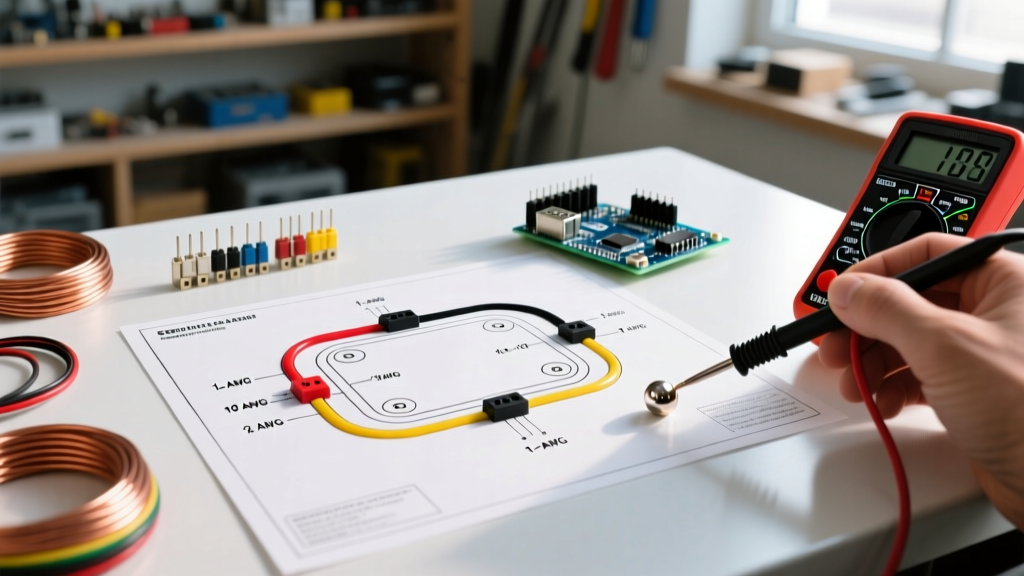
Before taking the rig on the highway, perform a localized voltage drop test. With the trailer connected and the brake controller manually activated to 100%, use a digital multimeter to measure the voltage directly at the brake magnet terminals. Compare this to the voltage at the tow vehicle's battery. If the difference is greater than 1.2V, you have high resistance in your harness, connectors, or ground points that must be addressed. For further regulatory guidelines on RV electrical systems, always consult the RV Industry Association (RVIA) standards documentation.
By treating your trailer's 7-pin harness with the same uncompromising standards as a critical home appliance circuit, you ensure safety, reliability, and total peace of mind on every tow.