
Understanding the 1999 Dodge Ram 1500 Radio Electrical Architecture
Upgrading the stereo in a second-generation Dodge Ram is a rite of passage for truck enthusiasts. However, blindly splicing wires without understanding the underlying power distribution is a recipe for melted harnesses and blown circuits. When consulting a radio wiring diagram for a 1999 Dodge Ram 1500, most DIYers focus solely on the speaker outputs and ignore the source of the power: the interior Junction Block (JB) and the vehicle's Ignition Off Draw (IOD) system.
As of 2026, modern aftermarket head units—such as the Alpine iLX-F511 or Pioneer DMH-WT8600NEX—feature massive capacitive touchscreens, built-in amplifiers, and complex DSPs that routinely draw 15A to 20A under peak load. The factory 1999 Ram radio circuit was designed for a basic AM/FM cassette deck drawing less than 8A. This guide bridges the gap between the factory wiring pinout and modern panel-and-breaker safety standards, ensuring your upgrade is both functional and fire-safe.
The Factory Fuse Panel: Junction Block & IOD Explained
Before touching a single wire, you must understand how Chrysler routed power in the late 90s. The 1999 Ram 1500 does not use a traditional 'always-on' and 'switched' fuse setup at the radio harness without involving the IOD system.
- Fuse 4 (10A - Red/White Wire): This is your Ignition Run/Start feed. It provides switched 12V power only when the key is in the 'Run' or 'Start' positions. It routes through the Junction Block located on the driver's side dash end panel.
- Fuse 14 (10A - Pink Wire): This is the Battery/IOD feed. The IOD (Ignition Off Draw) fuse is a unique Chrysler design. It is a physical fuse that can be 'popped' up slightly at the dealer to disconnect parasitic draws during long-term lot storage. At the radio, this provides your constant 12V memory feed for presets and clock settings.
Expert Warning: Never replace the factory 10A ATO fuses with 15A or 20A fuses to compensate for a high-draw aftermarket radio. The 18 AWG factory wiring and 25-year-old JB trace paths will overheat before the oversized fuse blows, creating a severe fire hazard behind the dash.
1999 Dodge Ram 1500 Radio Wiring Pinout & Color Codes
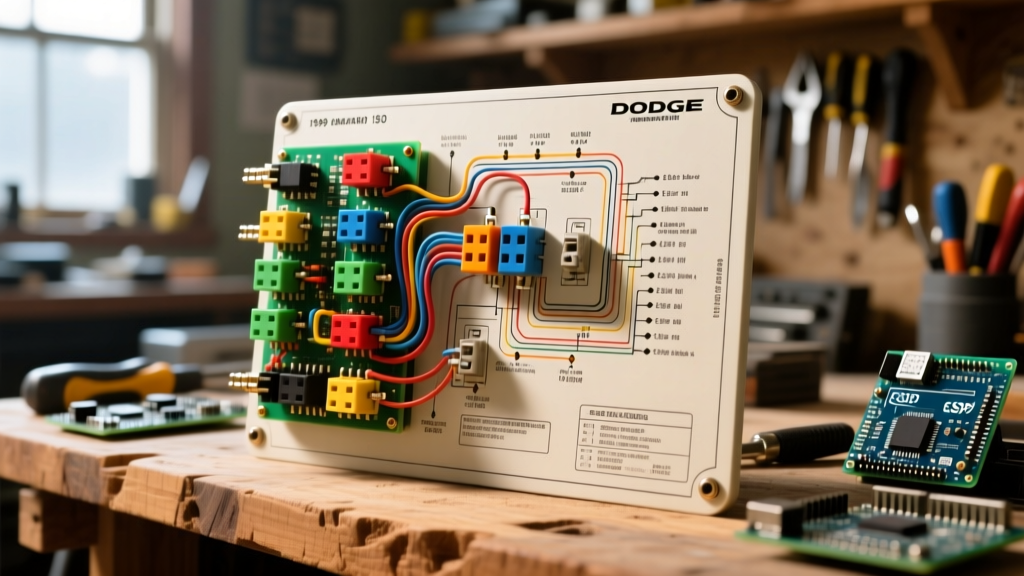
The 1999 Ram utilizes the standard Chrysler 10-pin (C1) and 7-pin (C2) harness configuration. If your truck has the base audio system, you will only use the C1 connector. Below is the definitive pinout matrix.
| Function | Factory Wire Color | Aftermarket Standard Color | Recommended Gauge |
|---|---|---|---|
| Constant 12V (Memory) | Pink | Yellow | 14 AWG (Upgraded) |
| Switched 12V (Ignition) | Red/White | Red | 14 AWG (Upgraded) |
| Chassis Ground | Black | Black | 12 AWG (Upgraded) |
| Illumination/Dimmer | Orange | Orange/White | 18 AWG |
| Front Left Speaker (+) | Green | White | 16 AWG |
| Front Left Speaker (-) | Green/Black | White/Black | 16 AWG |
| Front Right Speaker (+) | Purple | Gray | 16 AWG |
| Front Right Speaker (-) | Purple/Black | Gray/Black | 16 AWG |
| Rear Left Speaker (+) | Brown | Green | 16 AWG |
| Rear Left Speaker (-) | Brown/Black | Green/Black | 16 AWG |
| Rear Right Speaker (+) | Blue | Purple | 16 AWG |
| Rear Right Speaker (-) | Blue/Black | Purple/Black | 16 AWG |
Panel & Breaker Integration: Bypassing the Factory JB
If you are installing a modern multimedia receiver drawing over 12A, or adding a compact class-D amplifier hidden behind the dash, you must bypass the factory Junction Block. According to SAE International automotive wiring standards, circuit protection must be rated for the wire gauge, not just the component. Here is how to properly integrate a dedicated breaker for your head unit.
Step-by-Step Breaker Bypass Procedure
- Disconnect the Battery: Always pull the negative terminal on the Ram's battery to prevent shorting the IOD circuit.
- Run Dedicated Power: Route a length of 12 AWG primary automotive wire (compliant with Littelfuse SAE J1128 specifications) from the positive battery terminal, through the firewall grommet (located behind the driver's side kick panel), and into the dash cavity.
- Install an Inline MINI-ANL Breaker: Mount a 20A resettable MINI-ANL circuit breaker within 8 inches of the battery positive terminal. This protects the 12 AWG wire run from catastrophic shorts.
- Terminate at a Distribution Block: Behind the radio, connect the 12 AWG wire to a small fused distribution block. From this block, run two 14 AWG pigtails: one for the head unit's constant 12V (Yellow) and one for the switched 12V (Red).
- Ignition Trigger Alternative: To ensure the switched 12V actually turns off with the key, use an Add-A-Circuit fuse tap at the Junction Block on a known switched fuse (like the wiper motor fuse), fitted with a 5A mini fuse, to trigger a 30A automotive relay that gates the main power to the radio's switched wire.
The Infinity Audio System Bypass (Crucial Edge Case)
A massive point of failure for DIYers working on the 1999 Ram 1500 is the optional Chrysler Infinity premium sound system. If your truck has the Infinity badge on the head unit, your door speakers are driven by a factory amplifier located under the front passenger seat.
If you use a standard Metra 70-1002 wiring harness, the new radio will turn on, but no sound will come out of the speakers. This is because the Infinity amp requires a specific 12V turn-on signal and uses low-level RCA-style pre-outs from the factory radio, not high-level speaker wire outputs.
The Solution: You must use the Metra 70-1003 integration harness (typically $22-$28 in 2026). This harness includes a built-in step-up transformer and line output converter (LOC) that takes the high-level speaker outputs from your new aftermarket radio, converts them to low-level signals, and sends them down the factory Infinity amplifier data bus. Furthermore, you must connect the blue/white 'Amp Turn-On' wire from your new radio to the specific trigger wire on the 70-1003 harness to wake up the under-seat amplifier.
Troubleshooting Common 2nd-Gen Ram Electrical Gremlins
Even with the correct vehicle fit guide and wiring diagram, 25-year-old trucks present unique electrical challenges. Use this diagnostic matrix to solve common installation failures.
| Symptom | Root Cause | Panel/Breaker Solution |
|---|---|---|
| Radio loses presets every time the truck is turned off. | Constant 12V (Pink) and Switched 12V (Red/White) are swapped at the harness. | Swap the yellow and red wires on the aftermarket harness. Verify Fuse 14 (IOD) is fully seated in the JB. |
| Head unit backlight stays on, draining the battery overnight. | Orange illumination wire backfeeding through the dash dimmer switch circuit. | Cut the orange wire on the radio harness and cap it. Modern LCD screens do not need the analog 9V dimmer signal. |
| Alternator whine or high-pitched static in speakers. | Poor chassis ground causing the radio to ground through the RCA shields or antenna. | Scrape paint to bare metal under the dash. Use a 12 AWG ground wire with a star washer and apply dielectric grease. |
| Blown Fuse 4 immediately upon inserting the key. | Aftermarket radio inrush current exceeding the 10A factory JB trace limit. | Implement the relay-triggered 12 AWG breaker bypass detailed in the guide above. |
Final Crimping & Connection Standards
Never use twist-on wire nuts or electrical tape for permanent automotive connections. The vibration in a solid-axle truck like the 1999 Ram 1500 will shake these connections loose over time. Invest in a proper ratcheting crimping tool (such as the IWISS IWS-3220M, roughly $35) and use heat-shrink butt connectors with adhesive-lined marine-grade shrink tubing. For connections to the fuse panel or battery, use tinned copper ring terminals to prevent galvanic corrosion. By respecting the factory panel limitations and integrating modern breaker protection, your 1999 Ram's audio upgrade will be reliable, safe, and ready for the road.