
Integrating Laundry into Mobile Platforms: The RV & Motorhome Context
Adding a dedicated laundry center to a Class A motorhome, luxury fifth-wheel, or custom overland expedition vehicle is a hallmark of modern full-time RVing. However, appliances designed for residential stick-built homes behave differently when subjected to the vibrations, voltage fluctuations, and unique grounding schemes of mobile electrical systems. When searching for a wiring diagram for a Whirlpool dryer, most standard residential guides fail to address the critical nuances of RV subpanels, inverter surge capacities, and chassis grounding. This 2026 vehicle-specific guide bridges that gap, providing exact wiring schematics, wire gauge matrices, and failure-mode troubleshooting for both 120V compact and 240V standard Whirlpool models.
Understanding RV Shore Power: 30-Amp vs. 50-Amp Service
Before pulling any THHN wire through your rig's cable trays, you must identify your vehicle's shore power architecture. The wiring methodology changes drastically based on your RV's main service panel.
- 30-Amp Service (120V Only): Delivers a single 120V hot leg (L1), a neutral, and a ground. You are strictly limited to 120V appliances. Attempting to wire a 240V dryer here is impossible and dangerous.
- 50-Amp Service (120/240V Split-Phase): Delivers two 120V hot legs (L1 and L2), a neutral, and a ground. This provides 240V across L1 and L2, allowing for standard residential 240V dryers, provided your RV's internal subpanel is configured with a double-pole breaker.
According to the RV Industry Association (RVIA) and NFPA 1192 standards, all 240V appliances in recreational vehicles must be hardwired or utilize specialized locking receptacles; standard NEMA 14-30R residential outlets are rarely code-compliant in mobile applications due to vibration-induced disconnect risks.
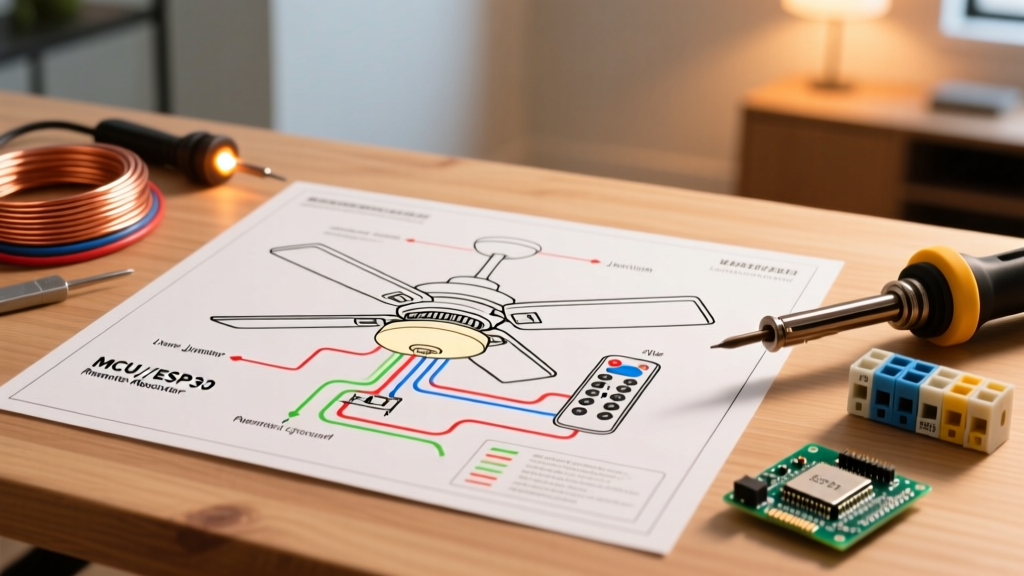
The 120V Wiring Diagram for a Whirlpool Dryer (Compact Models)
For 30-amp RVs or off-grid builds, the Whirlpool WCD3090JW (120V compact ventless/vented combo) is the industry standard. It operates on a standard 120V, 60Hz circuit, drawing approximately 12 amps during the heating cycle. Because it utilizes a 120V heating element, drying times are longer, but it integrates seamlessly into standard RV branch circuits.
Step-by-Step 120V Wiring Procedure
- Breaker Selection: Install a 20-Amp single-pole breaker in your RV's main distribution panel. Do not use a 15-Amp breaker; the motor's Locked Rotor Amps (LRA) during startup will cause nuisance tripping.
- Wire Routing: Run 12 AWG stranded copper wire (THHN/THWN-2) from the breaker to the dryer location. Stranded wire is mandatory in vehicles to resist fatigue cracking from road vibrations.
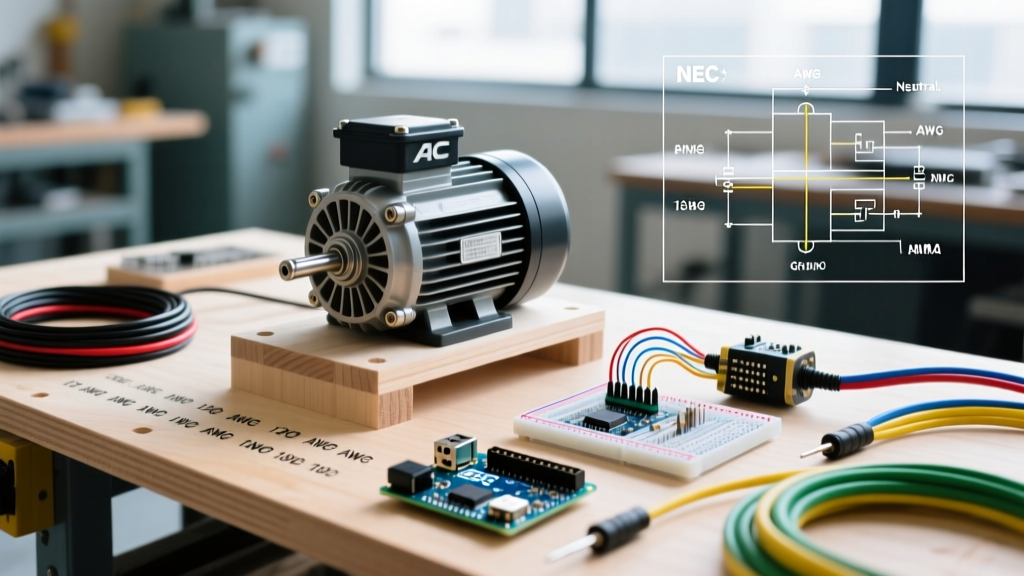
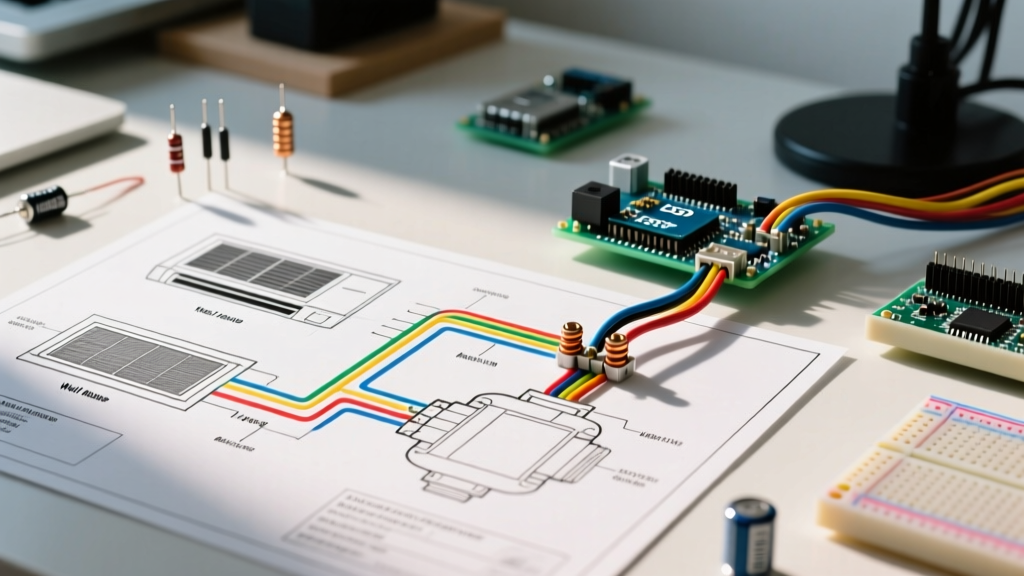
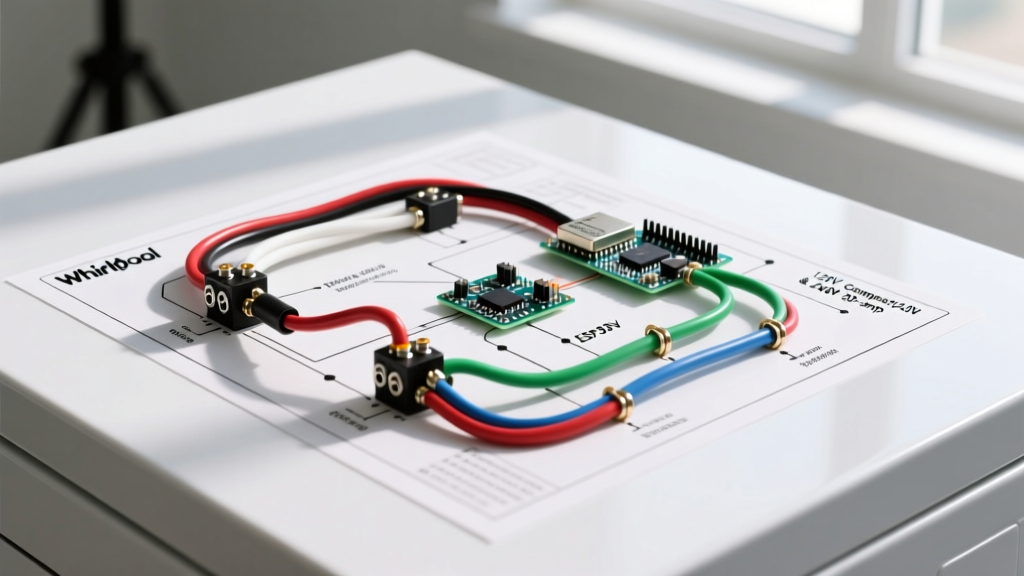
- Terminal Connections: Unlike residential dryers that use a 3-prong or 4-prong pigtail, RV hardwiring requires direct connection to the appliance's terminal block. Connect the Black (Hot) wire to the L1 terminal, the White (Neutral) to the N terminal, and the Bare/Green (Ground) to the chassis ground screw.
- Grounding Rule: Never bond the neutral and ground at the appliance level. In an RV, the neutral-ground bond occurs only at the main shore-power transfer switch or the inverter/charger internal relay.
The 240V Wiring Diagram for a Whirlpool Dryer (50-Amp Chassis)
If you are outfitting a luxury motorhome with 50-amp service and want the rapid drying times of a standard residential unit like the Whirlpool WED5000DW, you will utilize a 240V circuit. This model requires a 30-Amp double-pole breaker and draws up to 22 amps (5400W heating element + motor).
240V Terminal Block Configuration
Modern 240V Whirlpool dryers utilize a 4-wire terminal block to comply with National Electrical Code (NEC) Article 250 and Article 551 (Recreational Vehicles). The wiring diagram dictates the following connections:
- L1 (Hot 1 - Black): Connects to the outer left terminal.
- L2 (Hot 2 - Red): Connects to the outer right terminal.
- Neutral (White): Connects to the center terminal. Critical: You must remove the factory-installed copper bonding strap that connects the center neutral terminal to the dryer chassis.
- Ground (Green/Bare): Connects directly to the dryer's metal cabinet ground screw, completely independent of the neutral.
Wire Gauge & Breaker Sizing Matrix for RV Dryers
Voltage drop is a severe issue in motorhomes where wire runs from the main panel to the rear laundry closet can exceed 40 feet. The following table accounts for a 3% maximum voltage drop, which is critical for preventing dryer motor overheating and control board failures.
| Dryer Type | Voltage / Amps | Breaker Size | Wire Gauge (Under 25ft) | Wire Gauge (25ft - 50ft) |
|---|---|---|---|---|
| Compact 120V (e.g., WCD3090JW) | 120V / 15A | 20A Single-Pole | 12 AWG Stranded | 10 AWG Stranded |
| Standard 240V (e.g., WED5000DW) | 240V / 22A | 30A Double-Pole | 10 AWG Stranded | 8 AWG Stranded |
Off-Grid Boondocking: Inverter & Lithium Battery Sizing
Running a Whirlpool dryer off-grid via an inverter requires careful calculation of surge currents. A 120V Whirlpool compact dryer draws roughly 1500W on the heating element and 300W on the motor. However, when the motor starts under load, the inductive surge can spike to 2700W for a fraction of a second.
If you are building a 2026-spec off-grid solar system, a standard 2000W inverter will immediately fault into "Overload Protection" when the dryer motor kicks on. You must spec a minimum 3000VA Inverter/Charger (such as the Victron MultiPlus-II 12/3000/120, currently retailing around $1,450). Furthermore, to sustain a 1500W continuous draw for a 60-minute dry cycle without dropping below a 50% State of Charge (SoC), you need a minimum of 400Ah of Lithium Iron Phosphate (LiFePO4) battery capacity.
Expert Troubleshooting Tip: If your inverter shuts down the moment the Whirlpool dryer's heating element engages, check your DC busbar connections. A loose 4/0 AWG battery cable will cause massive voltage sag on the 12V DC side, tricking the inverter's low-voltage disconnect (LVD) into triggering, even if the AC load is within limits.
Common RV Wiring Failure Modes & Troubleshooting
Mobile environments introduce failure modes that residential electricians rarely encounter. If your Whirlpool dryer is failing to start, overheating, or tripping GFCI breakers, investigate these specific RV-related issues:
1. GFCI Nuisance Tripping in Wet Bays
Many RVs route laundry appliances through exterior "wet bays" where plumbing manifolds are located. If the dryer is plugged into a GFCI-protected outlet in this bay, the high humidity and microscopic condensation inside the outlet housing will cause ground-fault trips. Solution: Hardwire the dryer directly to a dedicated standard breaker, bypassing the GFCI receptacle, as the appliance's internal control board already features ground-fault monitoring per UL standards.
2. Chassis Ground vs. Shore Ground Conflicts
When plugged into a poorly wired campground pedestal, the shore ground may carry stray voltage. If your RV's automatic transfer switch (ATS) fails to isolate the inverter's neutral-ground bond from the shore power bond, you can create a parallel neutral path. This causes the dryer's electronic moisture sensors to misread, resulting in clothes that remain damp after a full cycle. Always test the campground pedestal with a digital multimeter for Bootleg Grounds before running high-draw appliances.
3. Terminal Block Vibration Loosening
Residential solid-core wire will snap or loosen under the constant 60Hz harmonic vibration of a diesel pusher motorhome. Always use stranded copper wire with crimped ferrule connectors when terminating connections at the Whirlpool dryer's terminal block. Torque the terminal screws to exactly 12-15 in-lbs to ensure a gas-tight connection that withstands cross-country travel.
Frequently Asked Questions
Can I use a residential 4-prong dryer cord in my motorhome?
No. The NEC and RVIA standards strongly discourage flexible cords for fixed appliances in vehicles due to vibration. Hardwiring with stranded THHN wire inside flexible metallic conduit (FMC) or braided cable sleeves is the safest and most code-compliant method.
Why does my 120V Whirlpool dryer take 2 hours to dry clothes?
120V compact dryers use lower-wattage heating elements (typically 1300W-1500W) compared to 240V models (5400W). To improve efficiency, ensure your RV's exterior exhaust vent flap is not obstructed by road debris or wasp nests, which is a common cause of restricted airflow in mobile setups.
Where can I find the official schematic for my specific model?
You can download the exact wiring schematic and tech sheet for your unit by entering your model number on the official Whirlpool Support portal. Always cross-reference the residential tech sheet with your RV manufacturer's subpanel diagram to ensure breaker compatibility.