
Integrating a Whirlpool Washer into Your RV or Motorhome
Upgrading a Class A motorhome, fifth-wheel, or custom expedition vehicle with a residential washer is one of the most impactful modifications you can make for full-time boondocking. However, adapting a household appliance to a mobile DC/AC electrical architecture requires strict adherence to both the Whirlpool washer electrical wiring diagram and RV-specific safety codes. Unlike stationary homes, vehicles suffer from voltage drop, vibration, and complex inverter transfer switching. In this 2026 guide, we break down exactly how to wire, protect, and troubleshoot Whirlpool compact and standard washers (such as the WTW2000HW and WTW4955HW) in a mobile environment.
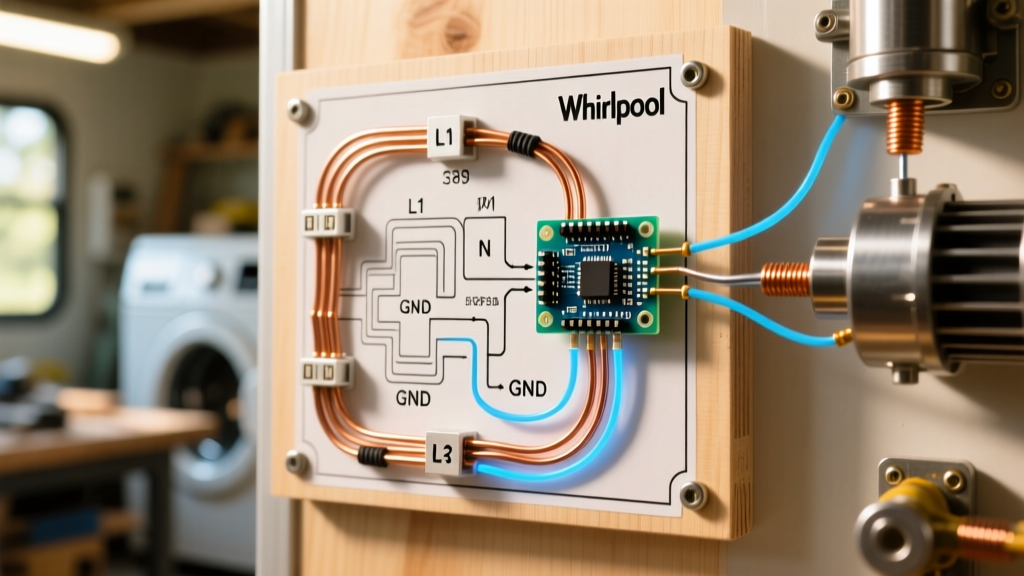
Decoding the Whirlpool Washer Electrical Wiring Diagram
Before tapping into your RV's sub-panel, you must understand the internal logic of the washer. Whirlpool's 120V AC washers utilize a standardized 3-prong NEMA 5-15P plug, but the internal distribution is where mobile integrations often fail.
Core Circuit Branches
- L1 (Hot / Black): Feeds the main control board, water inlet solenoids, and the drive motor relay. Expect an initial inrush current of 12A to 15A when the motor starts.
- Neutral (White): Completes the 120V circuit. Crucially, Whirlpool's EMI (Electromagnetic Interference) filter routes high-frequency noise to ground via the neutral line.
- Ground (Green/Bare): Tied to the chassis. In a vehicle, this must bond to the RV's main grounding bus bar, which ultimately connects to the vehicle chassis.
Expert Insight: Whirlpool's electronic lid lock mechanism and main control board rely on a Neutral-Ground bond to detect continuity. If your off-grid inverter setup does not automatically bond Neutral and Ground when disconnected from shore power, the washer will throw an 'F5' (Lid Lock) or 'F8' error and refuse to start. Always use an inverter with an automatic N-G bonding relay, such as the Victron MultiPlus-II series.
Vehicle Power Architecture: Sizing the Inverter and Breakers
Running a Whirlpool washer off a vehicle's battery bank requires calculating both continuous draw and surge capacity. The table below outlines the power requirements and the minimum inverter specifications for 2026 lithium-iron-phosphate (LiFePO4) RV setups.
| Whirlpool Model | Continuous Draw | Motor Surge (Startup) | Minimum Inverter Size | Recommended Battery Bank |
|---|---|---|---|---|
| WTW2000HW (Compact) | 400W (3.3A) | 1,200W (10A) | 2000W Pure Sine Wave | 200Ah LiFePO4 (12V) |
| WTW4955HW (Standard) | 500W (4.1A) | 1,800W (15A) | 3000W Pure Sine Wave | 400Ah LiFePO4 (12V) |
Never use a Modified Sine Wave (MSW) inverter. The high-frequency switching of MSW inverters will rapidly degrade the Whirlpool control board's capacitors and cause the digital display to flicker or fail. Always insist on a Pure Sine Wave (PSW) output with a Total Harmonic Distortion (THD) of less than 3%.
Step-by-Step RV Wiring Procedure (NFPA 1192 Compliant)
According to the NFPA 1192 Standard on Recreational Vehicles, all 120V AC branch circuits in an RV must be protected by appropriately sized overcurrent devices and GFCI protection in wet areas. Here is the exact wiring protocol for installing a dedicated 20A washer circuit in a motorhome.
Step 1: Calculate Voltage Drop for Long Wire Runs
In an RV, the distance from the inverter/charger sub-panel to the washer bay can easily exceed 30 feet. Standard residential wiring uses 14 AWG for 15A circuits, but in a vehicle, voltage drop over long runs will cause the washer's motor to overheat and the control board to brown out.
Use the voltage drop formula: V_D = (2 x K x I x L) / CM
- K: 12.9 (Copper at 75°C)
- I: 15 Amps (Max continuous)
- L: 40 feet (Round trip length is 80ft)
- CM: Circular mils of the wire
For a 40-foot run, you must upgrade from 12 AWG to 10 AWG THHN stranded copper wire to keep the voltage drop below the 3% threshold recommended by the RV Industry Association (RVIA).
Step 2: Install a Dedicated GFCI Breaker
Washer bays in RVs are prone to moisture and condensation. Install a 20A Single-Pole GFCI circuit breaker in your AC sub-panel. Do not rely on a GFCI receptacle at the end of the run; a breaker provides protection for the entire length of the 10 AWG wire hidden behind the RV's interior paneling.
Step 3: Vibration Dampening and Strain Relief
Unlike a house, an RV experiences severe torsional twisting while driving.
- Mount the 120V AC receptacle in a reinforced, vibration-dampened enclosure.
- Use a heavy-duty strain relief clamp where the 10 AWG Romex or THHN enters the junction box.
- Secure the Whirlpool washer's shipping bolts or use specialized RV transit rods to lock the drum during travel, preventing the internal suspension from tearing the wiring harness connections inside the cabinet.
Troubleshooting Matrix: Common RV Washer Electrical Faults
When your Whirlpool washer fails on the road, the issue is rarely the appliance itself; it is almost always the vehicle's power delivery. Use this matrix to diagnose issues using a digital multimeter (DMM).
| Symptom | Probable Vehicle-Specific Cause | Diagnostic Test & Solution |
|---|---|---|
| Washer won't start; Lid Lock flashes | Missing Neutral-Ground bond on inverter | Test N-G voltage. Should be <2V. Enable N-G relay on inverter settings. |
| Motor hums but drum won't spin | Severe voltage drop under load | Measure AC voltage at the plug during motor startup. If it drops below 105V, upgrade wire to 8 AWG or add a battery bank. |
| Control board resets mid-cycle | Inverter transfer switch 'break-before-make' delay | Check inverter UPS settings. Set transfer time to <10ms to prevent brownout resets. |
| GFCI breaker trips immediately | EMI Filter leakage to unbonded ground | Verify chassis ground continuity. Ensure inverter ground bus is bonded to RV frame. |
Sourcing OEM Diagrams and Technical Support
While the integration principles above apply universally to mobile setups, you will need the exact schematic for your specific serial number to trace internal component failures. You can download the factory PDF schematics directly from the Whirlpool Official Support Hub by entering your model number. Look for the 'Tech Sheet' or 'Wiring Diagram' tab, which details the exact pinouts for the J1, J2, and J3 connectors on the main machine control board.
Final Checklist Before Hitting the Road
- [ ] Verify Pure Sine Wave output with an oscilloscope or high-end DMM.
- [ ] Confirm 10 AWG wire is used for runs exceeding 20 feet.
- [ ] Test the GFCI breaker using the built-in 'TEST' button while running on inverter power.
- [ ] Ensure the inverter's automatic Neutral-Ground bonding relay is functioning correctly during shore-power disconnects.
- [ ] Secure all internal Whirlpool wire harnesses with high-temperature zip ties to prevent chafing against the metal cabinet during transit.
By treating your RV's electrical system as a micro-grid rather than a standard residential extension, your Whirlpool washer will deliver reliable, off-grid laundry performance for years to come. Always prioritize clean power, robust wire sizing, and strict adherence to mobile electrical codes.