
Why Upgrade Your RV Climate Control?
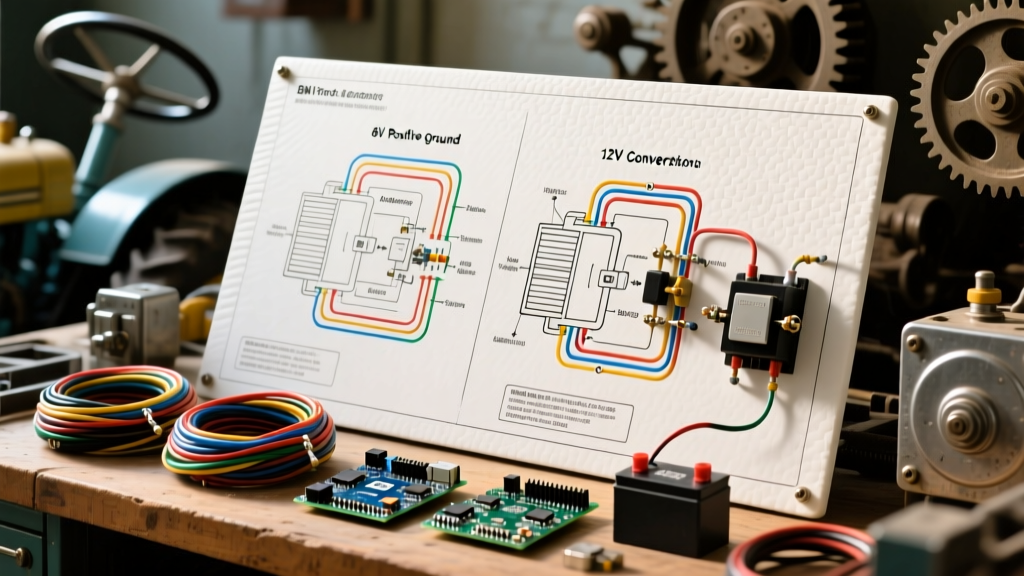
Most recreational vehicles, skoolies, and motorhomes come equipped from the factory with cheap, inaccurate analog thermostats. These basic dials often suffer from severe temperature hysteresis, causing your roof air conditioner to short-cycle or your propane furnace to overshoot the target temperature by several degrees. Upgrading to a residential-grade smart unit requires a precise wiring diagram for Honeywell programmable thermostat systems adapted for a 12V DC mobile environment.
By installing a Honeywell programmable thermostat (such as the RTH8500D or the Wi-Fi enabled RTH9585WF), RV owners gain access to 7-day programming, precise 1-degree temperature holds, and multi-stage fan control. However, bridging the gap between residential HVAC standards and RV electrical systems requires a deep understanding of low-voltage control circuits, relay logic, and DC-AC power conversion.
The Core Electrical Challenge: 12V DC vs 24V AC
The fundamental hurdle in any RV thermostat upgrade is the voltage mismatch. Standard Honeywell residential thermostats require a 24V AC power supply, typically provided by a hardwired HVAC control board in a stick-built home. In contrast, RV climate control circuits operate on 12V DC from the house battery bank. The factory thermostat acts merely as a set of mechanical switches, routing 12V DC power to the furnace control board or the roof AC relay.
To make a Honeywell unit work in a vehicle, you cannot simply wire it to the 12V DC lines; doing so will instantly destroy the internal logic board and triac switches. You must introduce a 24V AC power source and use the thermostat's low-voltage switching terminals to trigger 24V AC relays, which then switch the 12V DC loads.
The Phantom Draw Problem (Crucial 2026 Update)
Many older online guides suggest plugging a standard 120V-to-24VAC HVAC transformer into the RV's existing 120V AC inverter. Do not do this. A standard 40VA transformer suffers from core losses and will draw roughly 15 to 20 watts continuously just by being energized. Over 24 hours, this 'phantom draw' will consume nearly 400 watt-hours, draining approximately 33 amp-hours from your 12V lithium house bank daily, even if the AC and furnace never turn on.
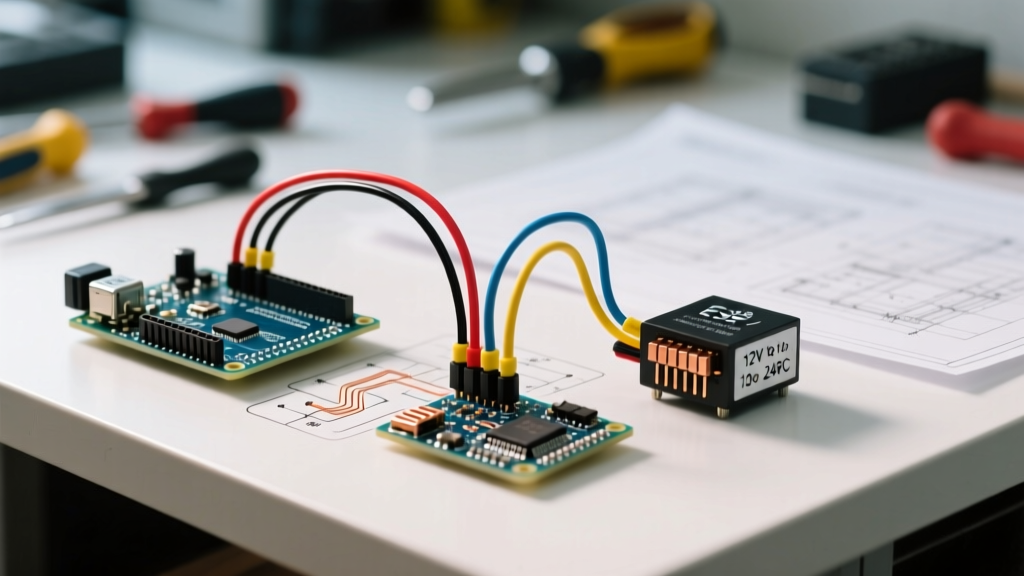
The Expert Solution: Use a dedicated 12V DC to 24V AC isolated solid-state converter module designed specifically for mobile HVAC applications. These modules draw less than 1 watt at idle and only ramp up current when the thermostat calls for heat or cooling.
Bill of Materials (BOM) & 2026 Pricing
Below is the exact component list required to execute this wiring diagram safely and efficiently. Prices reflect average 2026 market rates for high-quality, mobile-rated electrical components.
| Component | Specification / Model | Est. Cost (2026) |
|---|---|---|
| Thermostat | Honeywell RTH8500D (or RTH9585WF for Wi-Fi) | $65.00 - $110.00 |
| Power Converter | 12V DC to 24V AC Isolated Converter (40VA min) | $45.00 |
| Control Relays | 24V AC Coil, SPDT/DPDT, 10A+ Contacts (x3) | $35.00 |
| Thermostat Wire | 18 AWG, 5-Conductor or 8-Conductor Stranded | $18.00 |
| Load Wiring | 12 AWG Primary Wire (Red/Black) & ATC Fuses | $22.00 |
| Terminal Blocks | DIN Rail or Barrier Strip for Relay Mounting | $12.00 |
Total Project Cost: Approximately $197 - $242
Step-by-Step Wiring Diagram & Execution
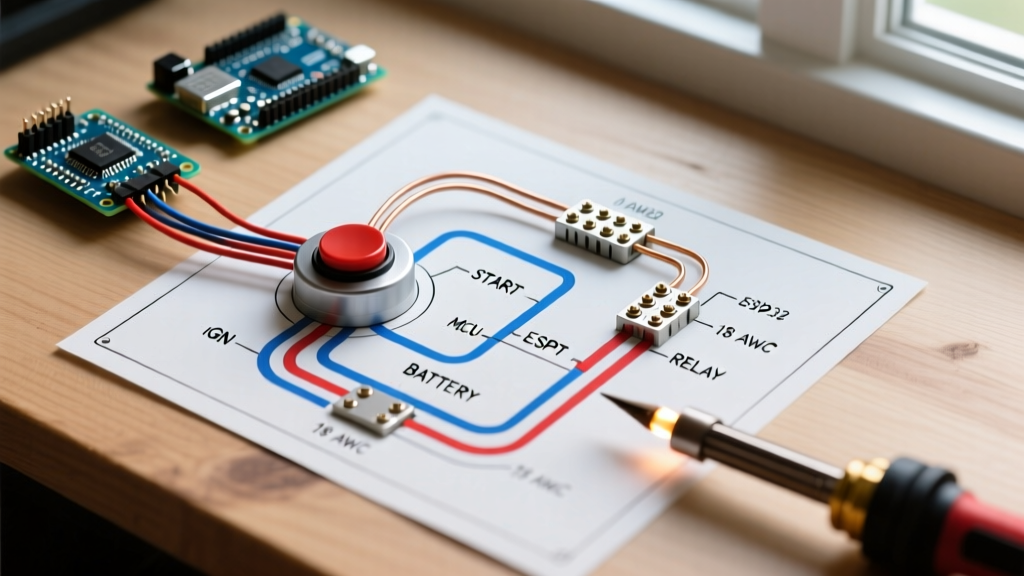
This installation requires routing 18 AWG thermostat wire from your new wall mount to a centralized relay bank, usually located near the RV's main 12V DC distribution panel or the furnace control board.
Phase 1: Power Supply & Isolation
- Input Side: Connect the 12V DC input of your isolated converter to the RV's house battery bus. Ensure this line is protected by an inline 5A ATC fuse.
- Output Side: The converter will output two wires providing 24V AC. Connect these to the R (Power) and C (Common) terminals on the backplate of the Honeywell thermostat. Polarity does not matter on the AC side.
Phase 2: Thermostat Terminal Mapping
The Honeywell thermostat uses standard HVAC terminal designations. You will run 18 AWG wires from the thermostat to the 'A1' (coil positive) terminals of your 24V AC relays.
- W (Heat): Connects to Relay 1 Coil (A1). Triggers the RV propane furnace.
- Y (Cool): Connects to Relay 2 Coil (A1). Triggers the roof AC compressor.
- G (Fan): Connects to Relay 3 Coil (A1). Triggers the roof AC blower motor independently.
- C (Common): Wire-nut this to the 'A2' (coil negative) terminals of all three relays to complete the 24V AC control circuit.
Phase 3: Relay Switching & 12V DC Loads
Now you must wire the 12V DC side. Most modern RV air conditioners (like Dometic and Atwood) use a 12V DC control board that expects a 12V+ trigger signal from the thermostat. The furnace also expects a 12V+ trigger on the 'TH' (Thermostat) terminal.
- Power Feed: Run a fused 12V+ line from your DC bus to the 'COM' (Common) terminal of the contact side of each relay.
- Furnace (Relay 1): Wire the 'NO' (Normally Open) contact to the furnace control board's thermostat trigger pin.
- AC Compressor (Relay 2): Wire the 'NO' contact to the roof AC control board's cooling trigger pin.
- AC Blower (Relay 3): Wire the 'NO' contact to the roof AC control board's fan-only trigger pin.
Expert Warning: Never wire the 12V DC load lines directly to the Honeywell thermostat terminals. The internal triacs are rated for roughly 1 amp at 24V AC. An RV furnace control board can pull higher inrush currents, which will permanently fry the Honeywell's internal switching components. Always use the mechanical or solid-state relays as a buffer.
Critical Configuration: Adjusting CPH for RV Furnaces
Wiring the unit correctly is only half the battle. If you skip this software configuration step, your RV furnace will short-cycle, overheat, and shut down on the high-limit safety switch.
Residential gas furnaces are massive and require a slow cycle rate to prevent temperature overshoot. Honeywell thermostats default to 3 CPH (Cycles Per Hour) for gas heating. RV forced-air furnaces are incredibly small, high-velocity, and heat up the interior of a motorhome in minutes. If the thermostat waits too long between cycles, the RV will freeze; if it runs too long, the furnace overheats.
The Fix: Access the Honeywell Installer Setup Menu (usually by holding the 'Menu' and 'Up' buttons simultaneously). Navigate to the System Type / Cycle Rate setting and change the heating CPH from 3 to 5 or 6. This forces the thermostat to pulse the RV furnace more frequently for shorter durations, maintaining a perfectly stable interior temperature without tripping the high-limit switch.
Troubleshooting Common Failure Modes
- Thermostat Screen is Blank: Check the 12V DC to 24V AC converter. Use a multimeter to verify 24V-28V AC across the R and C terminals. If you read 0V, check the 5A inline fuse on the 12V input side.
- AC Clicks but Compressor Won't Start: You may have wired the relay to the wrong pin on the roof AC control board. Some older Dometic units use 'Ground Switching' rather than '12V+ Switching'. If your AC requires a ground trigger, you must wire the 12V+ directly to the AC board, and use the relay to switch the Ground connection instead.
- Wi-Fi Model Keeps Dropping Connection: If using the RTH9585WF, ensure your RV's 2.4GHz Wi-Fi router is within 15 feet of the thermostat. The metal skin of an RV or skoolie acts as a Faraday cage and will severely attenuate the signal if the router is in a rear bedroom while the thermostat is in the main salon.
Safety & Code Compliance
When modifying climate control circuits in a motorhome or travel trailer, adherence to safety standards is non-negotiable. According to the NFPA 70 (National Electrical Code), specifically Article 551 which governs Recreational Vehicles, all low-voltage control wiring must be physically separated from 120V AC branch circuits to prevent inductive interference and shock hazards. Furthermore, the RV Industry Association (RVIA) mandates that any aftermarket modifications to propane furnace control circuits must not bypass factory-installed high-limit safety switches or time-delay relays.
Always use stranded, automotive-grade (GXL or TXL) wire for the 12V DC load side, as solid copper house wire will fracture under the constant vibration of highway travel. For detailed schematics and compatibility matrices regarding specific Honeywell models and modern inverter-compressor RV air conditioners, consult the official Resideo (Honeywell Home) product documentation before energizing your system.