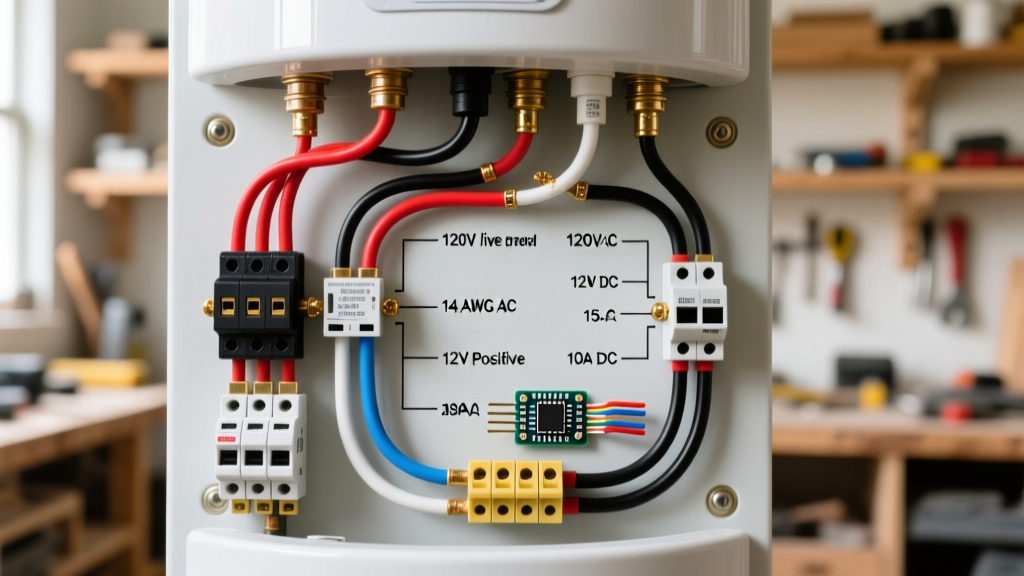

The Complexities of RV Electric Water Heater Wiring
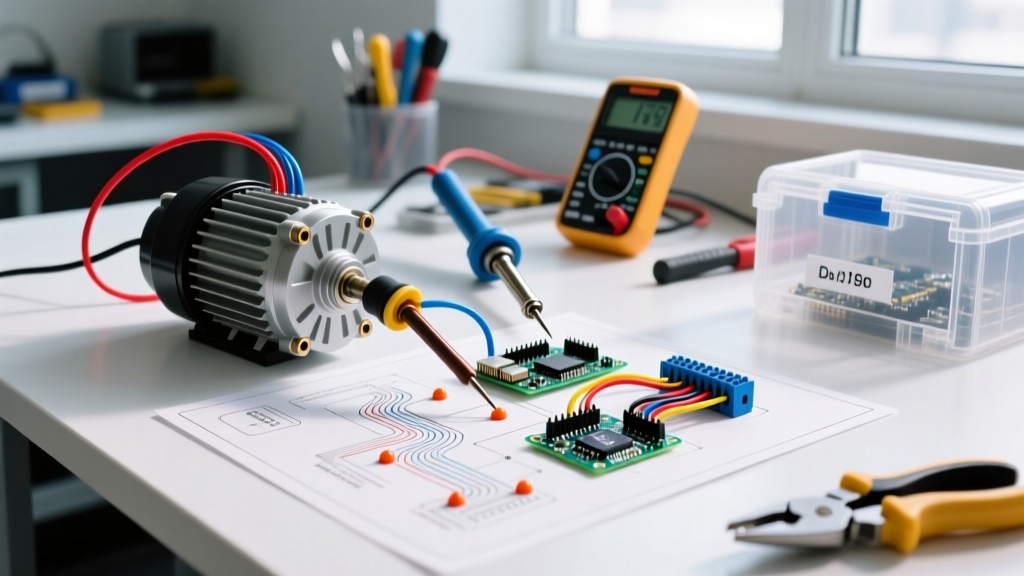
Wiring an electric water heater in a recreational vehicle, camper van, or skoolie is fundamentally different from residential installations. While a home water heater simply connects to a dedicated 240V or 120V residential branch circuit, vehicle-specific electric water heater wiring must account for chassis vibration, voltage drop over long conduit runs, and the hybrid nature of RV power systems (shore power, generators, and inverters). As of 2026, the majority of dual-mode RV water heaters—such as the ubiquitous Suburban SW6DE and Atwood G6A-8E—utilize a 120V AC Incoloy heating element paired with a 12V DC control board for gas ignition and interior switching.
This comprehensive guide breaks down the exact wiring schematics, wire gauge requirements, and diagnostic procedures for 120V AC and 12V DC RV water heater circuits, adhering to NFPA 70 NEC Article 551 standards for recreational vehicles.
Why Vehicle-Specific Wiring Demands Higher Standards
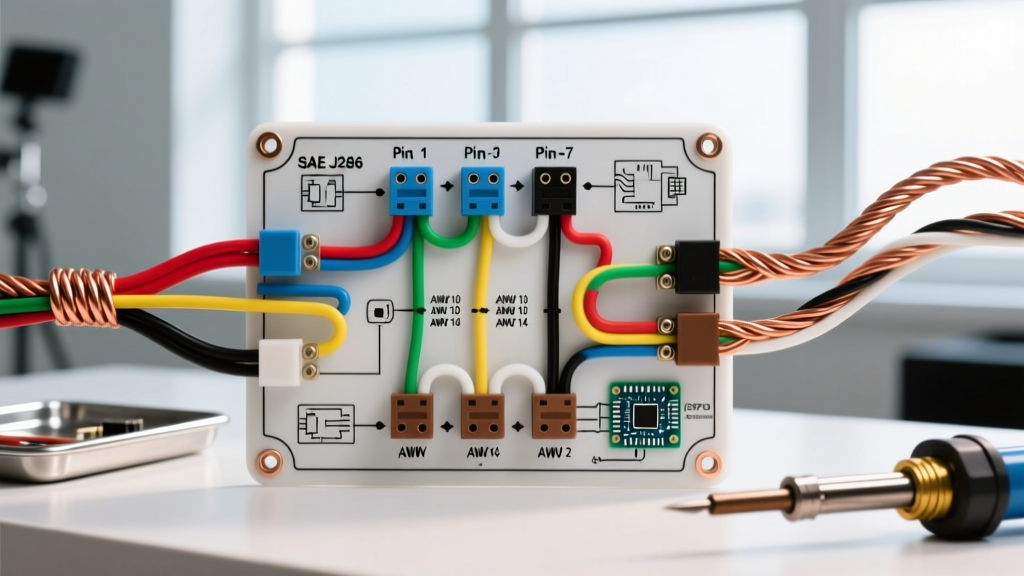
Residential electrical codes (NEC Article 250) allow for standard twist-on wire nuts and rigid Romex cabling. In an RV, the constant vibration from highway travel can loosen standard terminal screws and cause wire nuts to back off, leading to arcing, melted junction boxes, or catastrophic fires. The Recreational Vehicle Industry Association (RVIA) mandates stricter vibration-resistant connection methods. Modern RV electric water heater wiring requires WAGO 221 lever nuts, heat-shrink ring terminals, and flexible stranded THHN/THWN wire rather than solid-core NM-B cable.
Component Breakdown & Wire Sizing Matrix
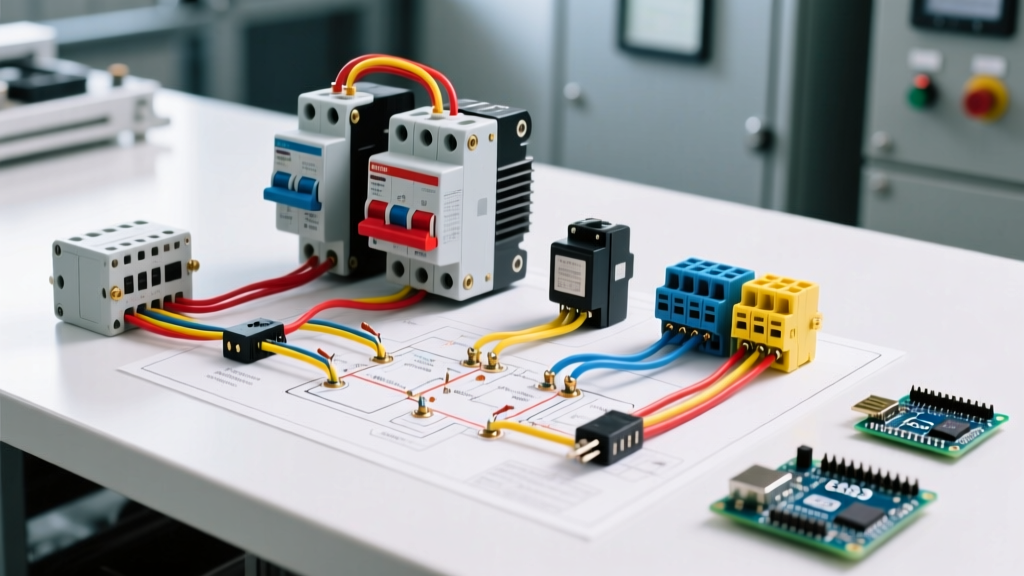
Before pulling wire, you must match the breaker size and wire gauge to the specific water heater model. The most common RV electric water heater element is rated at 1440W at 120V AC, drawing exactly 12 Amps. Below is the definitive sizing matrix for standard 6-gallon and tankless RV units.
| Water Heater Model / Type | Element Wattage | Max Amp Draw | Breaker Size | Min Wire Gauge (Up to 25ft) | Min Wire Gauge (25ft - 50ft) |
|---|---|---|---|---|---|
| Suburban SW6DE / SW12DE | 1440W (120V) | 12.0A | 15A or 20A | 14 AWG Stranded | 12 AWG Stranded |
| Atwood G6A-8E / G10-3E | 1440W (120V) | 12.0A | 15A or 20A | 14 AWG Stranded | 12 AWG Stranded |
| Fogatti Tankless (Gas/12V) | N/A (Gas Heat) | 1.5A (12V DC) | 5A Inline Fuse | 16 AWG Stranded | 14 AWG Stranded |
| Truma AquaGo (120V) | 1500W (120V) | 12.5A | 15A or 20A | 14 AWG Stranded | 12 AWG Stranded |
Step-by-Step: 120V AC Heating Element Wiring Diagram
The 120V AC side of a hybrid RV water heater is entirely independent of the 12V DC gas system. It operates on a simple series circuit originating from the AC distribution panel, passing through a high-limit switch (ECO), a thermostat, and terminating at the heating element.
1. Routing the AC Branch Circuit
- Run the Cable: Route 12 AWG stranded THHN wire (Black, White, Green) from your RV's AC distribution panel to the water heater's exterior access panel. Use flexible split-loom tubing to protect the wire from chassis abrasion.
- Install the Breaker: Seat a 15A or 20A single-pole breaker in the AC panel. Torque the terminal screw to the manufacturer's specification (typically 20 in-lbs for standard Square D Homeline breakers).
- Grounding: Bond the Green ground wire to the RV's main grounding bus bar. Do not rely on the water heater chassis for a ground path; RV chassis grounds are notoriously unreliable due to paint and rust.
2. Wiring the Thermostat and ECO (Energy Cut Off)
The Suburban and Atwood water heaters (now under Airxcel) use a dual-snap-disc safety system. The Black (Hot) wire from the breaker must first enter the ECO High-Limit Switch (set to trip at 180°F). From the ECO, a jumper wire routes to the Thermostat (set to close at 120°F). Finally, the output of the thermostat connects to Terminal A on the heating element.
- Neutral Path: The White (Neutral) wire from the AC panel bypasses the switches and connects directly to Terminal B on the heating element.
- Connection Method: Use high-temperature female spade connectors (250°F rated) with silicone boots for the thermostat and ECO terminals. Secure them with a crimping tool (e.g., Titan 1161), never use pliers.
Step-by-Step: 12V DC Control Board Wiring (Gas Ignition)
Even if you primarily use the electric element, the 12V DC side must be wired correctly to power the interior indicator light, the 12V-to-120V AC relay (on newer models), and the gas ignition board.
DC Wiring Best Practices for High-Vibration Environments
- Wire Selection: Use 14 AWG stranded copper wire for the 12V DC run to the interior switch and control board.
- Terminals: Use heat-shrink ring terminals for all DC ground and power connections to the control board. Spade terminals will vibrate loose on the highway, causing intermittent ignition failures.
- Fusing: Install a 5A ATC inline fuse holder within 18 inches of the positive battery connection or the DC fuse block.
Critical Safety Warning: Never wire the 120V AC electric element switch in series with the 12V DC gas switch. Attempting to run both gas and electric simultaneously on older Suburban models without a factory lockout relay can cause the 120V element to overheat if the tank is drained, as the 120V thermostat relies on water mass to regulate temperature. Always verify your model has an automatic thermal lockout before enabling dual-mode operation.
Advanced Diagnostics: Multimeter Testing & Edge Cases
When an RV electric water heater fails to heat, the issue is rarely a blown breaker. It is almost always a failed snap-disc thermostat, a tripped ECO, or a burnt-out Incoloy element. Here is how to diagnose the system using a digital multimeter (DMM).
Testing the Heating Element Resistance
Disconnect all shore power and turn off the inverter. Remove the wires from the heating element terminals. Set your DMM to Ohms (Ω). Place the probes on Terminals A and B.
- Expected Reading: For a 1440W element at 120V, the resistance should be exactly 10.0 Ω (calculated via Ohm's Law: R = V² / P → 14400 / 1440 = 10).
- Failure Mode 1 (Open Circuit): If the DMM reads 'OL' (Over Limit), the internal element wire is severed. Replace the element (Part # 520779 for Suburban).
- Failure Mode 2 (Short to Ground): Place one probe on Terminal A and the other on the bare metal tank. If you read anything less than 'OL', the element sheath is compromised and is leaking current into the water. This is a lethal shock hazard; replace immediately.
The Inverter Edge Case: Running Electric Water Heaters Off-Grid
A common trend in 2026 camper van builds is attempting to run the 120V AC water heater element off a solar/inverter setup. A 1440W element draws roughly 12A at 120V AC. Factoring in inverter inefficiency (typically 85-90%), this translates to a massive 135A to 140A draw from a 12V DC battery bank.
Unless your van is equipped with a 3000W pure sine wave inverter (like the Victron MultiPlus II) and a robust 400Ah+ Lithium Iron Phosphate (LiFePO4) battery bank capable of sustaining a 1C discharge rate, running the electric element off-grid will trigger the inverter's low-voltage cutoff or BMS overcurrent protection. For off-grid boondocking, stick to the 12V DC gas ignition mode.
Frequently Asked Questions
Can I upgrade my 1440W element to a 2000W element for faster heating?
No. RV water heater wiring is sized for a 15A or 20A circuit. A 2000W element draws 16.6A, which will cause excessive voltage drop on 14 AWG wire and may melt the factory thermostat spade connectors, which are rated for 15A maximum.
Why does my water heater trip the GFCI breaker when I turn it on?
A tripped GFCI indicates current leakage to ground. This is almost always caused by a degraded heating element sheath allowing micro-currents to pass into the water tank, or moisture intrusion in the exterior junction box. Dry the junction box with compressed air and test the element for a short-to-ground.
Do I need to use a specific type of wire nut for the 120V AC connections?
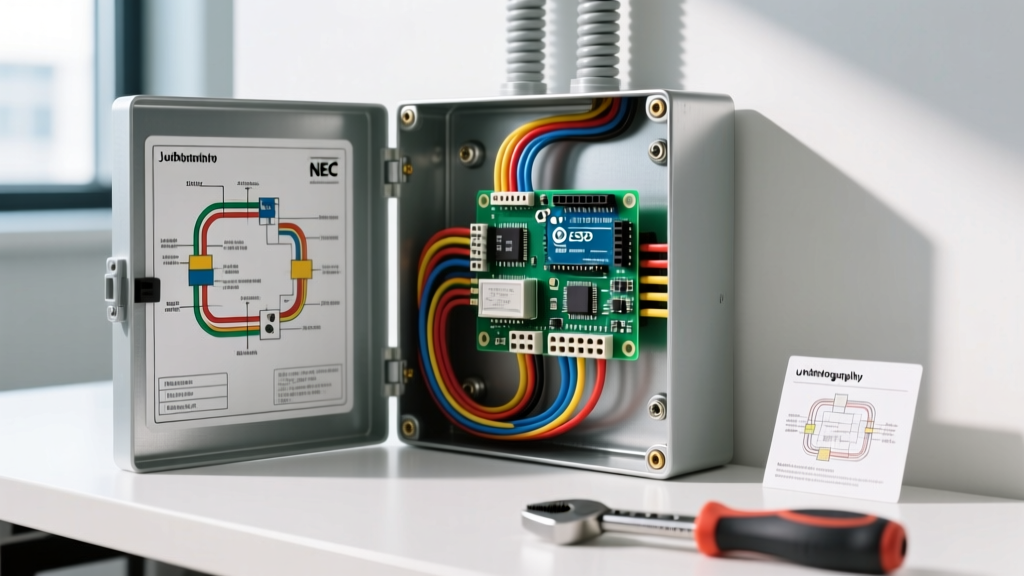
Standard twist-on wire nuts are prone to backing off due to highway vibration. As of 2026, the industry standard for RV 120V AC junction boxes is the WAGO 221 lever nut, which provides a vibration-proof, maintenance-free connection that meets RVIA and UL standards.