
Introduction to 6-Way Round Trailer Connectors
When towing heavy-duty utility trailers, horse trailers, or mid-sized RVs, a standard 4-pin flat connector simply cannot handle the electrical load. You need dedicated circuits for electric brakes and 12V auxiliary power. This is where the 6-way round connector becomes the industry standard. Understanding the correct 6 pin wiring diagram for trailer applications is critical not just for legal compliance, but for the physical safety of your rig. A miswired brake circuit can lead to delayed stopping times, while an undersized auxiliary wire can cause voltage starvation to your trailer’s breakaway battery system.
In this comprehensive tutorial, we will break down the exact pinout matrix, calculate wire gauge requirements based on voltage drop, and provide a professional-grade installation workflow using marine-tier components.
Decoding the 6 Pin Wiring Diagram for Trailer Configurations
The 6-pin round connector (often referred to as a 6-way) features six distinct terminals arranged in a circular pattern. While the physical layout is standardized by SAE J286, wire color codes can occasionally vary between older commercial trailers and modern RVIA (RV Industry Association) standards. Always prioritize the function of the wire over its color, and use a multimeter to verify circuits before making permanent connections.
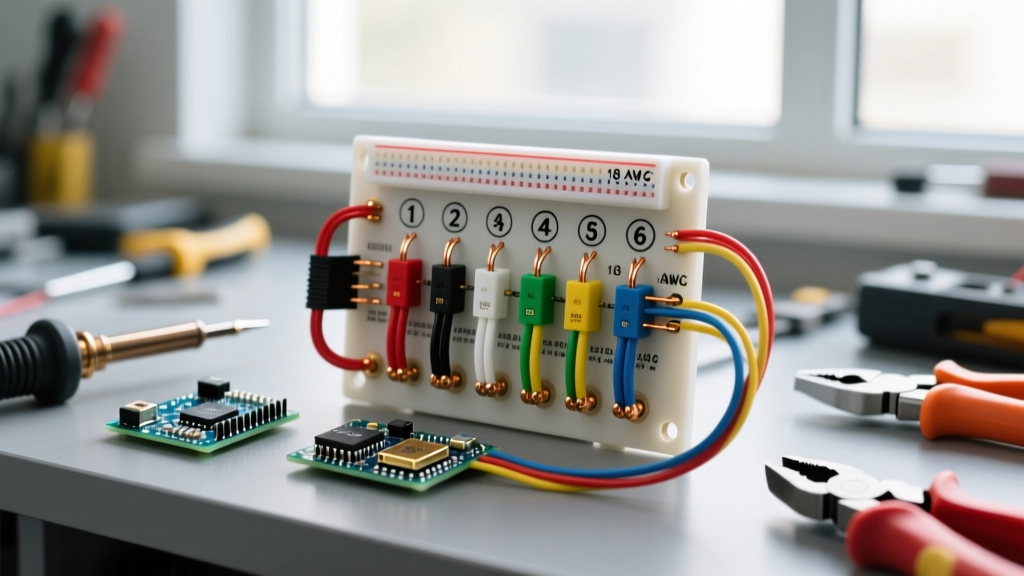
Standard RVIA 6-Pin Pinout Matrix
| Pin Position | Function | Standard Wire Color | Minimum Wire Gauge (20ft Run) |
|---|---|---|---|
| Pin 1 (Center/Top) | Ground (Chassis) | White | 10 AWG |
| Pin 2 | Tail / Running Lights | Brown | 12 AWG |
| Pin 3 | Left Turn / Stop | Yellow | 12 AWG |
| Pin 4 | Right Turn / Stop | Green | 12 AWG |
| Pin 5 | Electric Brakes | Blue | 10 AWG |
| Pin 6 | 12V Auxiliary / Battery Charge | Black (or Red) | 10 AWG |
Expert Warning: Never rely solely on the color of the wire coming from the tow vehicle’s factory harness. Automakers frequently use non-standard color coding in their OEM 7-way to 6-way adapters. Always test the vehicle-side socket with a circuit tester (like the Tekonsha 40376) before mating it to your newly wired trailer plug.
The Physics of Wire Gauge: Why 10 AWG is Non-Negotiable for Brakes
A common and dangerous mistake in DIY trailer wiring is using 14 AWG or 12 AWG wire for the electric brake circuit (Pin 5) and the auxiliary charge line (Pin 6) to save money. Electric brake magnets draw roughly 3.5 to 4.0 amps each. On a dual-axle trailer, your brake controller is pushing up to 16 amps down a single wire.
Voltage Drop Calculation
Using the standard voltage drop formula ($V_{drop} = I \times R \times 2L$), let us look at a 20-foot cable run (40 feet total round-trip) carrying 16 amps:
- Using 14 AWG Copper: Resistance is ~2.52 ohms per 1000ft. Voltage drop = 1.61V. Your 12V brake controller is only delivering 10.4V to the magnets, resulting in weak, spongy braking and overheated wires.
- Using 10 AWG Copper: Resistance is ~0.99 ohms per 1000ft. Voltage drop = 0.63V. The magnets receive 11.37V, ensuring immediate, aggressive stopping power and keeping the wire jacket cool.
For the lighting circuits (Pins 2, 3, and 4), modern LED trailer lights draw less than 0.5 amps combined, making 12 AWG (or even 14 AWG) perfectly adequate and easier to route through tight frame channels.
Required Tools and Materials (2026 Pricing Estimates)
To achieve a weather-sealed, vibration-proof connection, skip the cheap auto-parts store kits. Source the following professional-grade materials:
- Connector: Pollak PK11604 (Trailer Side) or Hopkins 48115 ($18 - $25)
- Cable: Carol Brand 6-Conductor 10/12 AWG Jacketed Trailer Cable (~$3.50 per foot)
- Terminals: Ancor Marine Grade 12-10 AWG Heat Shrink Butt Connectors (Part #120110, $14 for a pack of 50)
- Wire Stripper: Klein Tools 11055 (Capable of cleanly stripping 10 AWG without nicking copper strands, $28)
- Heat Gun: Seekone 1800W with adjustable temp (Set to 250°F / 120°C for shrink tubing)
- Dielectric Grease: Permatex 22058 ($6)
Step-by-Step Installation Tutorial
- Jacket Stripping and Prep: Strip back 2 inches of the heavy black outer jacket from your 6-conductor cable using a utility knife. Be extremely careful not to score the inner wire insulation. Stagger the inner wire cuts by half an inch each; this prevents a bulky, single-point bulge that can cause the connector’s rubber strain relief to fail over time.
- Terminal Crimping: Strip 3/8 inch of insulation from each wire. Slide an Ancor heat-shrink butt connector onto the wire. Insert the stripped copper fully into the metal barrel. Using a ratcheting crimper (like the Titan 11230), crush the connector. The ratchet ensures exact compression without severing strands.
- Sealing the Connections: Apply heat to the butt connectors. Watch for the adhesive lining to melt and squeeze out the ends—this is your visual confirmation of a waterproof, marine-grade seal.
- Plug Assembly: Loosen the terminal set screws on the Pollak/Hopkins 6-pin plug. Insert the spade or pin terminals into their respective numbered slots (referencing the matrix above). Tighten the set screws firmly. If your plug uses screw-terminals that wrap the wire, ensure the wire wraps clockwise so the tightening action pulls the wire in, rather than pushing it out.
- Strain Relief and Sealing: Apply a generous dab of Permatex dielectric grease to the pins to prevent galvanic corrosion. Tighten the rear cord grip until the cable cannot be pulled out by hand. This mechanical strain relief is what prevents the internal wires from ripping out when the trailer turns sharply.
Diagnosing Common 6-Pin Failure Modes
Even with a perfect initial installation, environmental factors can degrade your wiring. Here is how to troubleshoot the two most common field failures.
Failure Mode 1: The Ground Loop (Pin 1 Degradation)
Symptom: When you hit the brakes, the trailer’s running lights dim, or the turn signals cause the brake lights to flash in unison (often called 'back-feeding').
The Cause: The white ground wire (Pin 1) has corroded at the trailer frame grounding point, forcing the return current to seek an alternative path through the running light circuit.
The Fix: Do not just clean the trailer plug. The issue is usually at the trailer frame. Locate where the white wire is bolted to the trailer tongue. Remove the bolt, sand the frame down to bare, shiny metal using 80-grit sandpaper, and re-attach using a star washer and a new zinc-plated bolt. Coat the terminal in dielectric grease to block moisture.
Failure Mode 2: Voltage Starvation on the Brake Circuit
Symptom: The brake controller inside the tow vehicle reads 'OL' (Overload) or 'NC' (No Connection), or the trailer brakes feel incredibly weak even at maximum gain settings.
The Cause: Micro-corrosion inside the blue wire's terminal on Pin 5, or the use of undersized 14 AWG wire causing excessive resistance.
The Fix: Unplug the connector and inspect Pin 5. If you see green/white crust (copper oxide), the terminal must be replaced. Cut off the old plug, strip back to clean copper, and re-terminate using the heat-shrink method outlined above. For authoritative troubleshooting on brake controller error codes, refer to the etrailer Wiring FAQ and Troubleshooting Guide, which maintains an extensive database of controller-specific error codes.
Regulatory Compliance and Safety Standards
When wiring a trailer for public road use, your lighting and braking circuits must comply with federal regulations. In the United States, the Federal Motor Carrier Safety Administration (FMCSA) mandates specific visibility and braking performance standards for commercial and heavy-duty trailers. While DIY enthusiasts building small utility trailers might fall under state-level DOT rules rather than federal FMCSA oversight, adhering to the SAE J286 connector standards and utilizing 10 AWG wire for braking circuits ensures you meet the strictest safety baselines. Proper wiring prevents electrical fires, ensures your breakaway switch has adequate voltage to engage the brakes in a detachment emergency, and keeps you legally compliant during highway patrols.
Final Thoughts on Long-Term Maintenance
A properly executed 6 pin wiring diagram for trailer setups should last a decade or more. To maximize lifespan, unplug the connector when the trailer is parked for long periods, and re-apply dielectric grease to the pins every spring before the towing season begins. By prioritizing heavy-gauge copper, marine-grade heat shrink, and meticulous strain relief, you eliminate the vast majority of roadside electrical headaches.