
Why Skoolie and RV Builders Choose Electric Baseboard Heating
For large motorhomes, fifth wheels, and school bus conversions (skoolies), relying solely on forced-air propane furnaces or noisy diesel heaters can be frustrating. As of the 2026 RV build season, many full-time mobile dwellers are integrating residential-style electric baseboard heaters. When connected to shore power, these units provide silent, draft-free, and highly reliable radiant convection heating. However, adapting a residential electric baseboard heater wiring diagram for a mobile vehicle environment requires strict adherence to vibration mitigation, flexible conduit routing, and RV-specific electrical codes.
This guide breaks down the exact wiring topology, wire gauge selection, and safety clearances required to safely install 120V and 240V electric baseboard heaters in recreational vehicles and mobile dwellings.
The Critical Difference: Residential vs. Mobile Wiring Standards
The most common and dangerous mistake DIY van and skoolie builders make is using standard residential NM-B (Romex) solid-core wire. In a stationary home, solid copper is perfectly fine. In a vehicle, chassis flex, road vibration, and engine harmonics cause solid copper to work-harden, eventually leading to micro-fractures, arcing, and electrical fires.
NEC Article 551 Compliance Warning: According to the NFPA 70 National Electrical Code (Article 551) and RV Industry Association (RVIA) standards, branch circuit wiring in recreational vehicles must be stranded copper to withstand mobile vibration. You must use stranded THHN/THWN-2 wire routed through Liquid-Tight Flexible Metal Conduit (LFMC) or flexible non-metallic conduit.
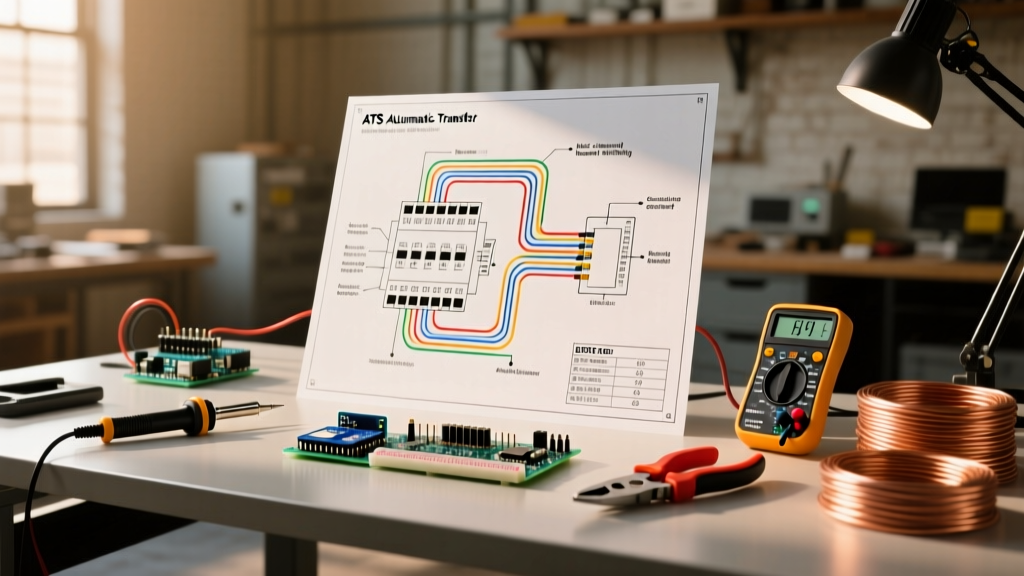
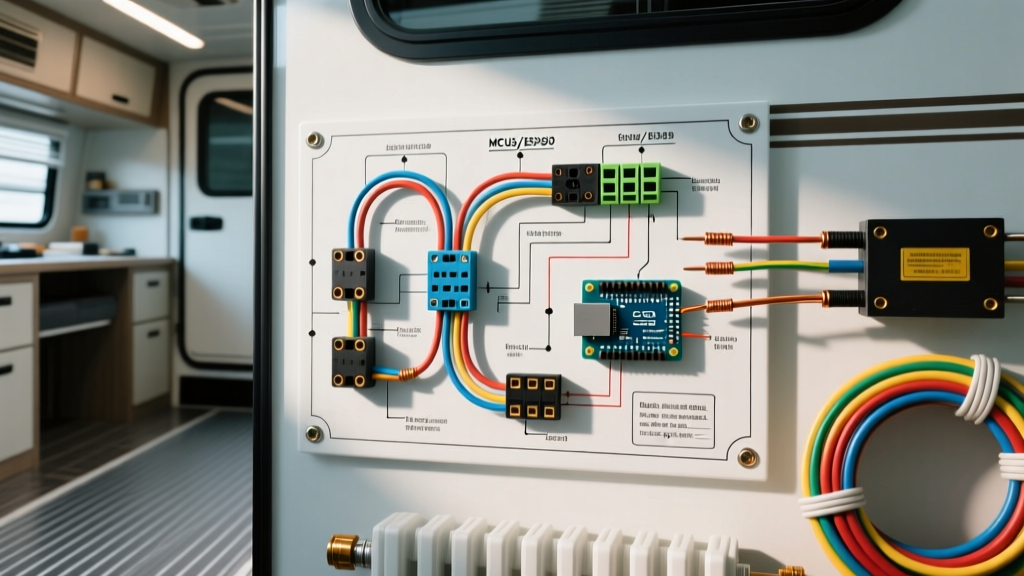
RV Electric Baseboard Heater Wiring Diagram: Step-by-Step Flow
Below is the textual representation of the wiring diagram for integrating a high-wattage baseboard heater (such as the Cadet F Series or Dimplex LC Series) into a 50-Amp RV shore power system.
Phase 1: Shore Power & Panel Integration
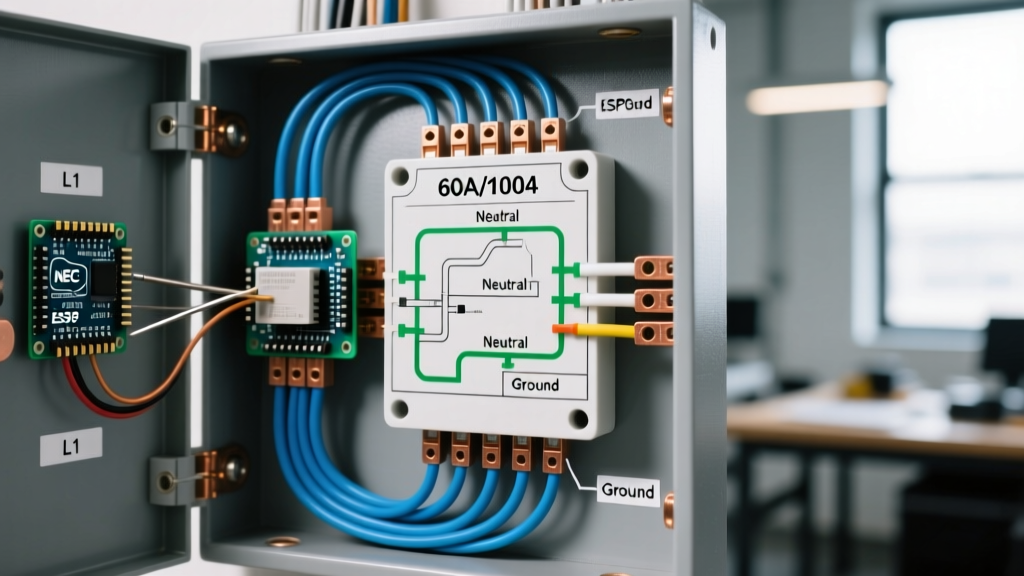
A 50-Amp RV shore power cord (NEMA 14-50P) delivers split-phase 120/240V power. It contains two 120V hot legs (L1 and L2), a neutral, and a ground. To power a 240V baseboard heater, you must install a 2-pole breaker in your RV's main AC distribution panel, connecting L1 to one pole and L2 to the other.
- Main Panel: 50A RV Distribution Box (e.g., Progressive Dynamics PD4560CSV).
- Breaker: 2-Pole 15A or 20A breaker (depending on heater wattage).
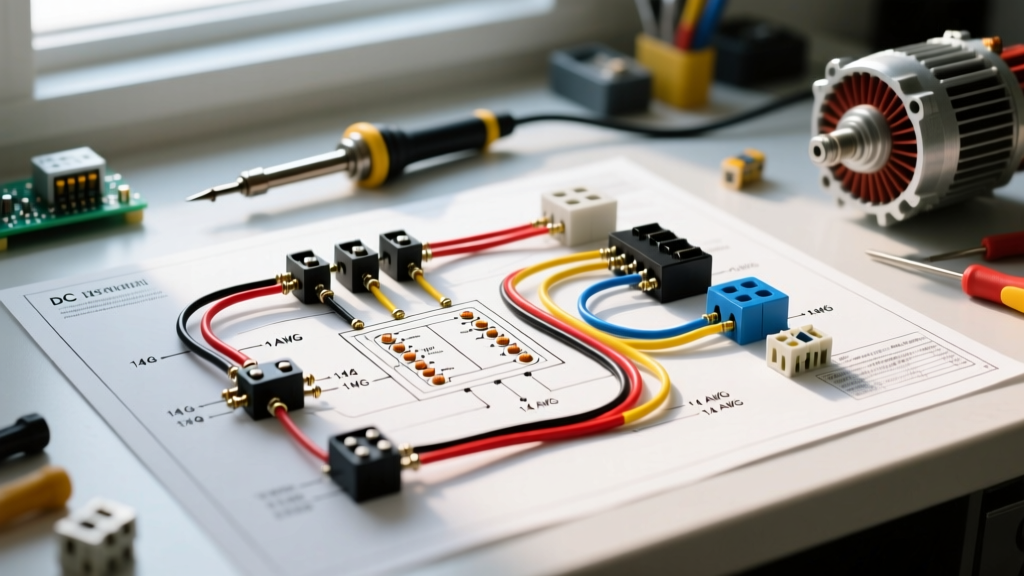
- Wire: 12 AWG or 10 AWG Stranded THHN (Black, Red, Green).
Phase 2: Conduit and Stranded Wire Routing
From the distribution panel, the stranded wires are pulled through 3/8-inch or 1/2-inch Liquid-Tight Flexible Metal Conduit (LFMC). The conduit protects the wires from abrasion against the vehicle's steel or aluminum ribs. The conduit is secured to the chassis using vibration-resistant cushion clamps every 18 inches.
Phase 3: Line-Voltage Thermostat Termination
The conduit terminates at a deep metal junction box housing a line-voltage thermostat. Modern smart thermostats like the Mysa V2 for Line-Voltage Baseboards require a dedicated neutral wire, meaning you must pull a 4th wire (White/Neutral) through the conduit from the main panel, even if the baseboard heater itself only requires two hot legs and a ground.
120V vs 240V Baseboard Sizing for RV Shore Power Services
Understanding your RV's shore power inlet is critical. A 30-Amp RV service (TT-30P) is strictly 120V. A 50-Amp service (14-50P) provides 120/240V. Use the table below to match your heater to your electrical service.
| RV Shore Service | Max Voltage Available | Breaker Size | Wire Gauge (Stranded) | Max Heater Wattage | Recommended Heater Model |
|---|---|---|---|---|---|
| 30-Amp (TT-30) | 120V Only | 1-Pole 15A | 14 AWG THHN | 1,500W | Cadet F1512W (120V) |
| 30-Amp (TT-30) | 120V Only | 1-Pole 20A | 12 AWG THHN | 2,000W | Dimplex LC2020W (120V) |
| 50-Amp (14-50) | 240V (Split-Phase) | 2-Pole 15A | 14 AWG THHN | 3,000W | Cadet F2530W (240V) |
| 50-Amp (14-50) | 240V (Split-Phase) | 2-Pole 20A | 12 AWG THHN | 4,000W | Dimplex LC4020W (240V) |
Note: Always calculate 80% of the breaker's continuous load capacity when sizing wire and breakers for heating elements, as baseboard heaters run for 3+ hours continuously.
Spatial Constraints and Clearance Requirements in Vehicles
The U.S. Department of Energy and heater manufacturers mandate strict clearance zones to prevent combustible materials from igniting. In the tight quarters of a skoolie or fifth wheel, this is a major design constraint.
- Top Clearance: Minimum 12 inches from the top of the heater to any combustible surface (shelves, window sills, or wood paneling).
- Side Clearance: Minimum 6 inches from the sides to adjacent walls or cabinetry.
- Front Clearance: Minimum 36 inches of clear space to allow proper convection airflow.
- Flooring: Never install baseboard heaters directly on top of vinyl or carpet. Mount them to the metal vehicle wall or a fire-resistant cement backer board, elevated at least 1/2 inch above the finished floor.
Common Mobile Failure Modes and Troubleshooting
Even with a perfect wiring diagram, the mobile environment introduces unique failure modes. Here is what to look out for during your annual electrical inspection:
- Vibration-Induced Lug Loosening: The thermal expansion and contraction of heating elements, combined with road vibration, can cause terminal screws to back out. Fix: Use ferrule crimps on all stranded wire ends before terminating them under the thermostat and heater screws. Apply a torque screwdriver to manufacturer specs (usually 12-15 in-lbs).
- Thermal Cutoff Tripping: Baseboard heaters feature an automatic limit switch that cuts power if the internal temperature exceeds safe limits. In RVs, curtains or folding furniture often block the convection flow, tripping this switch. Fix: Install rigid curtain guards or recess the heater into a custom-built alcove with a protective metal grate.
- Neutral Wire Overheating (Smart Thermostats): If you install a Wi-Fi smart thermostat on a 240V system without pulling a dedicated neutral wire (and instead try to 'borrow' a ground or use a capacitor bypass), the internal relay will overheat and fail. Fix: Always pull a 4-wire setup (L1, L2, Neutral, Ground) when using smart controls.
Frequently Asked Questions
Can I run a 240V baseboard heater on a 30-Amp RV plug?
No. A standard 30-Amp RV plug (TT-30P) only supplies 120V. If you attempt to wire a 240V heater to a 120V source, it will produce only 25% of its rated heat output (e.g., a 2000W heater will only output 500W) and will draw excessive, unbalanced current on a single leg of your panel. You must use a 120V-specific baseboard model for 30-Amp rigs.
Do I need a GFCI breaker for a baseboard heater in an RV?
Generally, no. NEC Article 551 does not require GFCI protection for dedicated heating branch circuits unless the heater is installed within 6 feet of a wet location (like a small RV bathroom). Standard thermal-magnetic breakers are preferred, as the high inrush current of cold heating elements can cause nuisance tripping on sensitive GFCI breakers.
How much does a complete mobile baseboard installation cost?
For a high-quality 240V setup in a 50-Amp skoolie, expect to spend roughly $220 on the heater unit (e.g., Cadet F-Series), $85 on stranded THHN wire and liquid-tight conduit, $45 on a 2-pole breaker, and $140 for a smart line-voltage thermostat. Total material cost averages around $490 per heating zone, excluding labor.