
Introduction to 5-Pin Relays in Appliance Control
When designing or repairing high-draw 12V DC appliances—such as RV compressor refrigerators, marine water pumps, or heavy-duty 12V heating elements—a standard micro-switch or thermostat cannot handle the massive inrush current required to start the motor or heat the coil. This is where consulting a precise wiring diagram for 5 pin relay configurations becomes critical. The 5-pin ISO mini/micro relay acts as an electromagnetic isolation barrier, allowing a low-current control circuit (often under 2 Amps) to safely switch a high-current load circuit (up to 30 or 40 Amps).
In this comprehensive appliance wiring tutorial, we will dissect the exact pinout anatomy, calculate the correct wire gauges to prevent catastrophic voltage drop, and reveal the advanced arc-suppression techniques that separate amateur DIY fixes from professional-grade appliance engineering.
Why Appliance Control Boards Need Relay Isolation
Modern appliance control boards and digital thermostats utilize delicate solid-state relays (SSRs) or low-amperage transistors to trigger operations. If you wire a 15A DC compressor directly to a smart thermostat, the initial locked-rotor amperage (LRA) spike will instantly vaporize the thermostat's internal traces.
By integrating a 5-pin relay, the thermostat only needs to supply roughly 150mA to energize the relay's electromagnetic coil. The relay's heavy-duty copper contacts then physically close to deliver the bulk current directly from the appliance's main power bus to the compressor. This isolation extends the lifespan of the control board and allows for the use of lighter, more flexible wiring in the appliance's control harness.
The Anatomy: Decoding the 5-Pin Layout
The standard ISO 5-pin relay (often referred to as a Bosch-style relay) features five distinct blade terminals. Understanding the standardized numbering system is mandatory before cutting any wire.
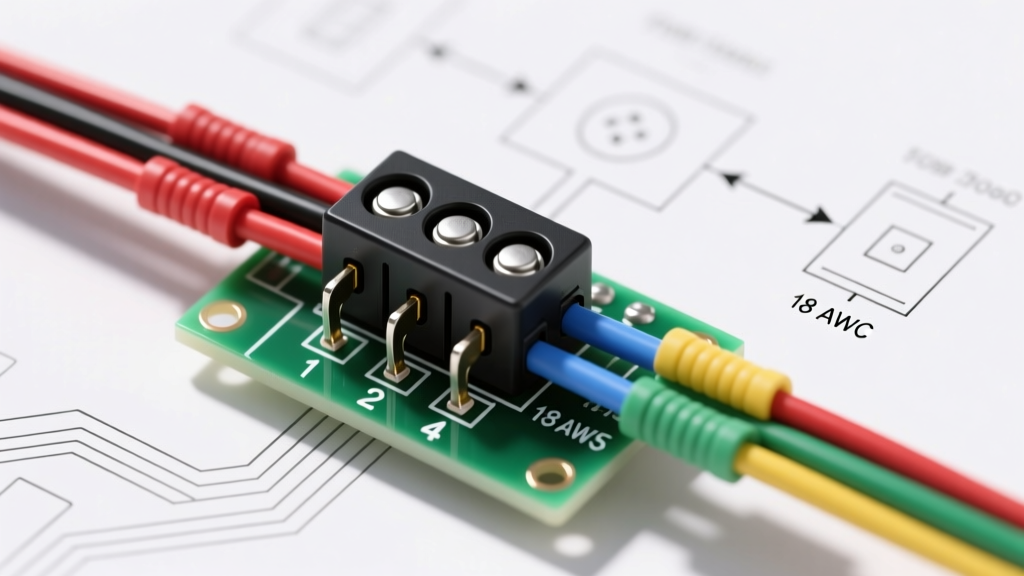
| Pin Number | Terminal Name | Function in Appliance Wiring | Recommended Wire Gauge (AWG) |
|---|---|---|---|
| 85 | Coil Ground | Connects to the appliance chassis ground or negative bus. | 18 AWG (Stranded) |
| 86 | Coil Power | Receives 12V DC trigger signal from the thermostat or PCB. | 18 AWG (Stranded) |
| 30 | Common (Input) | Main power feed from the appliance battery or power supply. | 10 AWG or 8 AWG (Load dependent) |
| 87 | Normally Open (NO) | Output to the appliance load (compressor, heater, motor). | 10 AWG or 8 AWG (Load dependent) |
| 87a | Normally Closed (NC) | Powered when relay is OFF. Rarely used in standard appliance compressor circuits; must be insulated if unused. | N/A (Cap and insulate) |
Step-by-Step Appliance Wiring Diagram Execution
Follow this exact sequence to wire a 12V DC compressor refrigerator using a 30A 5-pin relay. This methodology ensures minimal voltage drop and maximum safety.
Step 1: Sizing the Load Circuit Wiring
Voltage drop is the silent killer of 12V appliance motors. If a compressor requires 11.5V to start but your wiring is too thin, the voltage at the motor terminals may drop to 10V under load, causing the motor to stall and overheat. For a 15A continuous load with a 20A inrush spike over a 10-foot total wire run (positive and negative combined), you must use a minimum of 10 AWG copper wire. For runs exceeding 15 feet, upgrade to 8 AWG. Always use SAE J1128 rated wire for appliances in engine bays or high-heat environments, and UL1015 for indoor cabinetry.
Step 2: Wiring the Control Circuit (The Coil)
Run an 18 AWG wire from your thermostat's 'Call for Cool' output to Pin 86. Connect Pin 85 directly to a clean, bare-metal chassis ground or the appliance's main negative busbar. Do not daisy-chain the relay ground to the compressor ground; keep it isolated to prevent ground-loop interference on the control board.
Step 3: Wiring the High-Current Load Circuit
Connect your main fused 12V positive feed to Pin 30. The fuse must be located within 18 inches of the power source to protect the wire feeding the relay. Run a heavy-gauge wire from Pin 87 directly to the positive terminal of the compressor. Finally, ensure the compressor's negative terminal is grounded to the chassis with an equally thick ground strap.
Expert Warning: If your specific appliance wiring diagram for 5 pin relay setups includes a bypass or indicator light, you will utilize Pin 87a. However, in 95% of standard compressor applications, Pin 87a remains unused. You must place a heat-shrink cap over Pin 87a. If left exposed, vibration can cause it to short against the metal relay bracket, resulting in a dead short and a potential electrical fire.
Advanced Troubleshooting: The 'Diode vs. Snubber' Mistake
One of the most common failure modes in DIY appliance wiring is contact welding. Over time, the relay's internal metal contacts fuse together, meaning the compressor runs continuously even when the thermostat turns off. Most amateur guides will tell you to simply solder a flyback diode across the coil pins to fix this. This is fundamentally incorrect for inductive appliance loads.
Protecting the Thermostat (Flyback Diode)
When the thermostat opens the circuit, the magnetic field inside the relay coil collapses, sending a high-voltage spike (inductive kickback) backward into the thermostat. To protect the delicate thermostat switch, you must solder a 1N4007 rectifier diode in reverse bias across Pin 85 and Pin 86 (diode stripe facing Pin 86). This clamps the voltage spike and protects your control electronics. For a deeper understanding of coil suppression, refer to the Texas Instruments application notes on relay coil suppression.
Protecting the Relay Contacts (RC Snubber)
The flyback diode does nothing to protect the relay contacts from the compressor motor's own inductive kickback. When Pin 30 and Pin 87 separate, the compressor's motor windings generate a massive arc across the gap. This arc pits the copper and eventually welds the contacts shut. To prevent this, you must install an RC Snubber network (typically a 0.1µF capacitor in series with a 100-ohm resistor) or a Metal Oxide Varistor (MOV) directly across the load terminals (or across Pin 30 and Pin 87). This absorbs the motor's arc energy, tripling the mechanical lifespan of the relay.
Component Recommendations & 2026 Market Pricing
When sourcing components for your appliance build, avoid unbranded, ultra-cheap relays from bulk marketplaces. The internal copper mass is often undersized, leading to premature thermal failure. Here are the industry-standard models trusted by appliance engineers in 2026:
- Bosch 0332014150 (30A/40A ISO Mini): The gold standard for heavy-duty 12V appliance loads. Features a sealed housing ideal for marine and RV environments. Retail price: $8.50 - $12.00 per unit.
- Omron G8P Series (PCB Mount): If you are designing a custom appliance control board rather than using an external harness relay, the Omron G8P handles 20A at 12V DC with a compact footprint. Retail price: $3.50 - $5.00 per unit.
- Littelfuse Masterguard Relays: Excellent for high-vibration environments like overland vehicle refrigerators, featuring superior contact materials that resist welding. Retail price: $10.00 - $14.00 per unit.
Safety Standards and Final Verification
Before applying power to your newly wired appliance, perform a continuity test using a digital multimeter. With the relay unpowered, verify continuity between Pin 30 and Pin 87a (if equipped), and an open circuit between Pin 30 and Pin 87. Apply 12V to the coil (Pins 85 and 86) and listen for the definitive mechanical 'click'. Re-test to ensure continuity has shifted to Pin 30 and Pin 87. Ensure all high-current connections are crimped with adhesive-lined heat shrink to prevent moisture ingress and corrosion, which is the leading cause of high-resistance joints in 12V appliances. For comprehensive guidelines on wire ampacity and overcurrent protection, always cross-reference your designs with the National Electrical Code (NEC) standards published by the NFPA, adapting AC principles to DC voltage drop requirements where necessary.
Mastering the wiring diagram for 5 pin relay systems transforms unreliable appliance prototypes into robust, professional-grade machines. By respecting wire gauge physics and implementing proper dual-stage arc suppression, your 12V appliances will operate flawlessly for years.
For more foundational circuit theory and relay logic, the All About Circuits relay experiments guide remains an invaluable resource for visual learners.