
The Complexity of Vehicle Bedroom Electrical Systems
Designing a reliable wiring diagram for a bedroom in a motorhome, Sprinter van, or fifth-wheel trailer requires balancing residential comfort with automotive-grade durability. Unlike a static residential build, a vehicle bedroom is subjected to constant vibration, extreme thermal cycling, and dual-voltage requirements. Whether you are wiring a custom Transit 350 HD camper conversion or upgrading a Winnebago Revel, understanding the intersection of 12V DC and 120V AC systems is critical for safety and functionality.
This guide provides a comprehensive, code-compliant wiring schematic and component matrix for a modern vehicle bedroom, updated for 2026 electrical standards and USB-C Power Delivery (PD) integration.
Navigating NFPA 1192 and NEC Article 551 Compliance
Before running a single wire, you must understand the regulatory landscape. Residential bedrooms follow standard NEC Article 210, but vehicle bedrooms fall under NEC Article 551 (Recreational Vehicles) and the RVIA (Recreational Vehicle Industry Association) Standards.
Code Alert: NFPA 1192 strictly mandates that 120V AC wiring in recreational vehicles must utilize stranded copper conductors, not the solid-core Romex (NM-B) used in residential homes. Solid-core wire will fatigue and snap under highway vibration, creating severe arcing and fire hazards inside bedroom walls.
120V AC Receptacle Layout Requirements
For the 120V AC side of your bedroom, you are typically powering a CPAP machine, a laptop charger, or a low-wattage electric blanket. Article 551 requires that any 120V receptacle within 6 feet of a water source (like an adjacent wet bath) must be GFCI protected. Even if the bedroom is dry, best practice in 2026 dictates running the bedroom receptacles on the load side of a GFCI breaker or an upstream GFCI outlet to protect against ground faults caused by condensation or window leaks.
- Wire Type: 12 AWG Stranded THHN in flexible non-metallic conduit, or RV-rated stranded 12/2 cable (e.g., Carol Brand 12/2).
- Overcurrent Protection: 20A Arc Fault Circuit Interrupter (AFCI) breaker at the main RV sub-panel.
- Receptacles: Leviton 5262-SW 15A Tamper-Resistant Duplex (stranded wire wraps cleanly around the screw terminals, or use WAGO 221 lever nuts for pigtailing).
12V DC Lighting and Device Charging Layout
The 12V DC system handles the bedroom's ambient lighting, reading lamps, and device charging. Modern camper van bedrooms have largely abandoned 12V cigarette-lighter style sockets in favor of hardwired USB-C PD modules.
- Ambient Lighting: 3W to 5W LED puck lights wired in parallel on a 14 AWG circuit, protected by a 10A blade fuse.
- Reading Lights: Gooseneck LED reading lamps with independent toggle switches mounted directly on the headboard.
- USB-C Charging: 60W USB-C PD 3.1 flush-mount modules. These require a robust 12 AWG feed directly from the fuse block to handle the 5A continuous draw without voltage drop.
Step-by-Step Wiring Diagram for a Bedroom (Text Schematic)
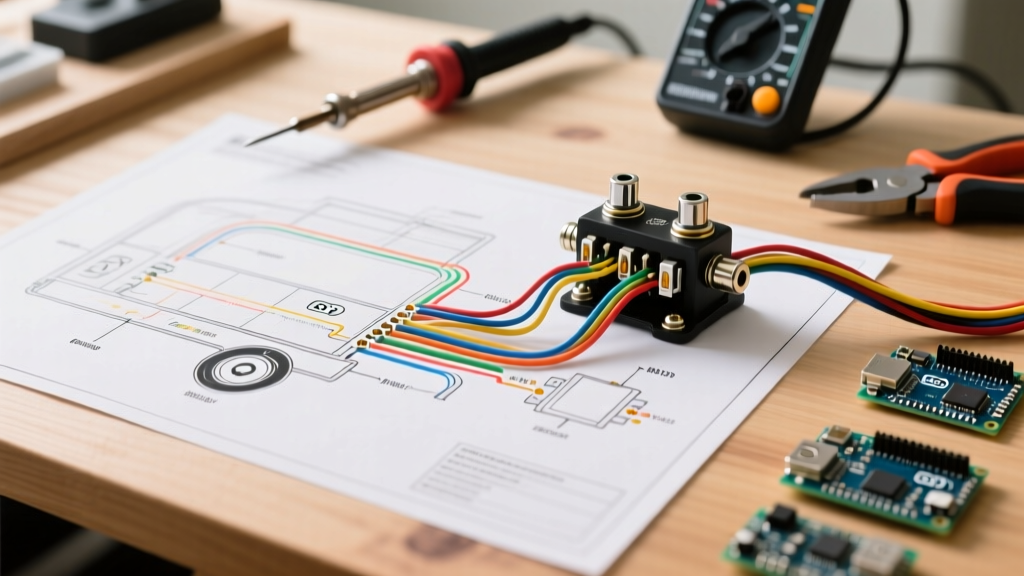
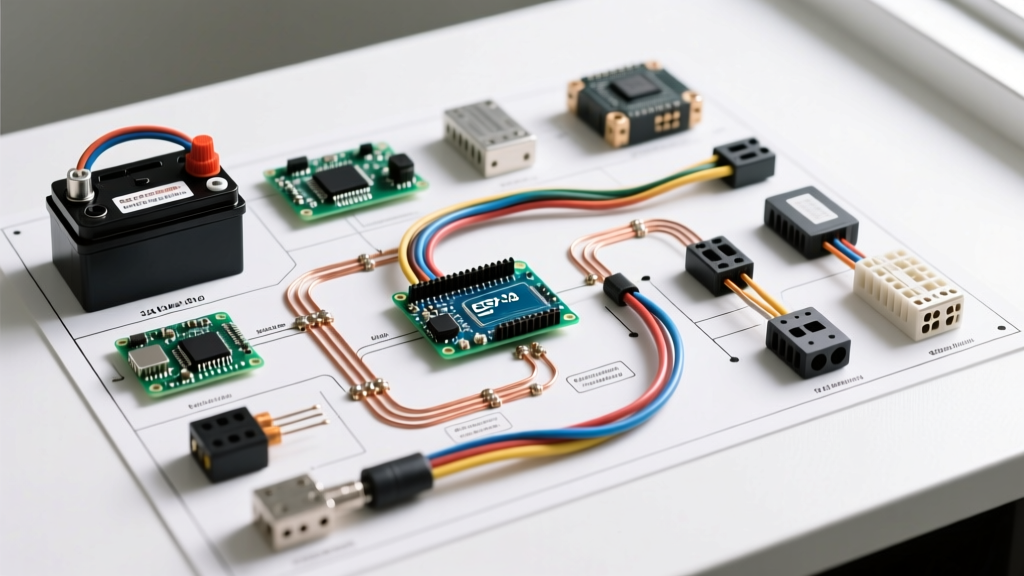
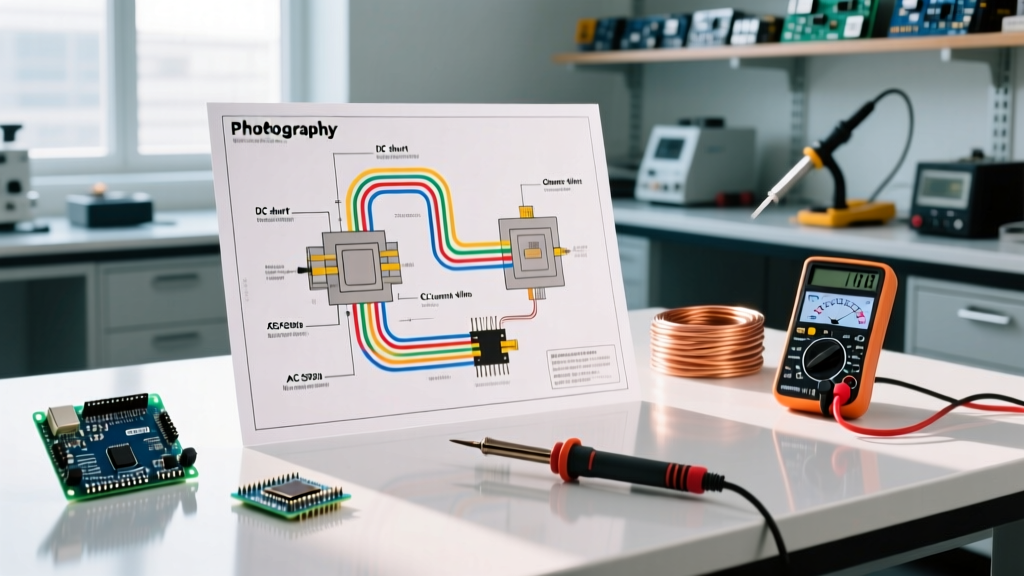
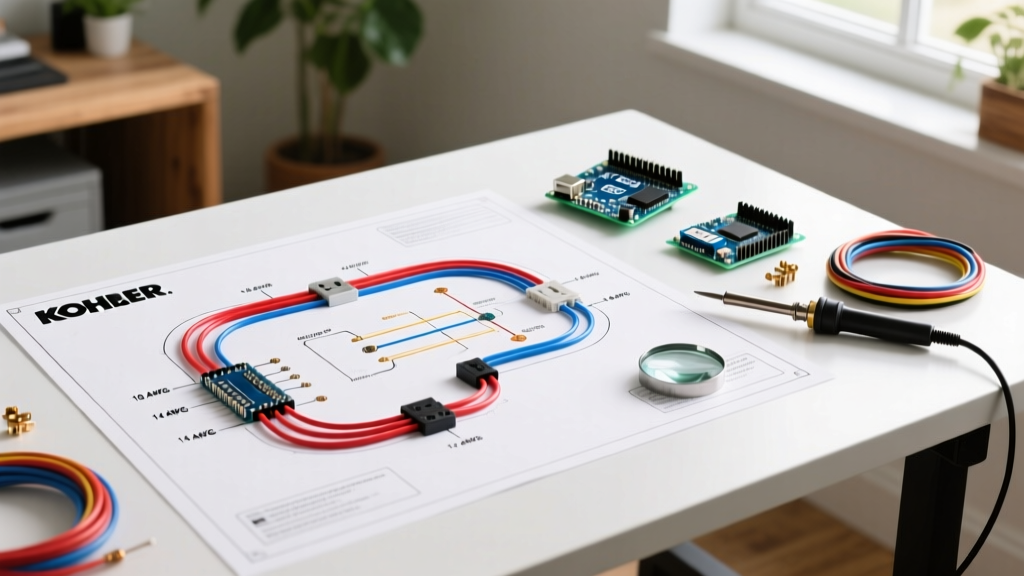
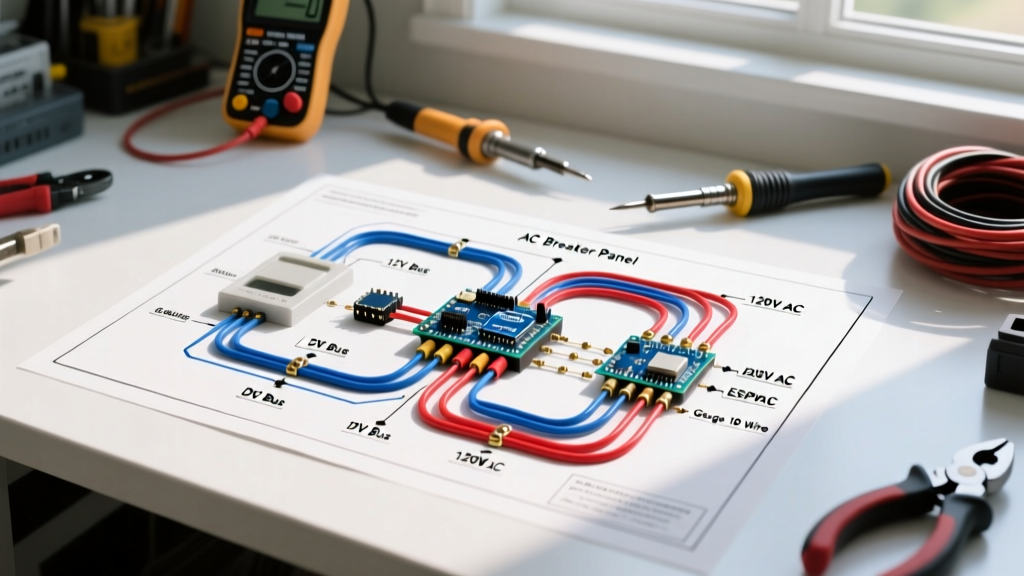
Since visual schematics cannot capture the physical routing required in a vehicle, below is the logical flow for the bedroom branch circuits, starting from the main distribution panels located under the van's bed platform or in the garage.
120V AC Circuit Flow
Main Sub-Panel (20A AFCI Breaker) → 12/2 Stranded RV Cable → Bedroom Junction Box → WAGO 221 Pigtails → Leviton 15A TR Duplex Receptacle (Left) → Daisy Chain → Leviton 15A TR Duplex Receptacle (Right) → Ground Bus.
12V DC Circuit Flow
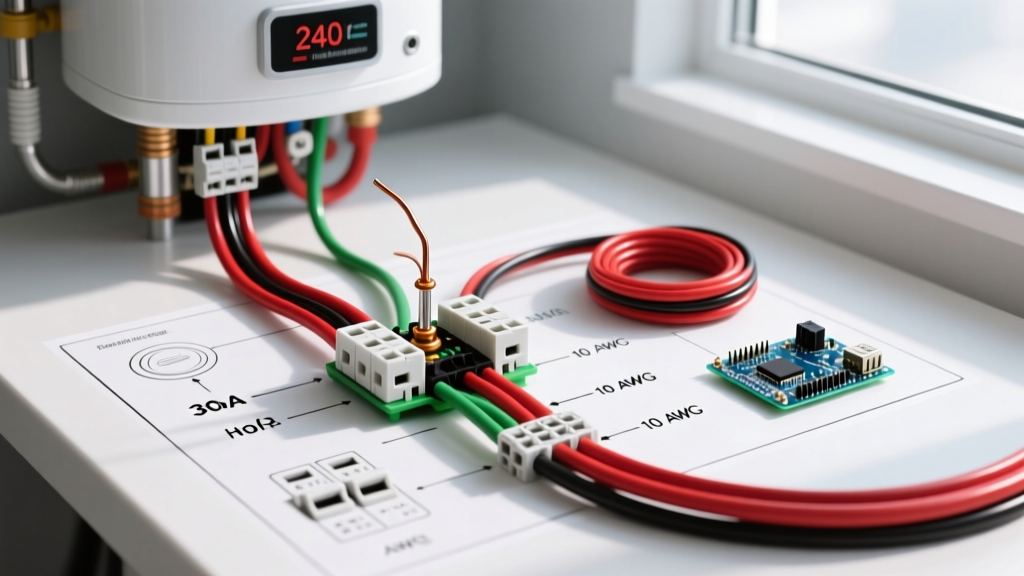
12V Busbar / Fuse Block → 10 AWG Main Feed → Blue Sea ST Blade Fuse Block (Bedroom Sub-Block) → 14 AWG Stranded → Rock Switch Panel → Split to Loads → LED Pucks & USB-C Modules → 14 AWG Negative Return → Negative Busbar.
Component Selection & Wire Gauge Sizing Matrix
Voltage drop is the silent killer of 12V DC vehicle systems. A 15-foot wire run from the battery bank to the bedroom ceiling lights can suffer significant voltage loss if undersized. The table below outlines the exact specifications required for a 15-foot one-way run (30-foot total circuit) in a standard Sprinter or Transit high-roof van.
| Circuit Application | Wire Gauge (Stranded) | Max Continuous Amps | Fuse / Breaker Size | Voltage Drop (at 15ft) |
|---|---|---|---|---|
| 120V AC Receptacles | 12 AWG THHN / RV Cable | 16A (80% Rule) | 20A AFCI Breaker | N/A (AC Tolerance) |
| 12V Ambient LED Pucks | 14 AWG | 6A | 10A Blade Fuse | < 0.2V (1.6%) |
| 12V USB-C PD 60W Module | 12 AWG | 5A | 10A Blade Fuse | < 0.1V (0.8%) |
| 12V MaxxFan / Roof Vent | 12 AWG | 8A | 15A Blade Fuse | < 0.15V (1.2%) |
| Bedroom 12V Sub-Panel Feed | 10 AWG | 24A | 30A ANL / Mega Fuse | < 0.1V (0.8%) |
Vibration, Thermal Cycling, and Edge Cases
When executing this wiring diagram for a bedroom in a mobile environment, standard residential techniques will fail. You must account for the following edge cases:
The Ferrule Crimping Mandate
Stranded wire frays when inserted into screw-terminal blocks or DC breakers. In a vehicle, this fraying leads to stray strands causing short circuits against adjacent terminals. Solution: Every single stranded wire end terminating in a screw terminal must be crimped with a copper wire ferrule using a specialized ferrule crimper (e.g., IWISS SN-48B). Soldering is strictly prohibited by Blue Sea Systems circuit guidelines and ABYC standards for crimp connections, as solder wicks up the wire, creating a rigid point that snaps under vibration.
Thermal Expansion in Exterior Walls
Bedroom walls in vans often double as exterior insulation cavities. Temperatures here can swing from -10°F in winter to 140°F in summer. Standard PVC electrical tape will melt and unspool. Use adhesive-lined marine-grade heat shrink (3M EPS300) for all 12V DC splices, and ensure 120V AC connections are entirely enclosed in UL-listed junction boxes with cable glands to prevent moisture ingress.
2026 Material Cost Estimate for a Camper Bedroom
Budgeting accurately is essential for a van build. Below is a realistic breakdown of material costs for a premium, code-compliant bedroom electrical setup as of early 2026:
- 12/2 Stranded RV Cable (50 ft roll): $65.00
- 14 AWG Marine Primary Wire (Red/Black, 100 ft): $42.00
- Blue Sea 5025 ST Blade Fuse Block (6-circuit): $48.50
- Leviton 15A TR Receptacles (x2): $9.00
- WAGO 221 Lever Nuts (Assortment Kit): $24.00
- 60W USB-C PD Flush Mount Modules (x2): $58.00
- Adhesive Heat Shrink & Ferrule Kit: $35.00
- Total Estimated Material Cost: $281.50 (Excluding main inverter/sub-panel hardware)
Frequently Asked Questions (FAQ)
Can I use standard residential Romex in my camper van bedroom?
No. While many amateur DIYers use solid-core NM-B Romex because it is cheap and readily available at big-box stores, it violates NEC Article 551 and RVIA standards. The solid copper core will work-harden and fracture due to the constant micro-vibrations of driving, leading to hidden arcing faults inside your bedroom walls. Always use stranded copper wire.
Do I need a dedicated ground wire for the 12V DC bedroom lights?
Unlike automotive chassis grounding (where the metal frame of the car is used as the negative return), RV and camper van builds should utilize a dedicated 12V negative return wire back to a centralized negative busbar. Van bodies are painted, coated in rust-proofing, and flex during transit, making chassis grounds highly unreliable and prone to causing flickering lights or ground loops.