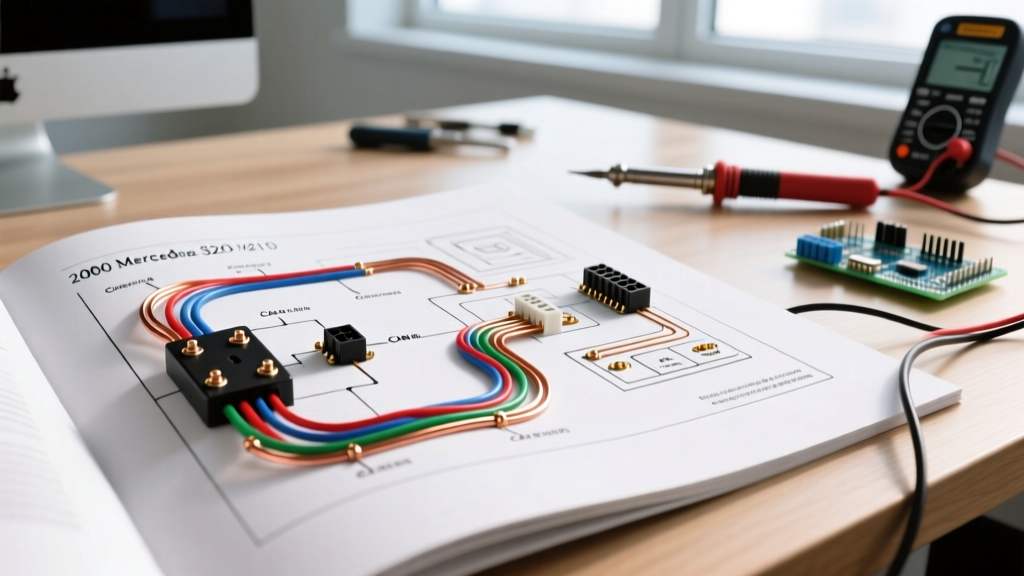

Navigating the W210 Electrical Architecture
The 2000 Mercedes-Benz E320 (W210 chassis) represents a critical transitional era in automotive electrical engineering. Unlike older analog vehicles, the W210 relies heavily on the Signal Acquisition Module (SAM) and the infamous K40 relay module to manage power distribution. When tackling the radio wiring for a 2000 E320 W210 wiring diagram, the primary challenge isn't just connecting speakers; it is integrating a new head unit into a CAN-Bus network without triggering a parasitic draw that will drain your battery in 72 hours.
Whether you are replacing a failing OEM Becker Audio 10 (Part # A 210 820 65 89) or upgrading to a modern double-DIN touchscreen, understanding the fuse panel integration and circuit protection is mandatory. This guide provides the exact pinouts, fuse assignments, and wire gauge requirements to execute a flawless installation.
The W210 Power Distribution: Fuses and the K40 Relay
Before cutting a single wire, you must understand how the W210 distributes power. The vehicle utilizes three primary fuse locations, but two are critical for audio installations:
- Cabin Fuse Panel (Left Dash): Accessible by opening the driver's side door and removing the side dash cover. Fuse 6 (15A) is the primary power feed for the OEM radio head unit.
- Trunk Fuse Panel (Right Side): Houses the fuses for the trunk-mounted Bose amplifier (if equipped). Typically Fuse 31 (20A) or Fuse 32, depending on the exact build date.
- Engine Bay K40 Relay Module: Located in the passenger-side engine compartment fuse box. The K40 controls the main accessory power circuits. A failing K40 relay is a notorious W210 issue that can cause the radio to lose memory or fail to power on entirely.
Expert Warning: Never tap into the K40 relay's accessory circuit for an aftermarket radio's switched 12V wire. The K40 is highly sensitive to voltage drops and back-feeding. Always use an Add-A-Circuit (fuse tap) on a low-draw cabin fuse, or utilize a dedicated CAN-Bus wake-up adapter.
2000 E320 W210 Radio Wiring Diagram: Pinouts and Color Codes
The 2000 E320 does not use a standard ISO harness. It utilizes a proprietary Mercedes-Benz 10-pin connector combined with standard speaker outputs. If you are bypassing the OEM harness to wire an aftermarket radio directly, refer to the pinout table below. For a comprehensive community database on W210 electrical quirks, the BenzWorld W210 E-Class Forum remains an invaluable resource for DIY mechanics.
| Pin | Function | OEM Wire Color | Aftermarket Equivalent / Notes |
|---|---|---|---|
| 1 | Constant 12V+ (Battery) | Red/Green | Connect to Yellow (Memory) |
| 2 | Ground | Brown | Connect to Black (Ground) |
| 3 | CAN-Bus High (CAN-H) | Green/Black | Requires PAC ATOG-MB1 or similar adapter |
| 4 | CAN-Bus Low (CAN-L) | Green/White | Requires CAN-Bus adapter for wake-up |
| 5 | Illumination (Dimmer) | Grey/Blue | Connect to Orange (Illumination) |
| 6 | Power Antenna / Amp Turn-On | Blue/White | Connect to Blue (Amp Turn-On) |
| 7-10 | Steering Wheel Controls | Various | Requires Axxess ASWC-1 interface |
The CAN-Bus Parasitic Draw Problem
In older vehicles, you would simply connect the aftermarket radio's red (accessory) wire to a fuse that powers on and off with the ignition key. The W210 does not provide a traditional 12V ignition-switched wire at the radio harness. The head unit is "woken up" via a digital signal on the CAN-Bus network. If you wire an aftermarket radio's accessory wire to a constant 12V source, the unit will never enter sleep mode, drawing 150mA to 300mA continuously. This will kill a standard Group 49 AGM battery in roughly three days. In 2026, a high-quality CAN-Bus interface like the PAC ATOG-MB1 costs between $45 and $65 and is an absolute necessity for this chassis.
Circuit Protection: Wire Gauge and Fuse Selection
When running new power wires for high-output aftermarket head units or bypassing the OEM Bose amplifier to run a new 5-channel amplifier, selecting the correct wire gauge is critical. The W210's battery is located in the trunk, meaning ground paths can be long and prone to voltage drop if undersized wire is used. According to the automotive wire sizing standards outlined by Madelectrical, you must account for the total length of the circuit (positive + ground).
| Wire Gauge (AWG) | Max Continuous Amperage | Recommended Max Length (12V) | Application |
|---|---|---|---|
| 18 AWG | 5A - 8A | 6 Feet | OEM Head Unit Power, Illumination |
| 14 AWG | 15A - 20A | 12 Feet | Aftermarket Head Unit Main Power |
| 10 AWG | 30A - 40A | 16 Feet | Compact Class D Amplifiers (up to 400W) |
| 8 AWG | 50A - 60A | 18 Feet | 5-Channel Amplifiers (up to 800W RMS) |
| 4 AWG | 100A - 120A | 20 Feet | High-Power Subwoofer Amplifiers (1000W+) |
Step-by-Step: Integrating Aftermarket Radios via the Fuse Panel
If you are retaining the OEM wiring but need to tap into the fuse panel for a DSP (Digital Signal Processor) or a line output converter, follow these precise steps to protect the W210's delicate SAM modules.
- Locate the Cabin Fuse Panel: Open the driver's door and use a plastic trim removal tool to pop off the side dashboard cover. Locate the fuse card tucked inside the cover to verify the 2000 model year assignments.
- Select a Donor Fuse: Identify a fuse that is active only when the key is in position 1 or 2. Fuse 24 (Cigar Lighter/Power Socket) is often a safe bet for switched accessory power, but always verify with a digital multimeter (DMM).
- Use a Mini2 Add-A-Circuit: The W210 uses Mini fuses. Pull the donor fuse, insert it into the bottom slot of the Add-A-Circuit tap, and insert a new 5A or 7.5A fuse into the top slot for your new accessory.
- Crimp, Don't Solder: In automotive environments subject to vibration and thermal cycling, solder joints can become brittle and crack. Use an open-barrel crimp tool with heat-shrink terminals for all fuse tap connections.
- Establish a Clean Ground: Do not ground to random sheet metal. The W210 has specific ground studs under the dash (often designated as G10/2 or similar). Locate a factory ground bolt, remove it, clean the contact patch with sandpaper to bare metal, attach your ring terminal, and re-torque to 8 Nm.
Expert Troubleshooting Matrix: W210 Audio Failures
The PeachParts Mercedes-Benz Forum frequently documents the unique electrical gremlins of the W210. Below is a diagnostic matrix for common post-installation audio issues.
| Symptom | Probable Cause | Diagnostic Fix |
|---|---|---|
| Radio turns on, but no sound from any speaker. | OEM Bose amplifier turn-on wire not triggered, or fiber-optic bus fault (if equipped with later COMAND). | Verify 12V at the Blue/White wire at the trunk amp. If using a CAN-bus adapter, ensure the "Amp Turn-On" output is enabled in the dip-switch settings. |
| Battery dies after 2-3 days of the car sitting. | Parasitic draw from aftermarket radio failing to sleep; CAN-Bus adapter wired incorrectly. | Perform a parasitic draw test with a DMM in series with the negative battery terminal. Pull the radio fuse. If the draw drops below 30mA, reconfigure the CAN-bus adapter. |
| Instrument cluster flickers when radio volume is increased. | Voltage drop due to undersized ground wire or corroded K40 relay contacts. | Upgrade head unit ground to 12 AWG. Inspect the K40 relay in the engine bay for cracked solder joints on the internal PCB. |
| Steering wheel volume controls do not function. | Missing or incompatible steering wheel control interface. | Install an Axxess ASWC-1 module and wire it to the specific W210 steering wheel control pins (not the standard ISO SWC wires). |
Frequently Asked Questions
Can I use a standard ISO 12V ignition wire harness adapter for the 2000 E320?
No. Standard ISO harnesses rely on a physical 12V ignition switch wire. The 2000 W210 uses a CAN-Bus wake-up signal. If you use a standard harness without a CAN-Bus decoding module, the radio will either not turn on, or it will stay on permanently and drain your battery.
Does the 2000 E320 use the fiber-optic MOST bus for the audio system?
No. The 2000 model year W210 utilizes a copper-wire analog connection between the head unit and the trunk-mounted Bose amplifier. The fiber-optic MOST (Media Oriented Systems Transport) bus was not introduced into the W210 audio architecture; it was reserved for later chassis like the W211 and W220. This makes the 2000 model significantly easier to upgrade with aftermarket analog RCA outputs.
What is the best way to bypass the OEM Bose amplifier for an aftermarket unit?
You will need to run new speaker wires from the head unit directly to the doors, or use a specialized bypass harness that repurposes the existing OEM speaker wiring in the trunk. Because the W210's OEM wiring is often 18 AWG or 20 AWG, it is highly recommended to pull new 16 AWG oxygen-free copper (OFC) speaker wire through the factory door boots to ensure optimal signal transfer and prevent high-frequency loss.