
Understanding the SAE J286 7-Way Blade Standard
When towing heavy-duty loads, travel trailers, horse trailers, or fifth wheels, the 7-way blade connector (often referred to as the RV blade) is the undisputed North American standard. Governed by the SAE J286 standard, this connector provides the necessary circuits for lighting, electric trailer brakes, and auxiliary 12V power. Unlike the 4-way flat connector, which only handles basic lighting, the 7-blade configuration supports the high-current demands of modern RVs and heavy trailers.
However, a major point of confusion for DIYers in 2026 is that while the pin functions are standardized by the RV Industry Association (RVIA) and SAE, the wire color codes can occasionally vary between manufacturers like Bargman, Curt, and Hopkins. This guide provides the definitive wiring diagram for a 7 blade trailer connector, complete with exact wire gauge requirements and professional troubleshooting techniques.
Complete 7 Blade Trailer Connector Pinout Diagram
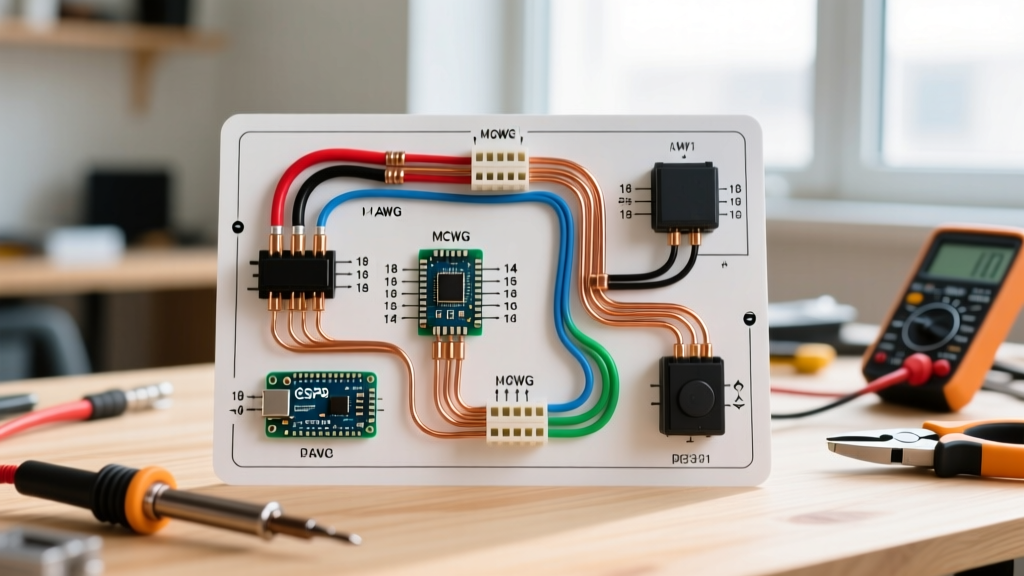
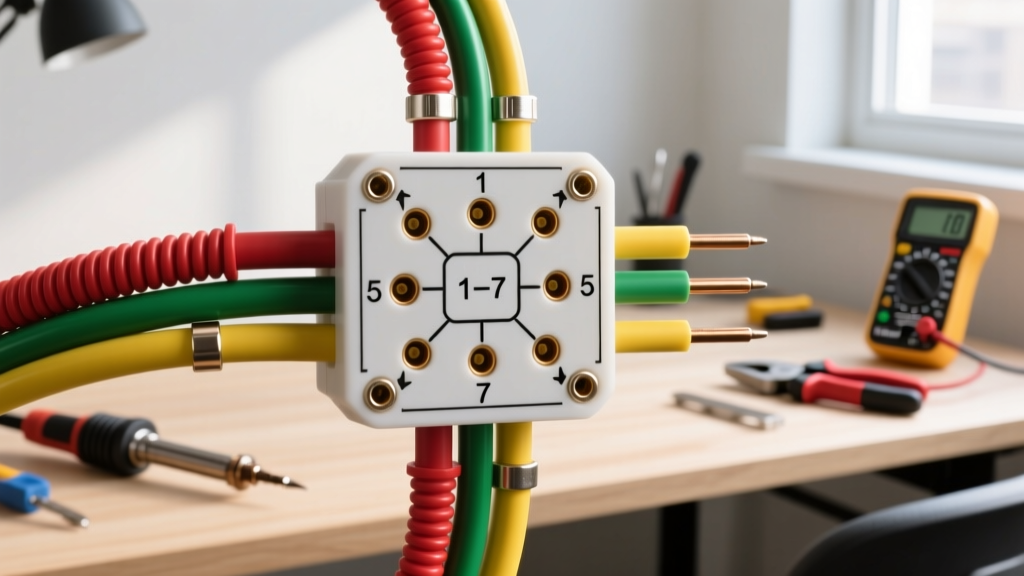
The diagram below outlines the standard pinout for the vehicle-side socket (female). When looking directly at the face of the tow vehicle's 7-way receptacle, the pins are arranged in a clock-face pattern.
Expert Tip: Never wire a trailer plug based on wire color alone. Always verify the vehicle-side socket with a 7-way circuit tester (such as the Tekonsha #7103014) before crimping your trailer-side plug. Some aftermarket harnesses swap the red and brown wires.
| Pin Position (Vehicle Socket) | Function | Standard Wire Color | Typical Amperage Draw |
|---|---|---|---|
| Center | Backup Lights / Auxiliary | Yellow | 2A - 5A |
| 1 o'clock | 12V Battery Charge / Aux Power | Black | 15A - 30A |
| 3 o'clock | Right Turn / Stop | Brown | 4A - 8A |
| 5 o'clock | Electric Trailer Brakes | Blue | 10A - 15A (per axle) |
| 7 o'clock | Ground (Chassis Return) | White | 30A+ (Total Return) |
| 9 o'clock | Left Turn / Stop | Red | 4A - 8A |
| 11 o'clock | Tail / Running / Clearance Lights | Green | 5A - 10A |
Wire Gauge Selection & Voltage Drop Prevention
One of the most critical mistakes made when wiring a 7-way connector is using undersized wire. A standard travel trailer can be 25 to 35 feet long. Running 14 AWG wire for the electric brakes or 12V auxiliary circuit over that distance will result in severe voltage drop, leading to weak braking performance and dead RV batteries. According to etrailer's comprehensive wiring guidelines, matching the AWG to the circuit's amperage and run length is non-negotiable for NHTSA towing safety compliance.
Recommended AWG Sizing by Circuit (Up to 30ft Runs)
- Ground (White): 8 AWG or 10 AWG. This wire carries the return current for all other circuits. Do not bottleneck your system with a thin ground wire.
- Electric Brakes (Blue): 10 AWG. Brake magnets draw heavy current, especially during emergency stops. Voltage drop here directly increases stopping distance.
- 12V Aux (Black): 10 AWG (Upgrade to 8 AWG for runs over 25ft). Essential for charging deep-cycle RV batteries or running a 12V compressor fridge in transit.
- Tail & Turn Signals (Green, Red, Brown): 12 AWG is sufficient for LED lighting setups. If using legacy incandescent bulbs, stick to 10 AWG for the tail circuit.
- Backup (Yellow): 14 AWG is generally acceptable unless powering high-draw rear work lights.
Hardwiring the Tow Vehicle: Step-by-Step
If you are installing a new 7-way socket (like the highly rated Curt 58150, typically priced around $18-$22) and an electronic brake controller (such as the Tekonsha Prodigy P3, Model 90195, ~$145), follow this professional workflow:
- Disconnect the Battery: Always isolate the negative terminal on the tow vehicle to prevent shorting the 12V aux line during installation.
- Route the Wiring: Run your 10 AWG blue (brake) and black (12V aux) wires from the engine bay to the rear bumper, avoiding hot exhaust components and moving suspension parts. Use split-loom tubing for abrasion resistance.
- Install the Brake Controller: Mount the Tekonsha P3 under the dash. Connect the controller's blue output wire to your rear-routed blue wire. Connect the controller's red wire to the vehicle's dedicated stoplight switch circuit (do not splice directly into the rear tail light wire, as this will confuse the controller's proportional sensors).
- Crimp and Seal: Strip the wire ends and use heat-shrink ring terminals (e.g., 3M MNG18-10RK). Avoid cheap vinyl-insulated crimps; they trap moisture and corrode within a single season. Apply a heat gun to seal the terminals.
- Apply Dielectric Grease: Pack the inside of the Curt 58150 socket with Permatex 22058 dielectric grease before plugging in the trailer. This prevents galvanic corrosion between the brass pins and the socket contacts.
Common Failure Modes & Troubleshooting
Even with a perfect wiring diagram for a 7 blade trailer connector, environmental factors and mechanical stress can cause failures. Here is how to diagnose the most common issues in the field.
1. "Ghost Braking" and Moisture Ingress
Symptom: The trailer brakes apply randomly while driving down the highway, or the brake controller display lights up without pressing the brake pedal.
Root Cause: Water has entered the 7-way plug, creating a conductive bridge between the 1 o'clock pin (12V Aux) and the 5 o'clock pin (Electric Brakes).
Solution: Unplug the connector, clean the pins with electrical contact cleaner, and apply a heavy coat of dielectric grease. If the plug housing is cracked, replace the entire trailer-side plug (e.g., Bargman 50-67-006). Ensure the rubber flap cover on the vehicle socket is intact and snapping shut tightly.
2. 12V Auxiliary Voltage Drop (Dead RV Batteries)
Symptom: The RV's 12V refrigerator defrosts during transit, or the house batteries show less than 12.8V at the trailer junction box despite the tow vehicle's alternator running.
Root Cause: The factory tow package wiring on many half-ton trucks uses 12 AWG wire for the 12V aux pin, which is insufficient for the 20+ foot run to the trailer's battery bank.
Solution: Bypass the factory 12V aux wire. Run a dedicated 8 AWG marine-grade tinned copper wire directly from the tow vehicle's alternator post (with a 40-amp inline circuit breaker) to the 1 o'clock pin on the 7-way socket.
3. One Side Turn Signal is Hyper-Flashing
Symptom: The left or right turn signal blinks twice as fast as normal on the tow vehicle dashboard.
Root Cause: A blown bulb on the trailer, or a poor ground connection at the trailer's junction box causing current to backfeed.
Solution: Check all trailer marker and turn signal bulbs. If bulbs are intact, inspect the 7 o'clock ground pin. Sand the trailer frame where the white ground wire is bolted down to bare metal, and apply a corrosion-inhibiting spray.
Frequently Asked Questions
Can I use a 7-way to 4-way adapter for a small utility trailer?
Yes. Adapters like the Tow Ready 118369 (~$12) simply plug into your vehicle's 7-way socket and expose the 4-way flat pins (Ground, Tail, Left, Right). The 12V aux, brake, and backup pins remain inactive. This is perfectly safe and will not damage your vehicle's wiring harness.
Why does my trailer have a 7-way round pin connector instead of a blade?
The 7-way round connector (often called the agricultural or heavy-duty commercial plug) is typically used in farming, construction, and heavy commercial trucking. The 7-way blade (RV style) is the standard for consumer travel trailers, fifth wheels, and light-duty commercial enclosures. They are not electrically interchangeable without a specific adapter due to different pin assignments and physical shapes.
Do I need to upgrade my alternator to support the 12V Aux pin?
For most modern trucks (2020 and newer) with 200A+ alternators, the factory system can handle the 20-30A draw of a trailer's 12V charging circuit. However, if you are towing a large fifth wheel with a massive residential fridge and a lithium battery bank drawing 40A+ via a DC-to-DC charger, you may need to upgrade to a high-output alternator (e.g., a 270A Nations Starter & Alternator unit) to prevent draining the tow vehicle's starting battery at idle.