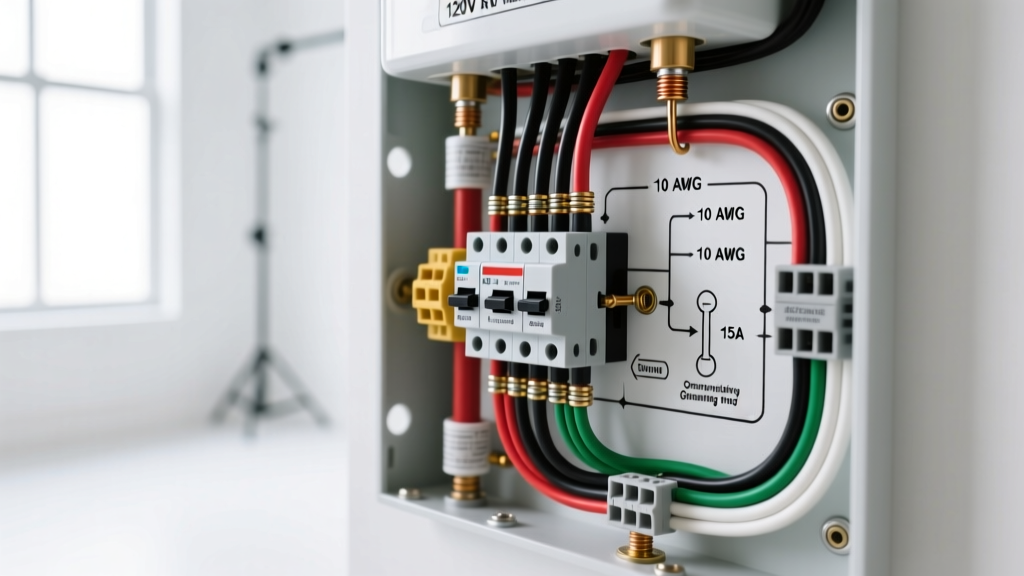

Mastering the 120V RV Electric Hot Water Heater Wiring Diagram
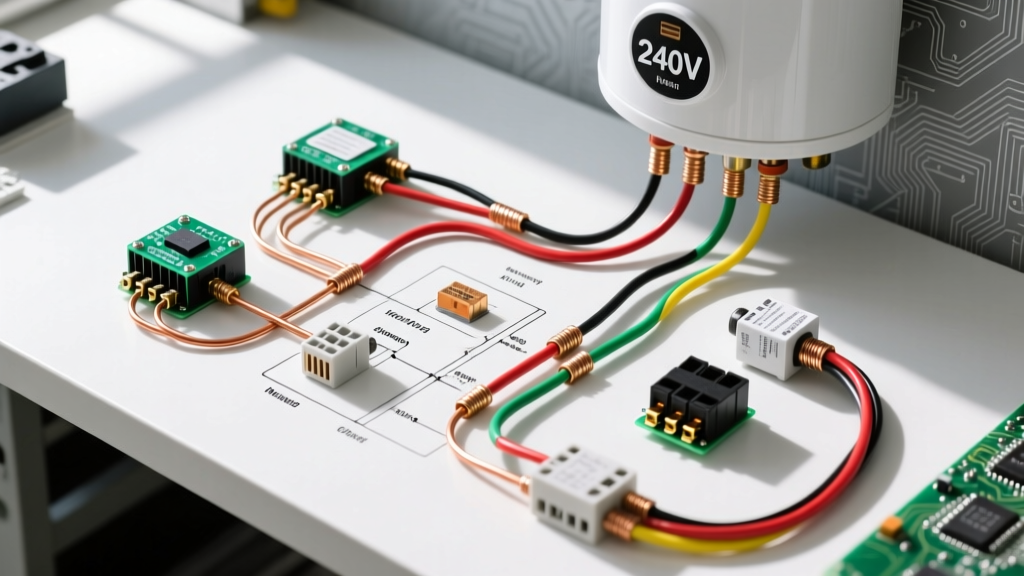
As the RV and vanlife industries continue to evolve in 2026, the shift away from propane-dependent appliances toward high-efficiency 120V AC electric systems has become the standard for premium travel trailers, fifth wheels, and skoolie conversions. Whether you are upgrading an older rig or wiring a new build, understanding the exact circuit path is critical for both safety and RVIA (Recreational Vehicle Industry Association) compliance. When searching for an accurate electric hot water heater wiring diagram for your camper, it is vital to recognize that RV systems differ significantly from residential 240V setups. Popular models like the Suburban SW6DE 6-gallon tank or the Fogatti 110V tankless units operate strictly on standard 120V AC shore power, demanding precise wire gauge selection and overcurrent protection.
This comprehensive guide breaks down the exact wiring schematic, component sizing, and troubleshooting protocols for 120V RV water heaters, ensuring your build meets the rigorous standards outlined in the NFPA 70 National Electrical Code (specifically Article 551 for Recreational Vehicles).
The Core Circuit Path: How RV Water Heaters Are Wired
Unlike residential electric water heaters that utilize a 240V split-phase system with two hot legs, an RV electric water heater operates on a single 120V leg. The circuit is a straightforward series path designed with redundant thermal safety cut-offs to prevent catastrophic overheating in the confined spaces of a recreational vehicle.
Visualizing the Schematic Flow
The electrical current follows a strict, sequential path from your RV's main distribution panel to the heating element. Here is the exact flow:
- Main Distribution Panel: 120V AC enters from the shore power cord or generator.
- Single-Pole Breaker: A dedicated 15A or 20A breaker isolates the water heater circuit.
- Thermostat (Operating Control): The primary switch that closes the circuit when the water temperature drops below the set point (typically 120°F to 140°F).
- ECO (Energy Cut-Off / High Limit Switch): A secondary, non-adjustable safety switch wired in series. If the thermostat fails and the water exceeds 180°F, the ECO physically breaks the circuit and must be manually reset.
- Heating Element: The final load where electrical resistance is converted into thermal energy.
Component Sizing & RVIA Compliance Matrix
Using the correct wire gauge and breaker size is non-negotiable. The vibration inherent in towing an RV can cause solid copper wire to fatigue and snap, which is why the RV Industry Association (RVIA) mandates the use of stranded copper wire for all 120V AC branch circuits. Below is the definitive sizing matrix for standard 120V RV water heaters (typically drawing 1440W).
| Component | Specification | Technical Notes & Edge Cases |
|---|---|---|
| Wire Gauge | 12 AWG Stranded Copper | While 14 AWG is technically rated for 15A, 12 AWG mitigates voltage drop over long RV wire runs (30+ ft) and handles vibration better. |
| Breaker Size | 20A Single-Pole | A 1440W element draws 12A. NEC continuous load rules and startup surges make a 20A breaker the safest, most reliable choice. |
| Wire Type | THHN/THWN or MTW | Must be stranded. Never use solid Romex in moving vehicle applications. |
| Terminal Torque | 25 - 30 in-lbs | Under-tightening causes arcing and melted spade connectors; over-tightening strips the soft brass element threads. |
Step-by-Step Wiring Procedure for Campers & Skoolies
Follow this precise installation sequence to ensure a safe, code-compliant connection. Always verify that shore power is disconnected and the inverter is turned off before beginning.
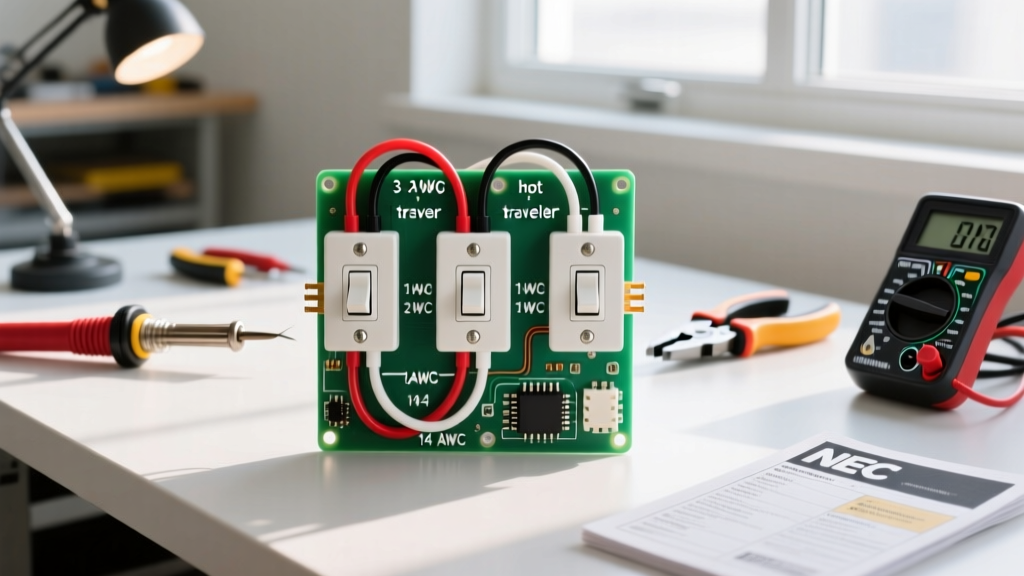
- Run the Branch Circuit: Route your 12 AWG stranded 3-conductor cable (Black, White, Green/Bare) from the main AC distribution panel to the water heater access panel. Use wire loom and secure the cable with cushioned Adel clamps every 18 inches to prevent chafing against the RV chassis.
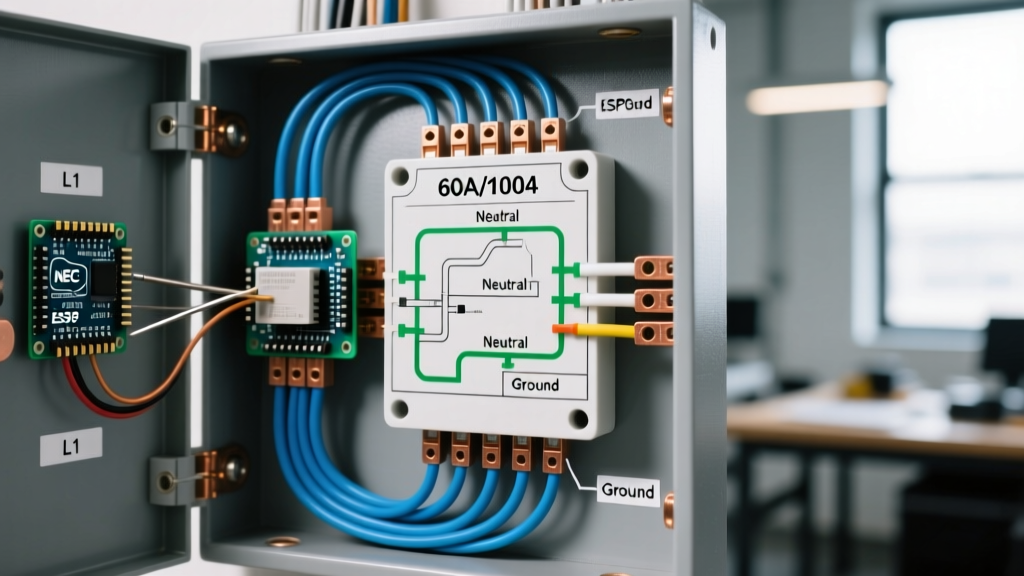
- Terminate at the Breaker: Connect the Black (Hot) wire to the dedicated 20A breaker. Connect the White (Neutral) to the neutral bus bar, and the Green (Ground) to the ground bus bar. Note: In RV panels, the neutral and ground bus bars are often bonded; follow your specific panel manufacturer's diagram.
- Wire the Thermostat and ECO: At the water heater, connect the Black (Hot) wire to the primary terminal on the operating thermostat. Run a jumper wire from the secondary thermostat terminal to the input terminal of the ECO (High Limit Switch).
- Connect the Heating Element: Run the final jumper from the ECO output terminal to one side of the heating element. Connect the White (Neutral) wire directly to the opposite side of the heating element.
- Bond the Ground: Connect the Green (Ground) wire to the designated grounding screw on the water heater's metal chassis or outer jacket. This is critical for fault protection.
Never energize the 120V circuit until the water heater tank is 100% full of water. If you apply 120V to an exposed heating element, it will "dry-fire" and melt itself in under 15 seconds. This instantly voids the manufacturer warranty on units from AirXcel (Suburban) and Fogatti. Always open a hot water faucet inside the RV and wait for a steady stream of water before flipping the breaker on.
The "10-Ohm Rule": Multimeter Troubleshooting
When an RV water heater fails to heat on shore power, the heating element is the most common culprit. Instead of guessing, use a digital multimeter (like a Fluke 117) to perform the "10-Ohm Rule" test. This is a definitive diagnostic technique used by master RV technicians.
Most modern RV 120V water heaters utilize a 1440W heating element. Using Ohm's Law (R = V² / P), we can calculate the exact expected resistance:
- Voltage (V) = 120V
- Power (P) = 1440W
- Resistance (R) = (120 × 120) / 1440 = 10 Ohms
How to test: Turn off the breaker and disconnect the wires from the element. Set your multimeter to Ohms (Ω) and place the probes on the two element terminals. If the reading is between 9.5 and 10.5 Ohms, the element is healthy. If the meter reads "OL" (Open Loop) or infinity, the internal coil has snapped, and the element must be replaced. If it reads near 0 Ohms, the element has shorted out.
Diagnosing the ECO Reset Button
If your multimeter shows the element is perfectly fine (10 Ohms) but the heater still won't turn on, the ECO (High Limit Switch) has likely tripped. Locate the small red or black reset button on the upper thermostat housing. Press it firmly until you hear and feel a distinct "click." If it trips again immediately upon heating, you have a failing operating thermostat that is not cutting off the power at 140°F, and both the thermostat and ECO should be replaced as a matched set.
Power Source Compatibility: Shore, Generator, and Inverter
A common oversight in 2026 skoolie and off-grid camper builds is assuming an electric water heater can seamlessly run off a standard solar/inverter setup. A 1440W heating element is a massive, sustained load. Below is a compatibility matrix for running your 120V water heater off-grid.
| Power Source | Minimum Requirements | Practical Limitations |
|---|---|---|
| Shore Power (30A/50A) | Standard 120V Pedestal | None. This is the intended use case. Recovery time is approx. 20-30 minutes for a 6-gallon tank. |
| Portable Generator | 2000W+ Inverter Generator | A 2000W generator (like the Honda EU2200i) can handle the 12A draw, but running the AC compressor simultaneously will trip the generator's overload. |
| Solar / Battery Inverter | 3000W Pure Sine Inverter + 400Ah LiFePO4 | Highly inefficient. Drawing 120A+ from a 12V battery bank to heat water via resistance wire will severely degrade battery life. Use propane or engine-heat exchangers for off-grid water heating. |
Final Safety Checks and Commissioning
Before closing up the access panels, perform a final visual and mechanical inspection. Tug gently on all spade connectors to ensure they are fully seated; a loose connection will create localized resistance, leading to melted plastic housings and potential fire hazards. Verify that the ground wire is securely bonded to bare, unpainted metal on the water heater chassis. By adhering strictly to this wiring diagram and utilizing 12 AWG stranded copper on a 20A breaker, your RV's electric hot water system will provide reliable, safe, and rapid water heating for thousands of miles of travel.