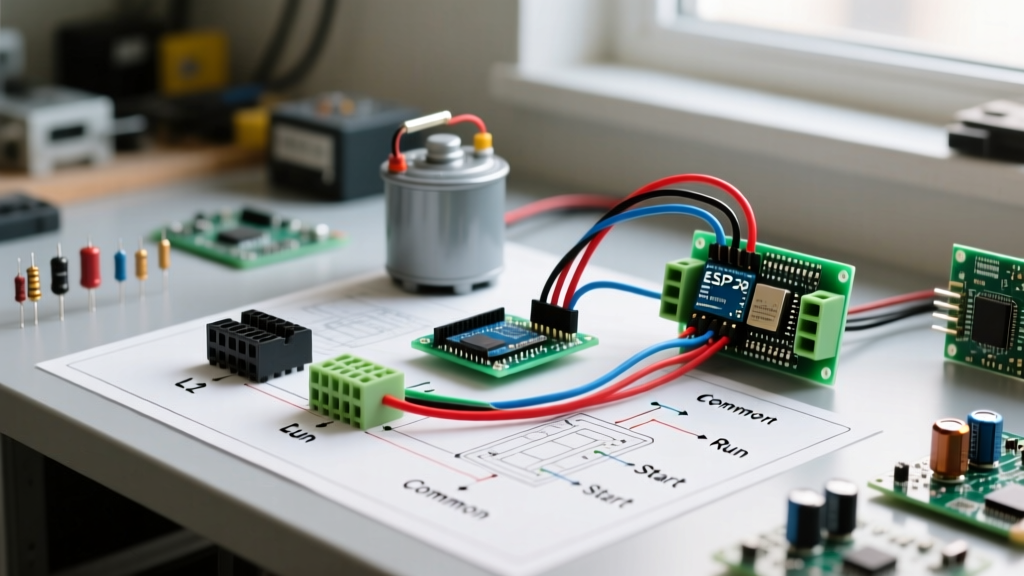

Understanding the Wiring Diagram for Run Capacitor Circuits
Single-phase AC induction motors, which power the vast majority of residential HVAC compressors, blower assemblies, and well pumps, cannot generate a rotating magnetic field on their own. They require a phase shift to create the necessary starting and running torque. This is where the run capacitor becomes the critical linchpin of the motor circuit. Unlike start capacitors, which are removed from the circuit by a centrifugal switch or potential relay once the motor reaches 75% of its operating speed, a run capacitor remains continuously energized. As of 2026, with the Department of Energy enforcing stricter SEER2 efficiency mandates, properly sizing and wiring these components is no longer just about keeping the motor spinning; it is about minimizing amp draw, correcting the power factor, and preventing nuisance breaker trips at the main service panel.
In this comprehensive guide, we will dissect the standard wiring diagram for run capacitor configurations, map the terminals on modern dual-capacitor units, and explore the crucial relationship between capacitor health, motor inrush currents, and panel breaker sizing under NEC Article 430.
Anatomy of a Modern Dual Run Capacitor
While older systems and smaller fractional-horsepower motors may use single run capacitors, modern 240V HVAC condensing units almost exclusively utilize dual run capacitors. These cylindrical components house two separate capacitor circuits within a single metal can, sharing a common terminal. Premium models like the AmRad USA455R (45/5 MFD) or the Titan Pro TRCFD455 typically cost between $22 and $35 in 2026 and feature ruggedized dielectrics designed to withstand high-ambient attic and outdoor temperatures.
Before tracing the wiring diagram for run capacitor connections, you must understand the three terminals found on the top plate of a dual capacitor:
- C (Common): This is the shared line connection for both the internal compressor and fan capacitor circuits. It does not mean "neutral" or "ground"; it simply denotes the common electrical junction point for the two internal windings.
- HERM (Hermetic): This terminal connects exclusively to the start winding of the hermetic compressor motor.
- FAN: This terminal connects exclusively to the start winding of the condenser fan motor.
Expert Insight: Never confuse a run capacitor with a start capacitor. Start capacitors (usually black, with much higher microfarad ratings like 270-324 µF) are strictly for momentary inrush torque and will violently explode if left in the circuit continuously. Run capacitors (silver metal cans, typically 5 to 80 µF) are rated for continuous duty. For a deeper dive into component differentiation, refer to HVAC School's authoritative guide on dual run capacitors.
The Standard Wiring Diagram for Run Capacitor Connections
Tracing the wiring diagram for run capacitor setups requires following the 240V single-phase power from the contactor through the motor windings. Below is the step-by-step current path for a standard split-phase HVAC condenser unit.
1. The Common (C) Terminal Feed
The 240V power supply enters the disconnect box and flows to the line side of the contactor. When the thermostat calls for cooling, the contactor coil energizes, pulling the contacts closed. Power from the T2 (or L2) terminal of the contactor is routed directly to the Common (C) terminal on the compressor and the Common terminal on the fan motor. Simultaneously, a jumper wire routes this same 240V leg to the C terminal on the dual run capacitor. This provides the continuous voltage baseline required to maintain the electrostatic field inside the capacitor.
2. The HERM Terminal and Compressor Start Winding
A dedicated wire runs from the HERM terminal on the capacitor directly to the Start (S) terminal on the hermetic compressor. The Run (R) terminal on the compressor is wired back to the T1 (or L1) terminal of the contactor. The capacitor introduces a precise phase shift (ideally approaching 90 degrees electrical) between the current in the Run winding and the current in the Start winding, creating the rotating magnetic field that keeps the compressor running efficiently under high head pressure.
3. The FAN Terminal and Fan Motor Start Winding
Similarly, a wire connects the FAN terminal on the capacitor to the Start terminal of the condenser fan motor. The Run terminal of the fan motor connects back to the T1 terminal of the contactor. This ensures the fan blade maintains constant torque to pull ambient air across the condenser coil, rejecting heat from the refrigerant.
Panel Integration: Breaker Sizing and NEC Article 430
From a panel and breaker perspective, the run capacitor plays a hidden but vital role in circuit protection. A failing run capacitor loses its capacitance (measured in microfarads, µF). As the µF rating drops, the phase shift degrades, the motor's power factor plummets, and the motor begins to draw excessive amperage to maintain its mechanical load. This elevated amp draw generates intense heat in the motor windings and the branch circuit wiring, which can lead to premature breaker tripping or, worse, a melted disconnect box.
When sizing the branch circuit breaker for a motor circuit, electricians must follow NFPA 70 (National Electrical Code), specifically Article 430.52. Because motors draw massive Locked Rotor Amps (LRA) during startup—often 5 to 7 times their Rated Load Amps (RLA)—a standard thermal-magnetic breaker sized exactly to the RLA would trip instantly on startup.
NEC 430.52 permits sizing an inverse-time breaker up to 250% of the motor's full-load current. However, in HVAC applications, manufacturers specify an HACR (Heating, Air Conditioning, and Refrigeration) rated breaker. HACR breakers are engineered with specialized magnetic trip curves that tolerate the brief, violent inrush of compressor startups without nuisance tripping, while still protecting the wire from sustained overloads.
| System Size (Tons) | Typical Compressor RLA | Max LRA (Inrush) | Required HACR Breaker | Typical Dual Capacitor Rating |
|---|---|---|---|---|
| 1.5 Ton | 9.5 Amps | 52 Amps | 20 Amp | 35/5 µF |
| 2.5 Ton | 14.2 Amps | 78 Amps | 30 Amp | 40/5 µF |
| 3.0 Ton | 18.5 Amps | 98 Amps | 40 Amp | 45/5 µF |
| 4.0 Ton | 24.0 Amps | 135 Amps | 50 Amp | 55/5 µF |
Note: Always defer to the manufacturer's data plate on the condenser unit for the exact Minimum Circuit Ampacity (MCA) and Maximum Overcurrent Protection (MOCP) values, as high-efficiency 2026 variable-speed models may deviate from these historical baselines.
Step-by-Step Installation and Discharge Protocol
Working inside a condenser control box exposes you to 240V lethal voltage and stored electrostatic energy. A charged 45µF capacitor can deliver a severe, potentially fatal shock even if the main panel breaker is turned off. Follow this strict safety protocol:
- Lockout/Tagout: Turn off the dedicated HACR breaker at the main service panel and pull the disconnect block at the outdoor condenser unit. Verify zero voltage at the contactor line terminals using a CAT III or CAT IV rated multimeter.
- Safe Discharge: Never short a capacitor with a flathead screwdriver. This violent method damages the internal dielectric layers, creates micro-fractures, and can weld the screwdriver to the terminals. Instead, use a purpose-built capacitor discharge tool or a 20,000-ohm, 5-watt wirewound resistor attached to insulated jumper wires. Bridge the resistor across the C and HERM terminals for 5 seconds, then repeat across the C and FAN terminals.
- Verify Zero Energy: Switch your multimeter to the DC voltage setting. Place the probes across C and HERM, then C and FAN. The reading must be 0.00V before you touch the spade terminals.
- Wire Mapping: Take a high-resolution photograph of the existing wiring before removing a single spade connector. While the wiring diagram for run capacitor setups is standardized, factory wiring colors can vary wildly (e.g., a yellow wire might be used for HERM on one unit, and a brown wire on another).
- Secure Connections: Use a crimping tool to ensure all 1/4-inch female spade connectors are tight. A loose spade connection on the HERM terminal will create high resistance, leading to localized melting and eventual compressor start-winding failure.
Diagnostics: When the Breaker Trips and Edge Cases
If a customer reports that their HVAC breaker trips after the unit has been running for 10 to 15 minutes, the run capacitor is the primary suspect. As the capacitor degrades, the motor's power factor drops, causing the RLA to climb above the breaker's thermal trip threshold.
Testing Tolerances and Failure Modes
According to Fluke Corporation's testing standards, a run capacitor must be tested with a dedicated capacitance meter, not a standard multimeter's resistance setting. Industry standards dictate that a capacitor is considered failed if it falls outside a +6% / -6% tolerance band of its rated microfarad value.
- Example: A 45µF capacitor on the HERM terminal must read between 42.3µF and 47.7µF. If your meter reads 39µF, the capacitor is weak, the compressor is starving for phase shift, and the amp draw is artificially inflated.
- Physical Bulging: If the top dome of the capacitor is convex (pushed upward) rather than perfectly flat, the internal dielectric fluid has vaporized due to excessive heat. Replace it immediately, regardless of what your meter reads.
- Edge Case - Weak Breaker Syndrome: In older panels, the mechanical springs inside the HACR breaker can weaken over years of thermal cycling and high-ambient attic heat. If the capacitor tests perfectly within the 6% tolerance, the compressor RLA matches the data plate, and the wiring is secure, the breaker itself may be suffering from thermal fatigue and tripping prematurely. In this scenario, replacing the breaker is the correct diagnostic path.
Summary
Mastering the wiring diagram for run capacitor circuits requires more than just matching spade connectors to terminals; it demands a holistic understanding of how the capacitor influences the entire branch circuit. By ensuring precise terminal mapping (C, HERM, FAN), adhering to NEC Article 430 for HACR breaker sizing, and rigorously testing microfarad tolerances with a 6% threshold, electrical professionals can ensure long-term motor reliability and prevent catastrophic panel failures.