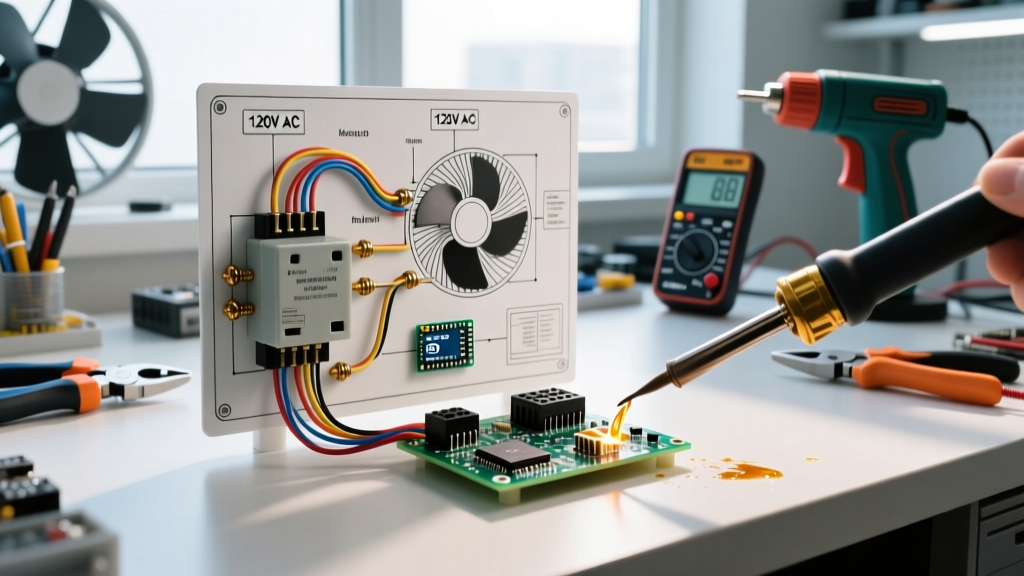

Decoding the Schematic: Why Appliance Diagrams Look Like Alien Language
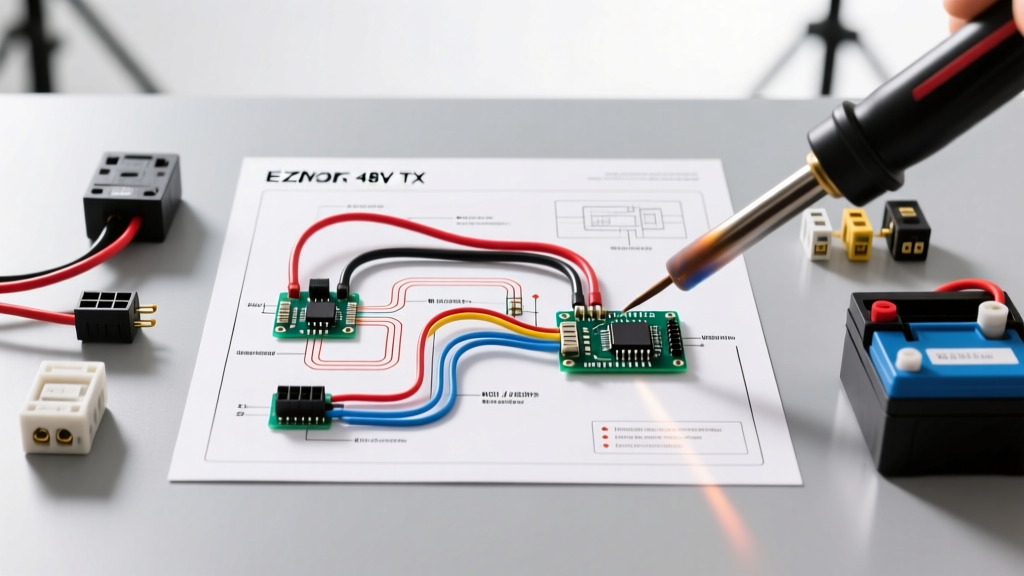
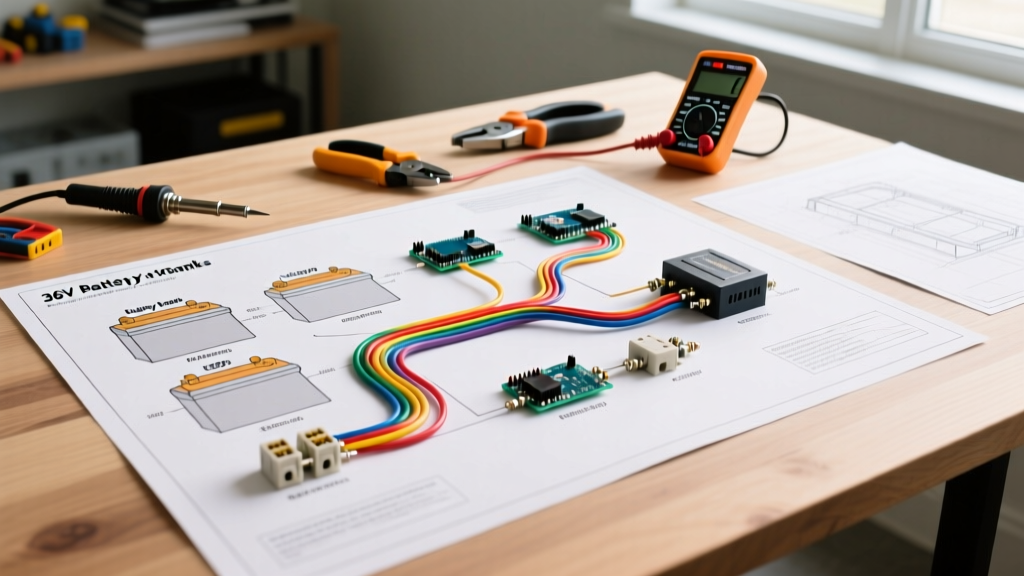
When you first unfold a set of do it yourself electrical wiring diagrams from a manufacturer's tech sheet, the sheer density of lines and symbols can feel overwhelming. Unlike standard residential house wiring, which largely relies on simple parallel circuits and standardized 120V/240V receptacles, major appliances are essentially compact industrial machines. They utilize a complex mix of high-voltage AC, low-voltage DC logic, thermistors, and solid-state relays.
According to the U.S. Consumer Product Safety Commission (CPSC), attempting appliance repairs without understanding the underlying circuit logic is a leading cause of residential electrical fires and severe shocks. To repair appliances safely and effectively in 2026, you must move beyond simply swapping parts and learn to trace the electrical path.
Pictorial vs. Ladder Diagrams: Choosing Your Battlefield
Manufacturers typically provide two distinct types of diagrams on the tech sheet (usually hidden inside the appliance's console or kickplate). Knowing when to use which is the first step in professional-level troubleshooting.
- Pictorial Diagrams: These show the physical layout of components. They are invaluable for locating the exact physical position of a thermal fuse, control board, or wiring harness connector. However, they are practically useless for understanding how the circuit operates logically.
- Ladder (Schematic) Diagrams: These represent the electrical logic. The 'rails' of the ladder represent the power supply (e.g., L1 and L2 for 240V, or L1 and Neutral for 120V), while the 'rungs' represent individual circuits. This is the diagram you must master to diagnose why a component is failing to energize.
The Core Symbol Lexicon for Major Appliances
Before tracing a circuit, you must internalize the standard NEMA and IEC symbols used in appliance schematics. Below is a reference table for the most critical components you will encounter.
| Symbol / Abbreviation | Component Name | Function & Common Failure Mode |
|---|---|---|
| TH / T-Stat | Thermostat / Thermistor | Regulates temperature. Fails by drifting out of ohm specification, causing premature cycling. |
| RLY | Relay | Uses low voltage to switch high voltage. Contacts weld shut or coil burns out (infinite resistance). |
| CAP | Capacitor | Provides starting torque for AC motors. Fails by bulging, leaking, or losing microfarad (µF) capacity. |
| OL / Klixon | Overload Protector | Thermal safety switch. Trips open if a motor overheats; usually resets automatically when cool. |
| TRIAC | Triac (Solid State Relay) | Found on electronic control boards to switch AC loads. Fails shorted (component stays on) or open (no power). |
Step-by-Step Trace: Troubleshooting a GE Gas Oven Igniter
Let us apply these concepts to a real-world scenario. A common complaint with the GE Profile series (e.g., model PGB911SEJSS) is an oven that fails to heat, even though the igniter glows brightly. Amateurs will immediately buy a replacement WB13K21 igniter (costing around $45 to $85), only to find the problem persists. A master technician consults the do it yourself electrical wiring diagrams to find the true root cause.
Tracing the 120V Series Circuit
- Identify the Power Source: Locate the L1 (120V) and Neutral rails on the ladder diagram.
- Follow the Path: Trace from L1 through the oven control board's bake relay, through the thermal fuse, down to the igniter, and finally through the gas safety valve coil to Neutral.
- Understand the Logic: The igniter and the safety valve are wired in series. The igniter is a silicon carbide resistor. As it heats up, its resistance drops, allowing current to flow.
- The Amperage Threshold: The gas safety valve requires exactly 3.2 to 3.6 amps to generate enough electromagnetic force to pull the valve open.
Expert Insight: If your igniter glows orange but the gas never flows, the igniter is likely weak. It may be drawing only 2.8 amps—not enough to open the valve. Use a clamp meter to measure the amperage on the igniter wire. If it is below 3.2A, replace the igniter. If it draws 3.5A and the valve still does not open, the safety valve coil is defective.
Smart Appliance Edge Cases: Inverter Compressors in 2026
Modern appliances have drastically changed how we read schematics. Take the Samsung RF28R7351SR French Door Refrigerator. It utilizes a Digital Inverter Compressor rather than a standard single-speed AC motor. The wiring diagrams for these units introduce DC voltage rails and Pulse Width Modulation (PWM) signals.
When an inverter compressor fails to start, the schematic reveals that the main PCB sends a 5V DC logic signal and a 12V DC power supply to the inverter board. The inverter board then rectifies 120V AC into roughly 300V DC, which it chops into a 3-phase variable frequency AC signal to drive the compressor.
Failure Mode: DIYers often assume a dead compressor and order a $300 sealed-system replacement. However, by tracing the schematic, you can test the 5V logic signal at the inverter board harness. If the main board is failing to send the 5V PWM signal due to a burnt surface-mount resistor, the inverter board will never fire. You can repair the main control board for under $10 in components, or replace the board for $120, saving hundreds of dollars and avoiding a sealed-system refrigerant job.
Essential Tools for Diagram-Based Appliance Repair
You cannot effectively trace appliance schematics with a basic $15 voltage tester. You need precision instruments capable of measuring resistance, microfarads, and AC amperage without breaking the circuit.
- Digital Multimeter (DMM): The U.S. Department of Energy emphasizes regular maintenance and safe testing of home systems. A True-RMS multimeter like the Fluke 117 ($180-$200) or the more budget-friendly Klein Tools MM400 ($45-$55) is mandatory for accurate ohm readings on thermistors.
- Clamp-On Ammeter: Essential for measuring the amp draw on oven igniters and HVAC compressor start-up currents without piercing wire insulation.
- Capacitance Meter: Many modern DMMs include this, but a dedicated tester is crucial for diagnosing failed run/start capacitors on washing machine drain pumps and HVAC condenser fans.
- Appliance Tech Sheet App: Keep digital archives of schematics on your tablet. Many modern tech sheets include QR codes that link directly to the manufacturer's troubleshooting flowcharts.
Safety Interlocks and Code Compliance
Always remember that appliance wiring must comply with local electrical codes and the NFPA 70 National Electrical Code (NEC). Modern appliances feature multiple redundant safety interlocks. For instance, a microwave oven will have three distinct door interlock switches (primary, secondary, and monitor). The schematic shows that if the primary and secondary switches fail to open when the door is unlatched, the monitor switch is designed to intentionally short the circuit and blow the main line fuse, preventing the magnetron from emitting radiation into your kitchen.
Bypassing these safety interlocks to 'get the machine running' is not only a severe violation of the NEC but potentially lethal. Always use the wiring diagram to verify that all safety switches are operating in their correct sequence.
Final Troubleshooting Checklist
Before you order replacement parts, run through this schematic-based checklist:
- Have I verified incoming voltage at the terminal block? (e.g., 240V across L1 and L2, 120V from L1 to Neutral).
- Have I isolated the component from the circuit to test for continuity? (Testing in-circuit can yield false readings due to parallel paths).
- Have I checked for burnt spade connectors and micro-fractures on the PCB traces?
- Does the component's resistance match the manufacturer's temperature/resistance chart for thermistors?
Mastering do it yourself electrical wiring diagrams transforms appliance repair from a guessing game into a systematic, logical science. By respecting the schematic, utilizing precision tools, and understanding the underlying physics of the circuits, you can safely maintain your home's major appliances for years to come.