
Why Guessing Destroys Automotive Harnesses
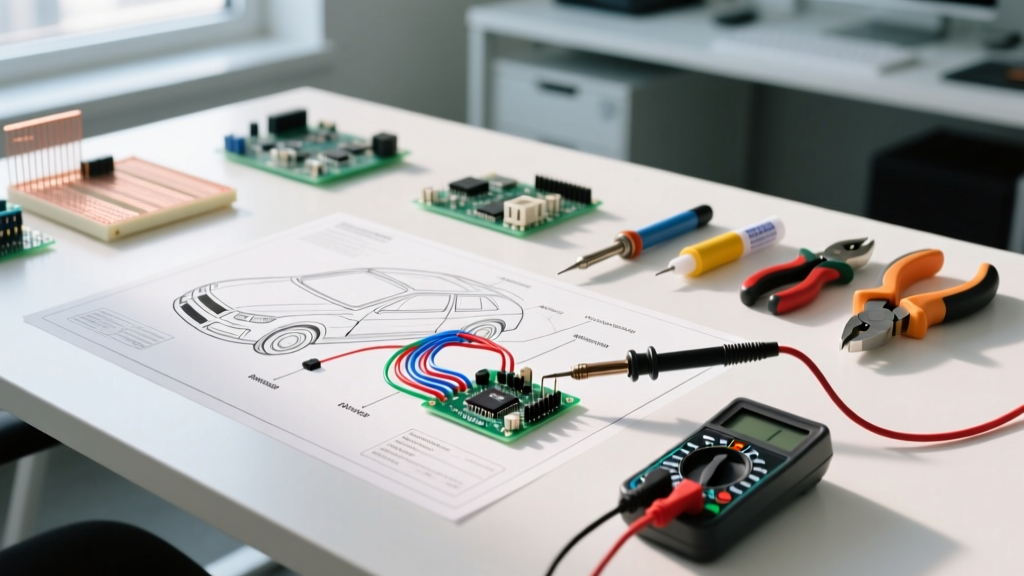
Modern vehicles are rolling networks of multiplexed data buses, pulse-width modulated (PWM) controllers, and high-current relays. When a circuit fails, relying on trial-and-error part swapping or blindly probing wires with a test light will inevitably lead to melted harnesses, fried Body Control Modules (BCMs), or misdiagnosed components. Learning how to read a wiring diagram for a car is the foundational skill that separates parts-changers from true automotive electrical diagnosticians. This guide breaks down the schematic language, wire nomenclature, and exact voltage-drop testing procedures required to troubleshoot faults efficiently and safely.
The Universal Language: DIN 72552 Terminal Codes
Before tracing a single wire, you must understand the standardized terminal designations used in automotive schematics. Originating from the German Institute for Standardization (DIN 72552), these codes dictate the function of a terminal on a relay, switch, or component, regardless of the vehicle manufacturer. While domestic and Asian manufacturers sometimes use proprietary naming conventions, the DIN standard remains the backbone of global automotive electrical architecture.
Crucial DIN Codes Every Technician Must Memorize
- Terminal 30: Direct battery positive (hot at all times). Used for memory circuits and heavy relay feeds.
- Terminal 15: Switched ignition positive. Hot only when the key is in the 'Run' or 'Start' position.
- Terminal 31: Direct chassis ground. The return path to the battery negative.
- Terminal 87: Relay normally open (NO) output. Receives power from Terminal 30 only when the relay coil is energized.
- Terminal 87a: Relay normally closed (NC) output. Receives power until the coil is energized.
- Terminal 85 & 86: The relay coil control circuit. One receives a switched 12V signal, while the other is switched to ground by a control module.
Decoding Wire Colors, Tracers, and Gauge Designations
Automotive wiring diagrams do not just show you where a wire goes; they tell you exactly what it looks like and how much current it can safely carry. Wire colors are typically denoted by abbreviations (e.g., BLK for Black, WHT for White, GRY for Gray). When a wire has a stripe or tracer, it is written as Base/Tracer (e.g., BLK/WHT means a black wire with a white stripe).
Wire gauge is critical for calculating expected voltage drop and selecting the correct replacement wire. The SAE International J1128 standard governs low-tension primary cable specifications in automotive applications. Below is a reference matrix for standard automotive cross-linked polyethylene (XLPE) wire.
| AWG Size | Metric (mm²) | Max Continuous Amps | Typical Automotive Application |
|---|---|---|---|
| 22 AWG | 0.35 mm² | 3A - 5A | CAN Bus lines, sensor signals, airbag squibs |
| 18 AWG | 0.80 mm² | 10A - 15A | Interior lighting, instrument cluster feeds, horn relays |
| 14 AWG | 2.00 mm² | 20A - 25A | Power windows, seat heaters, blower motor low speeds |
| 10 AWG | 5.00 mm² | 30A - 40A | ABS pump feeds, high-draw cooling fans, main ignition feeds |
| 4 AWG | 20.0 mm² | 100A - 120A | Battery to alternator, main starter motor feeds |
Navigating Connectors: Cavity Numbers and Pinouts
A common point of failure and misdiagnosis is the connector cavity. Schematics will label a wire entering a specific cavity, such as C104 Pin 12. 'C104' is the connector designator, and '12' is the physical cavity number molded into the plastic housing. Always verify cavity numbers using the connector face view provided at the end of the manufacturer's service manual chapter. Never assume Pin 1 is always top-left; manufacturers frequently use zig-zag or radial numbering patterns.
Expert Troubleshooting Insight: When back-probing Aptiv Metri-Pack or Delphi Weather-Pack connectors, never use standard sewing pins or paperclips. These will spread the brass terminal tangs, causing a permanent high-resistance connection. Always use dedicated T-pin back-probes or breakout boxes designed for the specific terminal width (e.g., 1.5mm, 2.8mm, or 6.3mm).
The 4-Step Voltage Drop Troubleshooting Method
According to diagnostic guidelines taught by the National Institute for Automotive Service Excellence (ASE), resistance testing with an ohmmeter is largely useless on live automotive circuits because ohmmeters use less than a milliamp of test current. A single strand of copper wire can pass a 1-ohm test but fail to carry the 15 amps required to run a fuel pump. The only accurate way to test a circuit under load is by measuring voltage drop.
Step 1: Verify the Power Source (Terminal 30 or 15)
Set your digital multimeter (DMM), such as a Fluke 87V, to DC Volts. Place the black lead on a known good engine ground and the red lead on the power feed side of the component. You should read within 0.2V of the battery's resting voltage (typically 12.4V - 12.6V). If it reads 11.8V or lower, you have a power-side restriction.
Step 2: Measure the Load Ground (Terminal 31)
Leave the red lead on the battery positive post and move the black lead to the ground wire side of the component. With the circuit active, you should read less than 0.1V. A reading of 0.5V or higher indicates corrosion at the ground splice pack or a loose chassis bolt.
Step 3: Isolate the Voltage Drop
If you have a total circuit voltage drop of 1.5V (which will prevent a 12V headlight from illuminating brightly), you must isolate where the loss occurs. Move your multimeter probes sequentially across every splice, connector, and switch in the circuit. As noted in Fluke Corporation's electrical diagnostic literature, a healthy switch or connector should drop no more than 0.05V to 0.1V under load. The component or connection that displays the missing voltage is your exact point of failure.
Step 4: The Wiggle Test and Thermal Imaging
Intermittent faults caused by chafing or internal wire breakage often only manifest under vibration or heat. While monitoring the voltage drop on your DMM or an automotive oscilloscope, physically manipulate the harness. For high-current circuits (like a 40A cooling fan), use a thermal camera; a failing crimp or corroded splice pack will glow brightly due to resistive heating.
Real-World Case Study: Diagnosing a CAN Bus Communication Fault
Modern schematics feature Controller Area Network (CAN) buses, which look vastly different from traditional 12V power circuits. A typical High-Speed CAN (ISO 11898-2) circuit consists of CAN High (CAN-H) and CAN Low (CAN-L) twisted pair wires, terminating in two 120-ohm resistors placed at opposite ends of the network.
The Fault: A vehicle presents with a U0100 code (Lost Communication with ECM). The scan tool cannot talk to the engine module.
The Schematic Trace: The diagram shows the ECM and the Transmission Control Module (TCM) share a CAN bus terminating at the BCM and the ECM itself.
The Diagnostic Action: 1. Turn the ignition OFF and disconnect the battery negative to prevent module back-feeding. 2. Set the DMM to Ohms. 3. Access the OBD-II diagnostic link connector (DLC). Measure resistance between Pin 6 (CAN-H) and Pin 14 (CAN-L). 4. The Math: Two 120-ohm resistors in parallel equal exactly 60 ohms. 5. If you read 120 ohms, one terminating resistor is open or missing. If you read 0 ohms, the CAN-H and CAN-L wires are shorted together somewhere in the harness. The wiring diagram allows you to isolate the bus by unplugging modules sequentially until the short or open is localized.
Essential Diagnostic Tools for Schematic Tracing
To effectively execute the troubleshooting steps derived from a wiring diagram, you need the right instrumentation. Budget tools will yield inaccurate data, leading to misdiagnosis.
- Fluke 87V Industrial Multimeter ($450 - $500): The gold standard for automotive voltage drop and PWM duty cycle measurements. Its high impedance prevents false ghost voltage readings on sensitive multiplexed circuits.
- Power Probe IV ($280 - $320): Allows technicians to manually apply 12V power or ground to a component while simultaneously reading circuit voltage, drastically speeding up actuator testing.
- OEM Breakout Boxes ($150 - $400): Essential for testing module pinouts without piercing wire insulation, which introduces moisture and guarantees future corrosion.
Frequently Asked Questions (FAQ)
What does a dotted line mean on a car wiring diagram?
A dotted or dashed line typically indicates a mechanical linkage between two electrical switches (like a turn signal stalk operating both the flasher and the dash indicator) or denotes that two components are housed within the same physical physical assembly or control module.
How do I find a specific ground location using the diagram?
Wiring diagrams use ground distribution charts. A ground labeled 'G104' refers to a specific physical location. 'G1' usually denotes the engine compartment, 'G2' the passenger cabin, and 'G3' the trunk. You must cross-reference the ground code with the manufacturer's ground location index to find the exact chassis bolt.
Can I use a test light to troubleshoot modern car wiring diagrams?
No. Traditional incandescent test lights draw significant current. Probing a low-voltage CAN bus, airbag squib circuit, or ECM sensor reference wire with a test light can instantly destroy solid-state electronics. Always use a high-impedance DMM or a dedicated logic probe.